
A small Bevy project that procedurally generates a 2D pixel art landscape.
Procedural Generation Project 2
This repository contains basic generation logic for a 2D, pixel art, tile set-based world. It was written in Rust, using Bevy engine (v0.18). The purpose of this project was to familiarise myself a little more with Rust and procedural generation. It's a follow-up on my first attempt to learn Rust, Rusteroids, and my first, non-Rust procedural generation project, Procedural Generation Project 1. You will neither find advanced concepts of Rust being applied (correctly) here nor advanced procedural generation techniques.
Demo
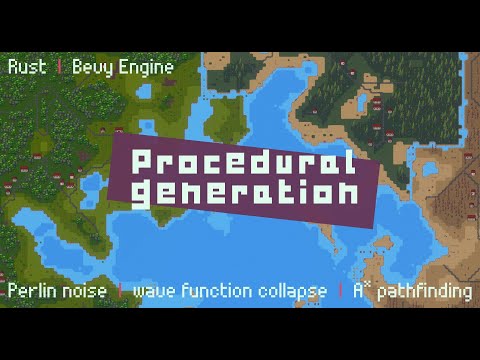
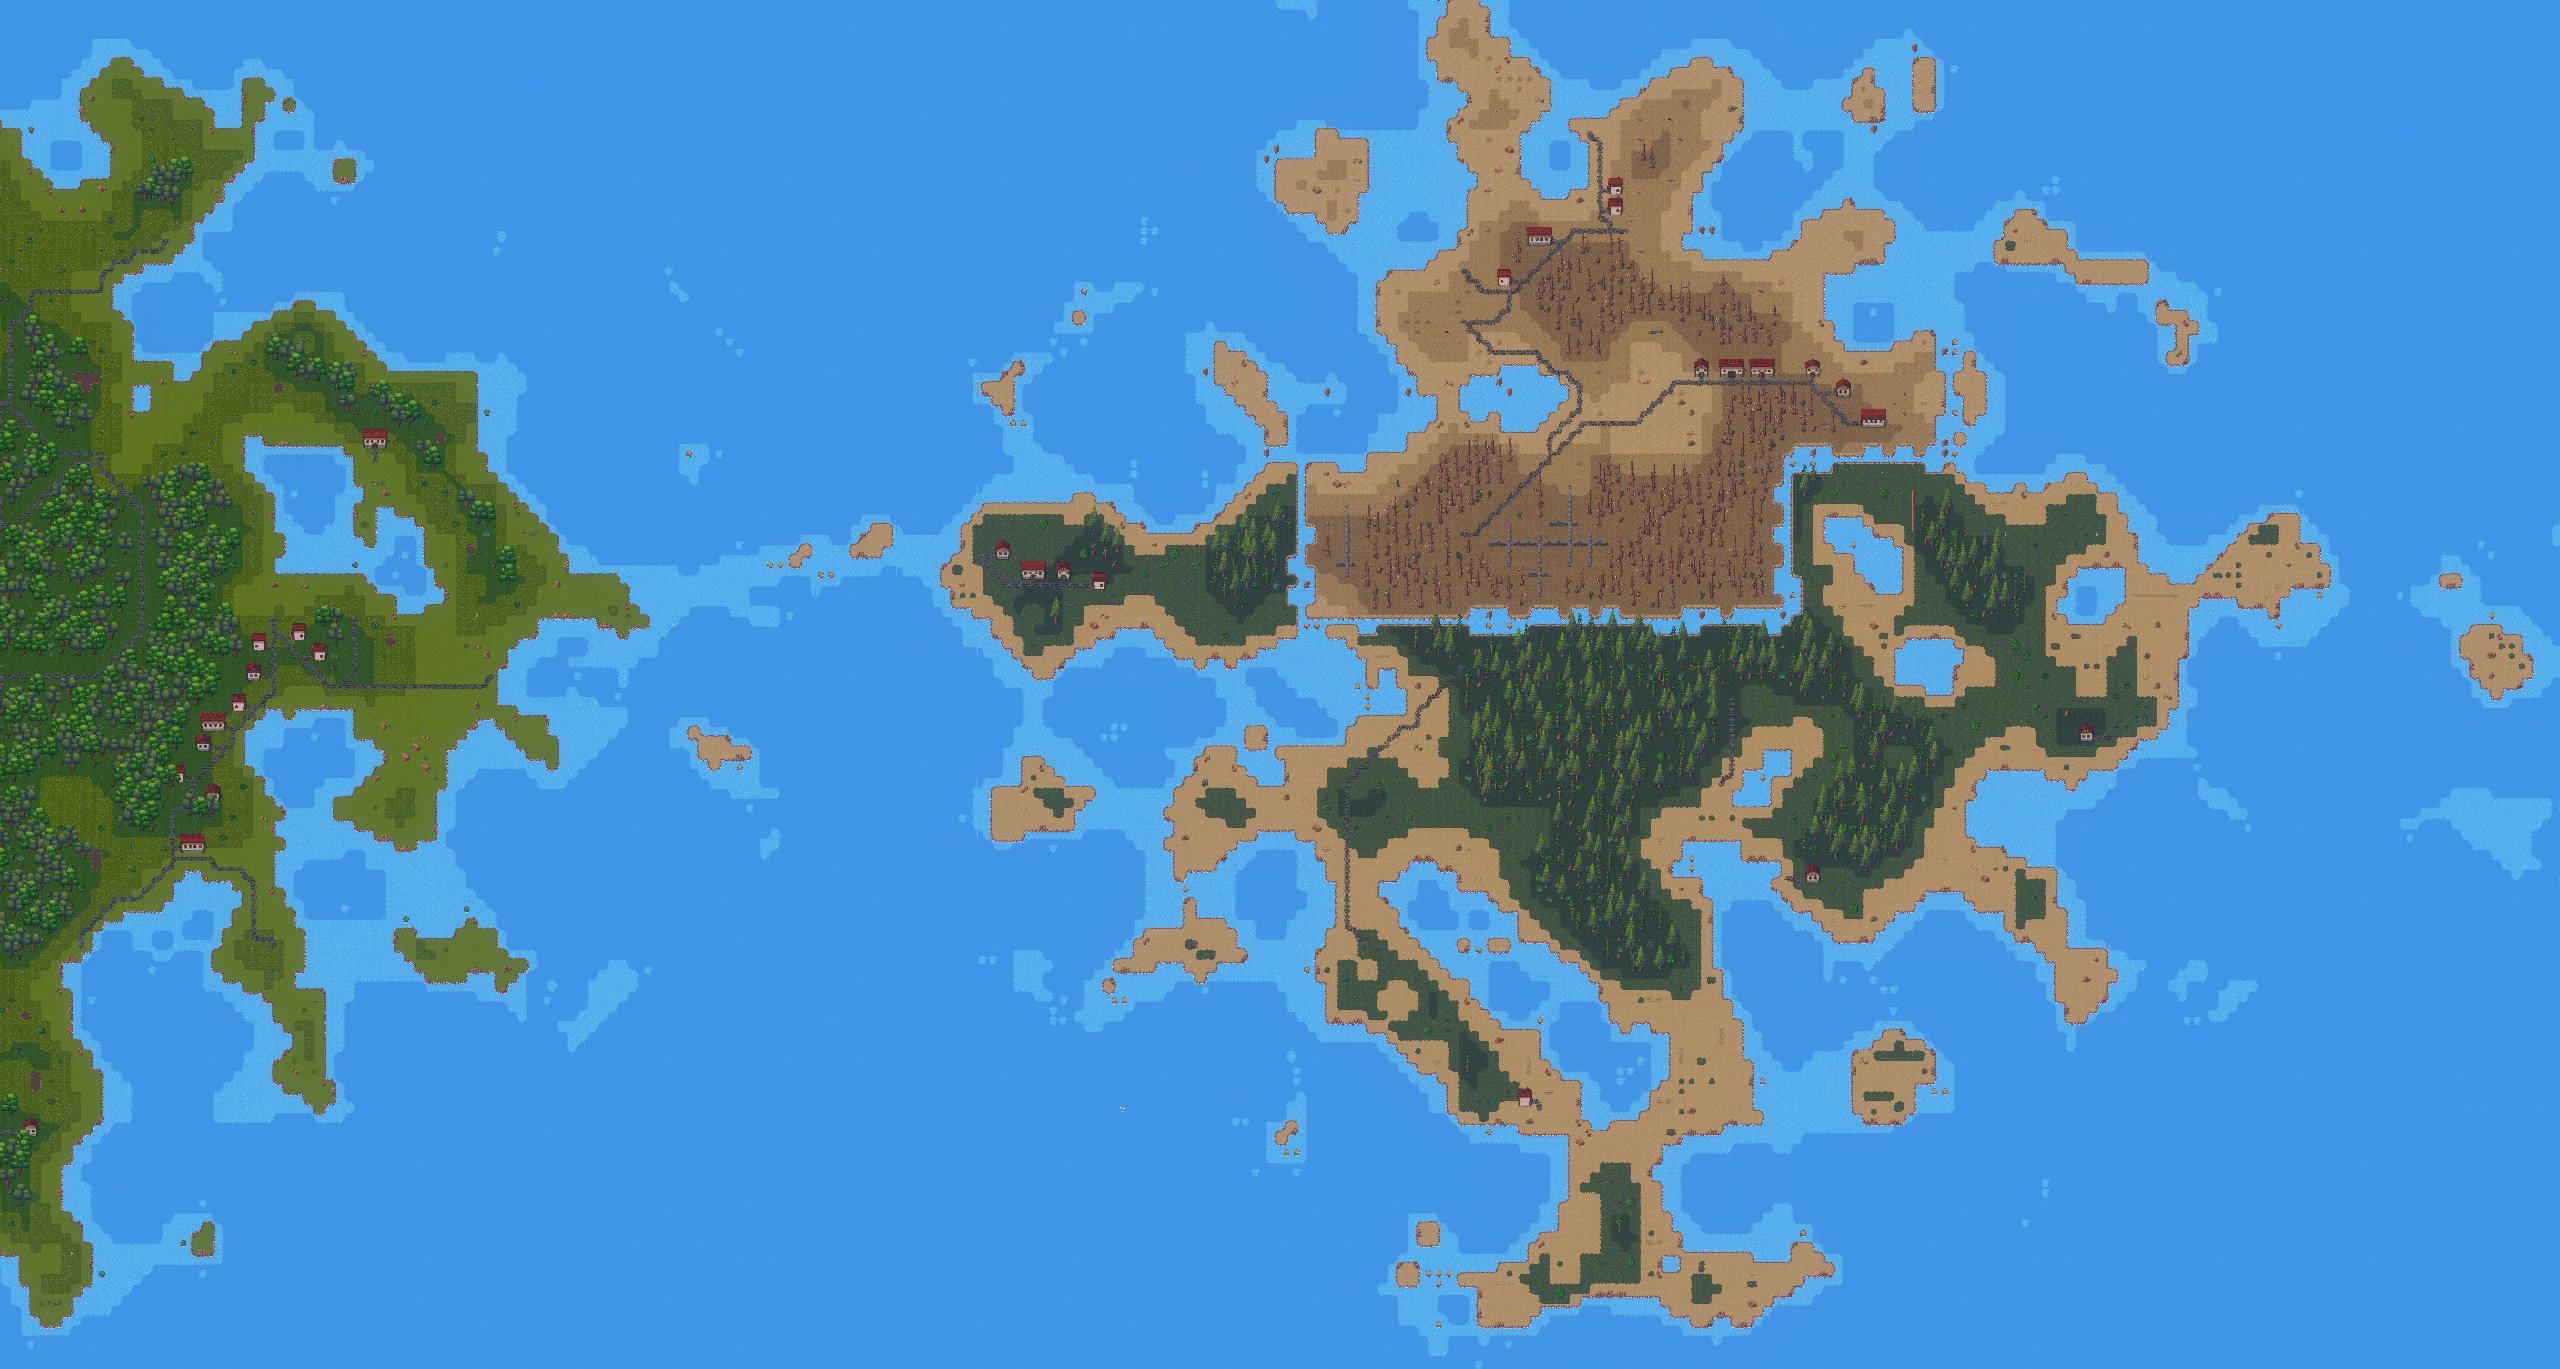
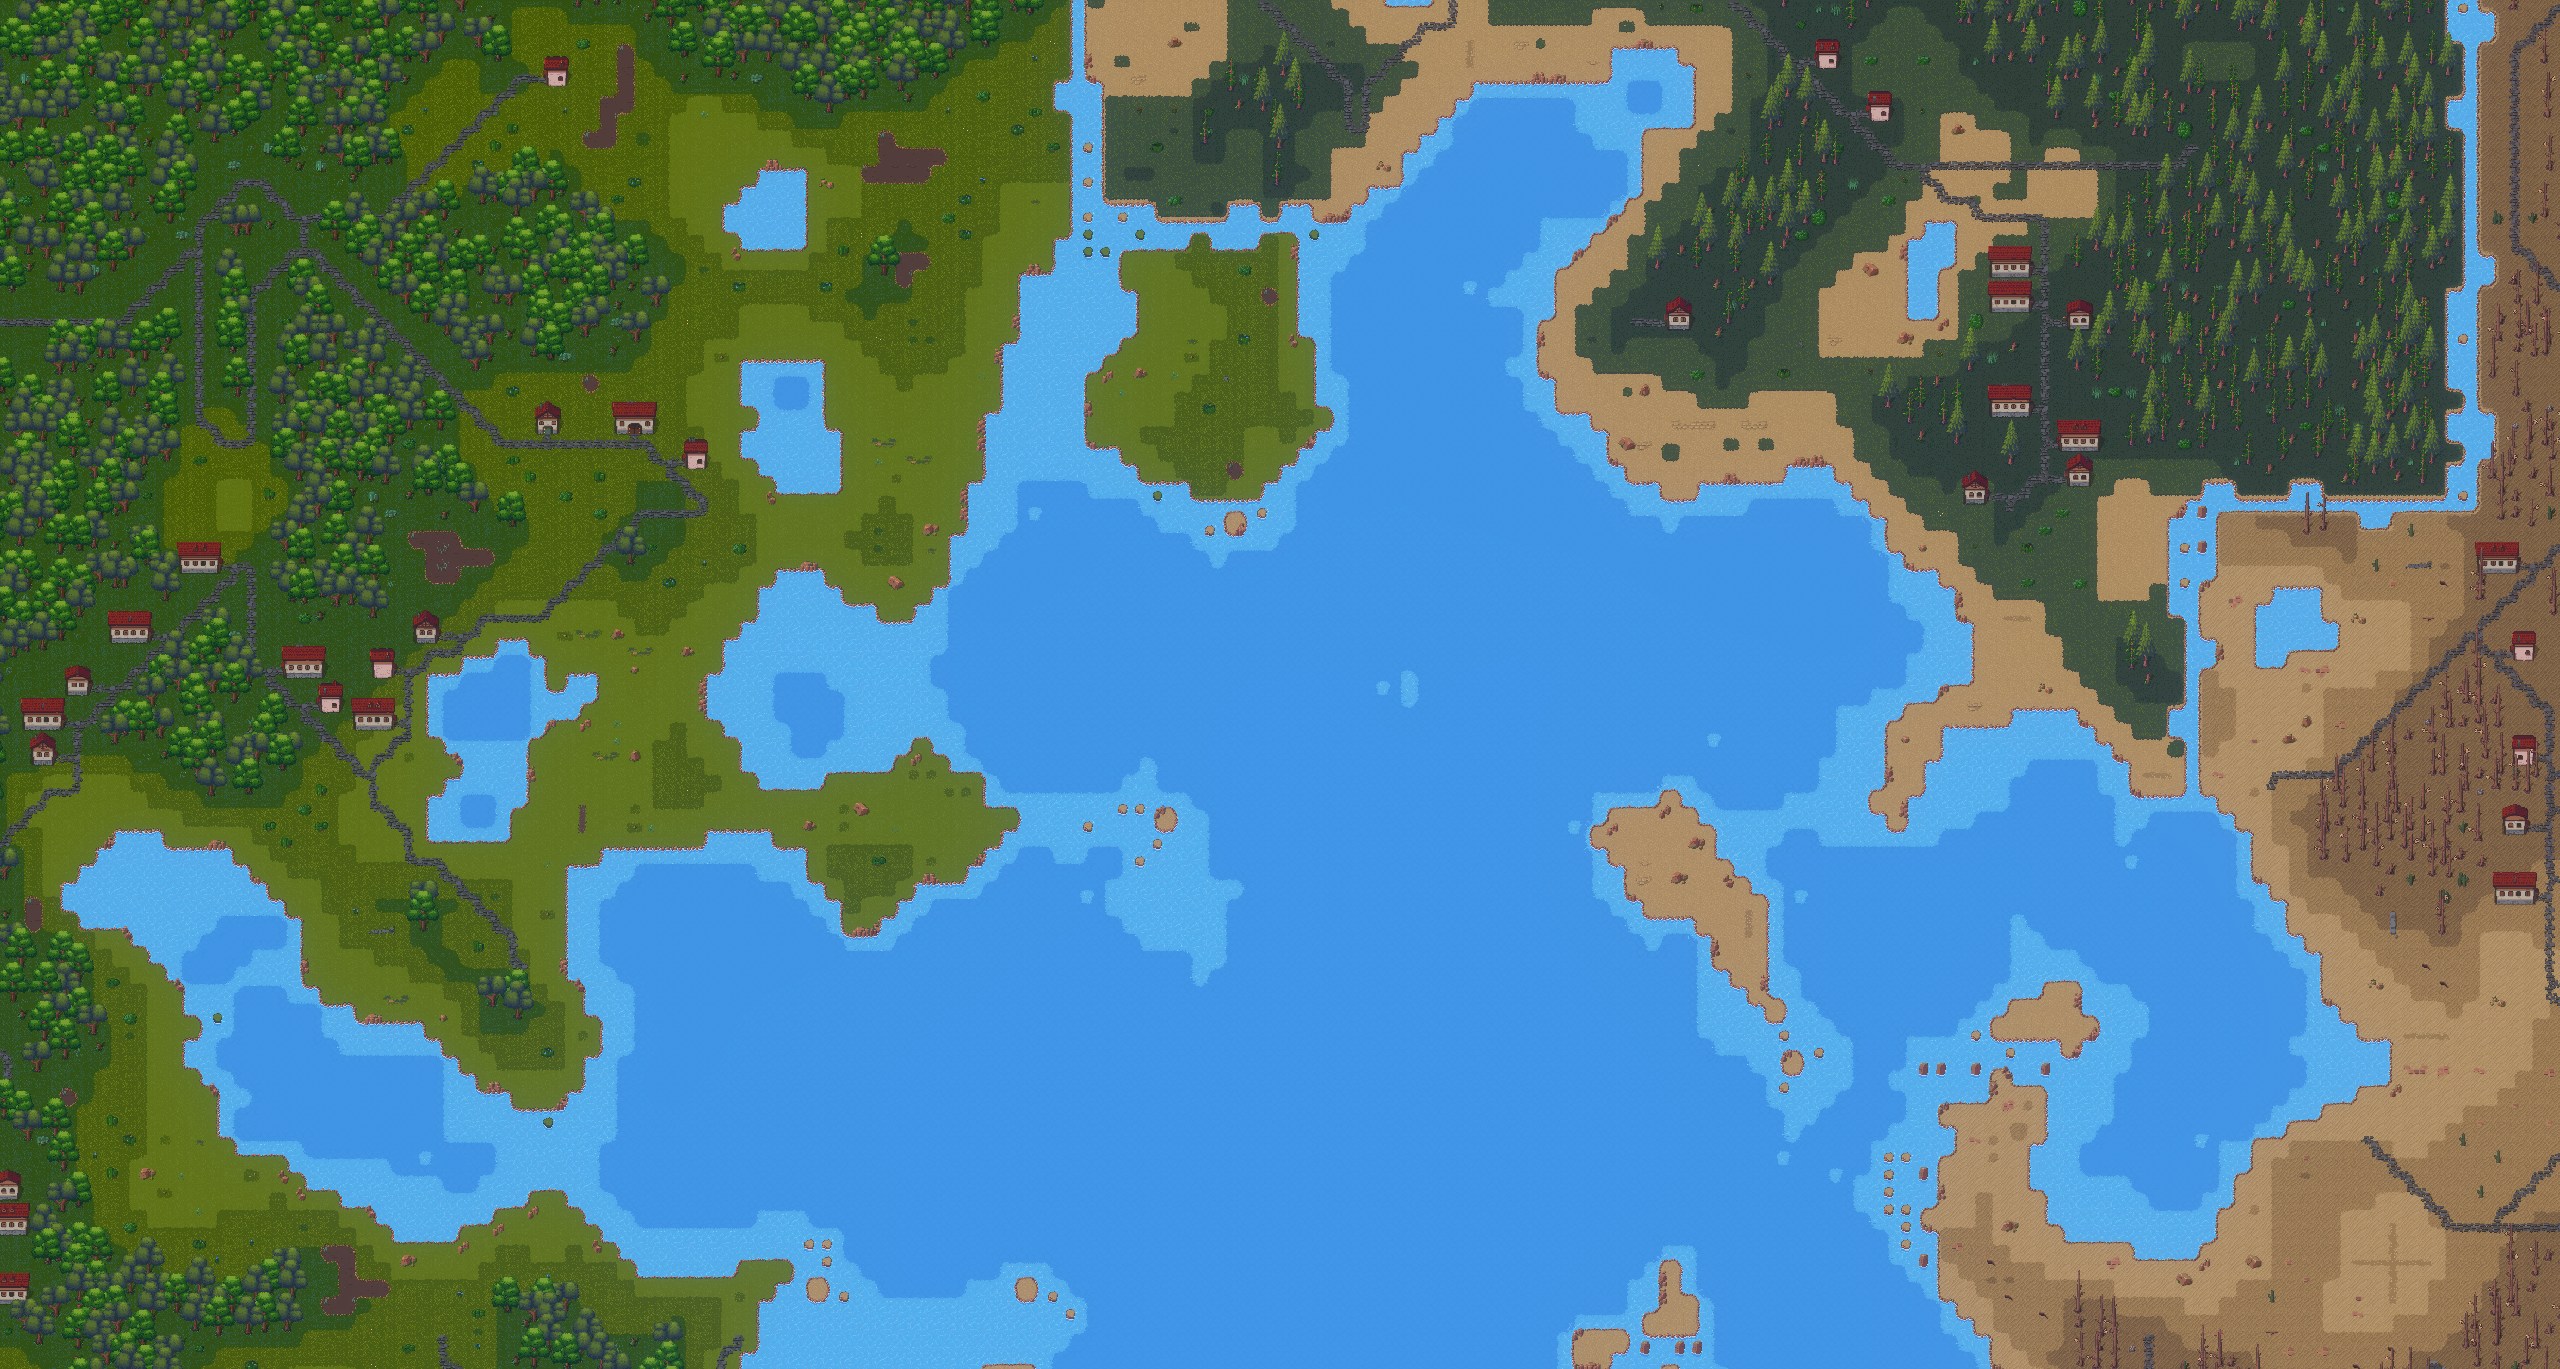
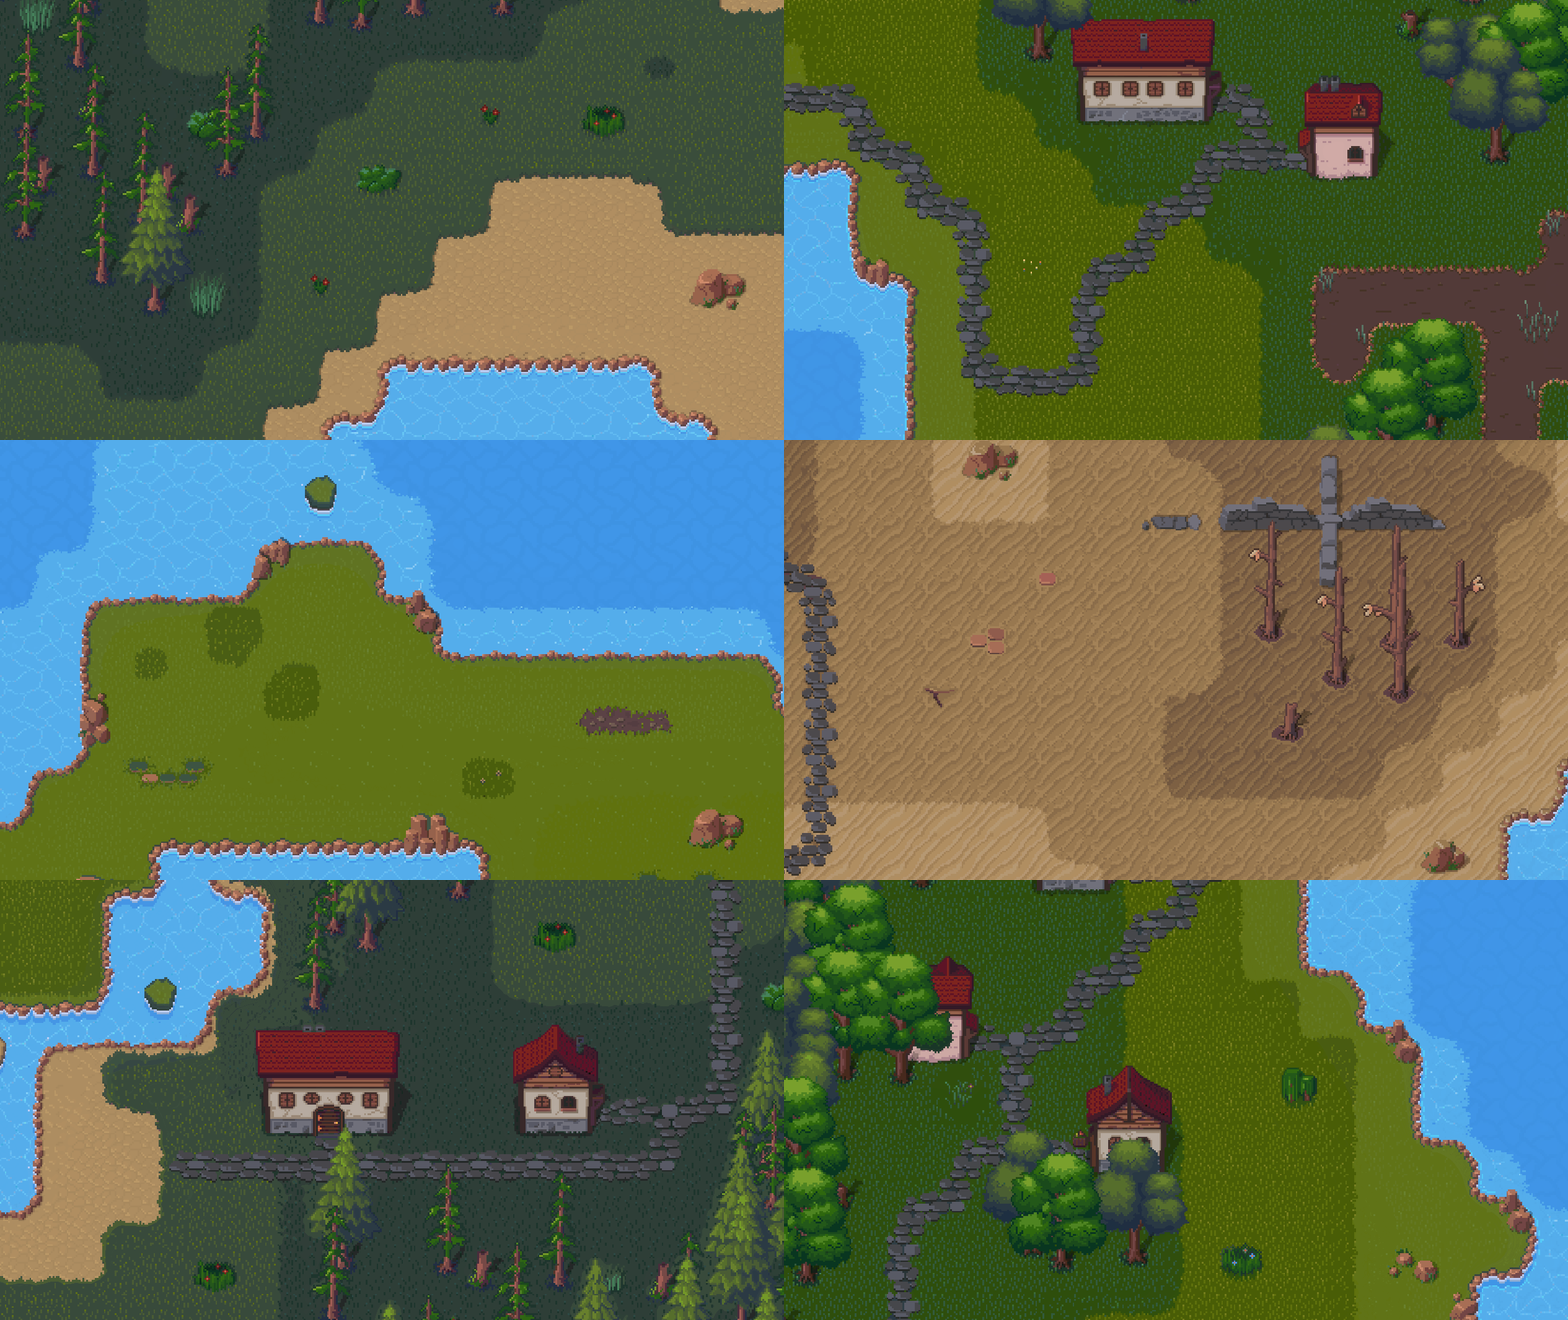

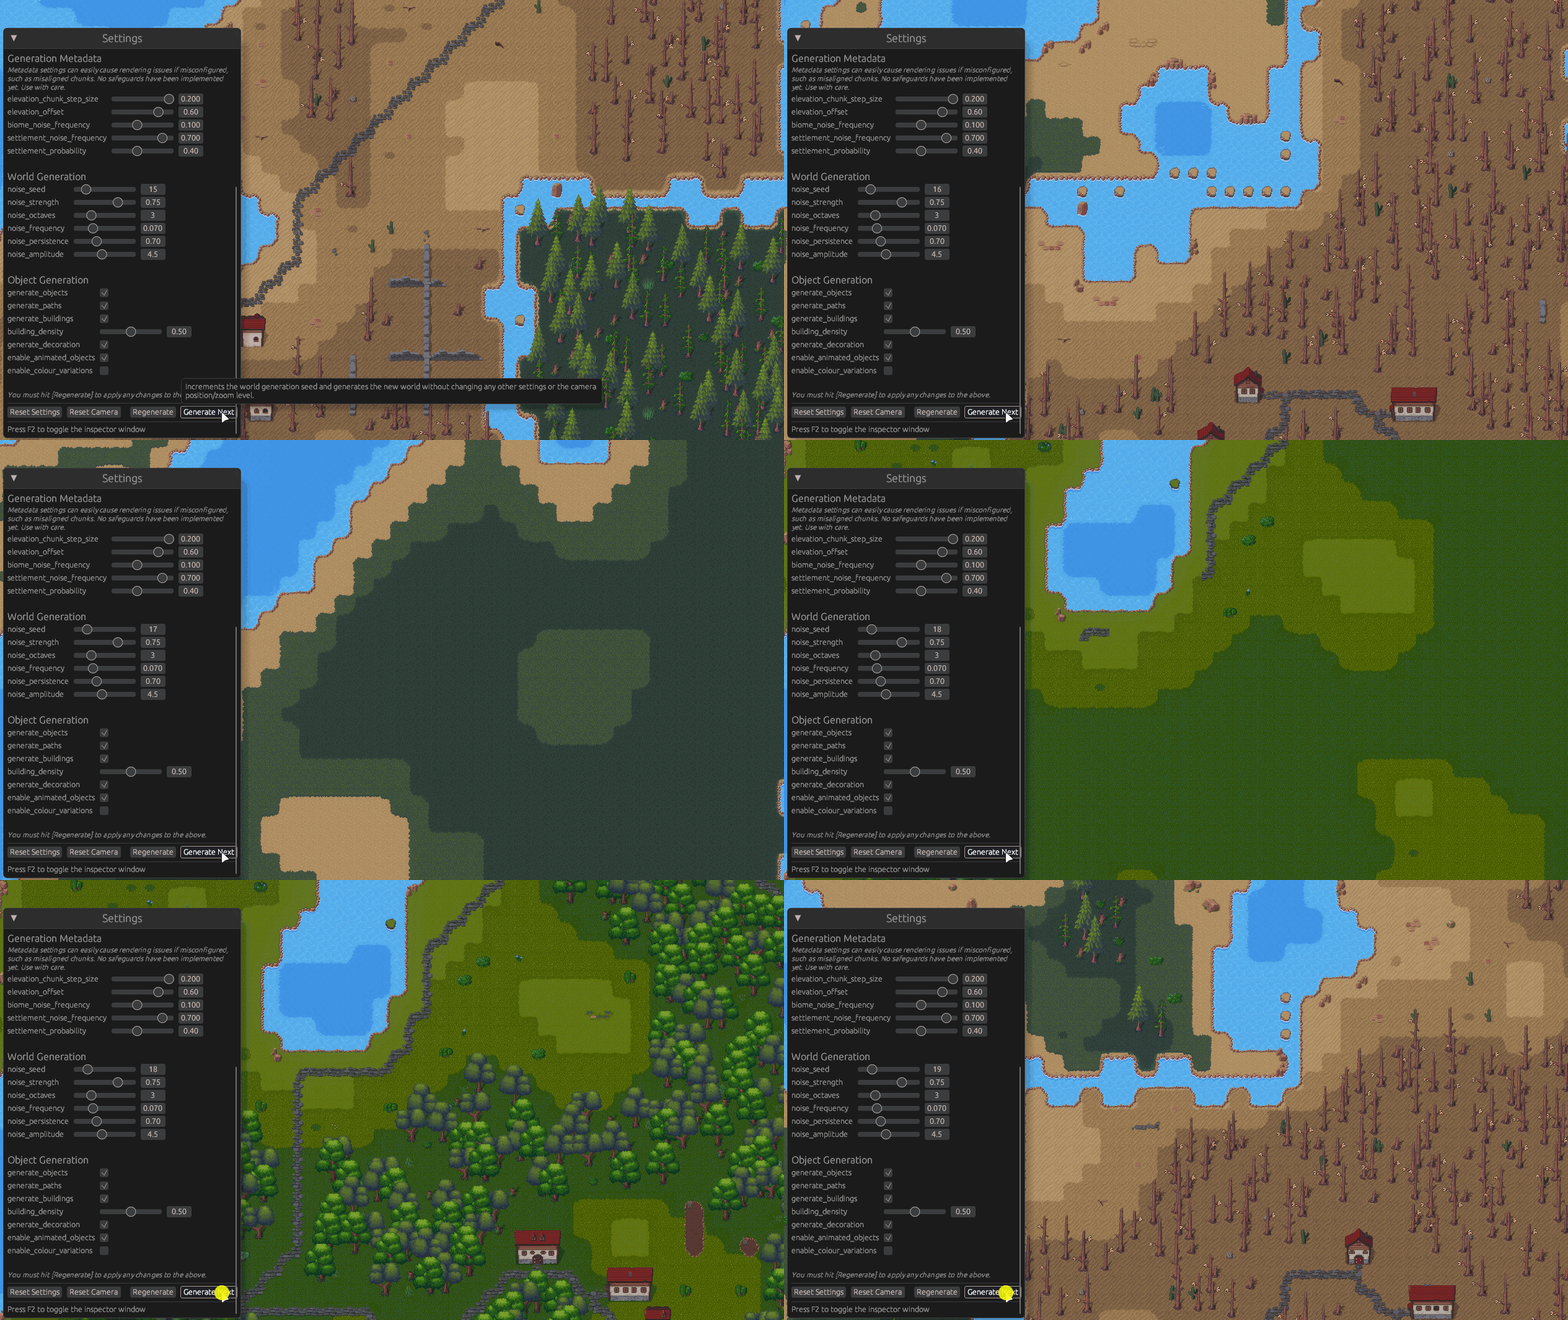
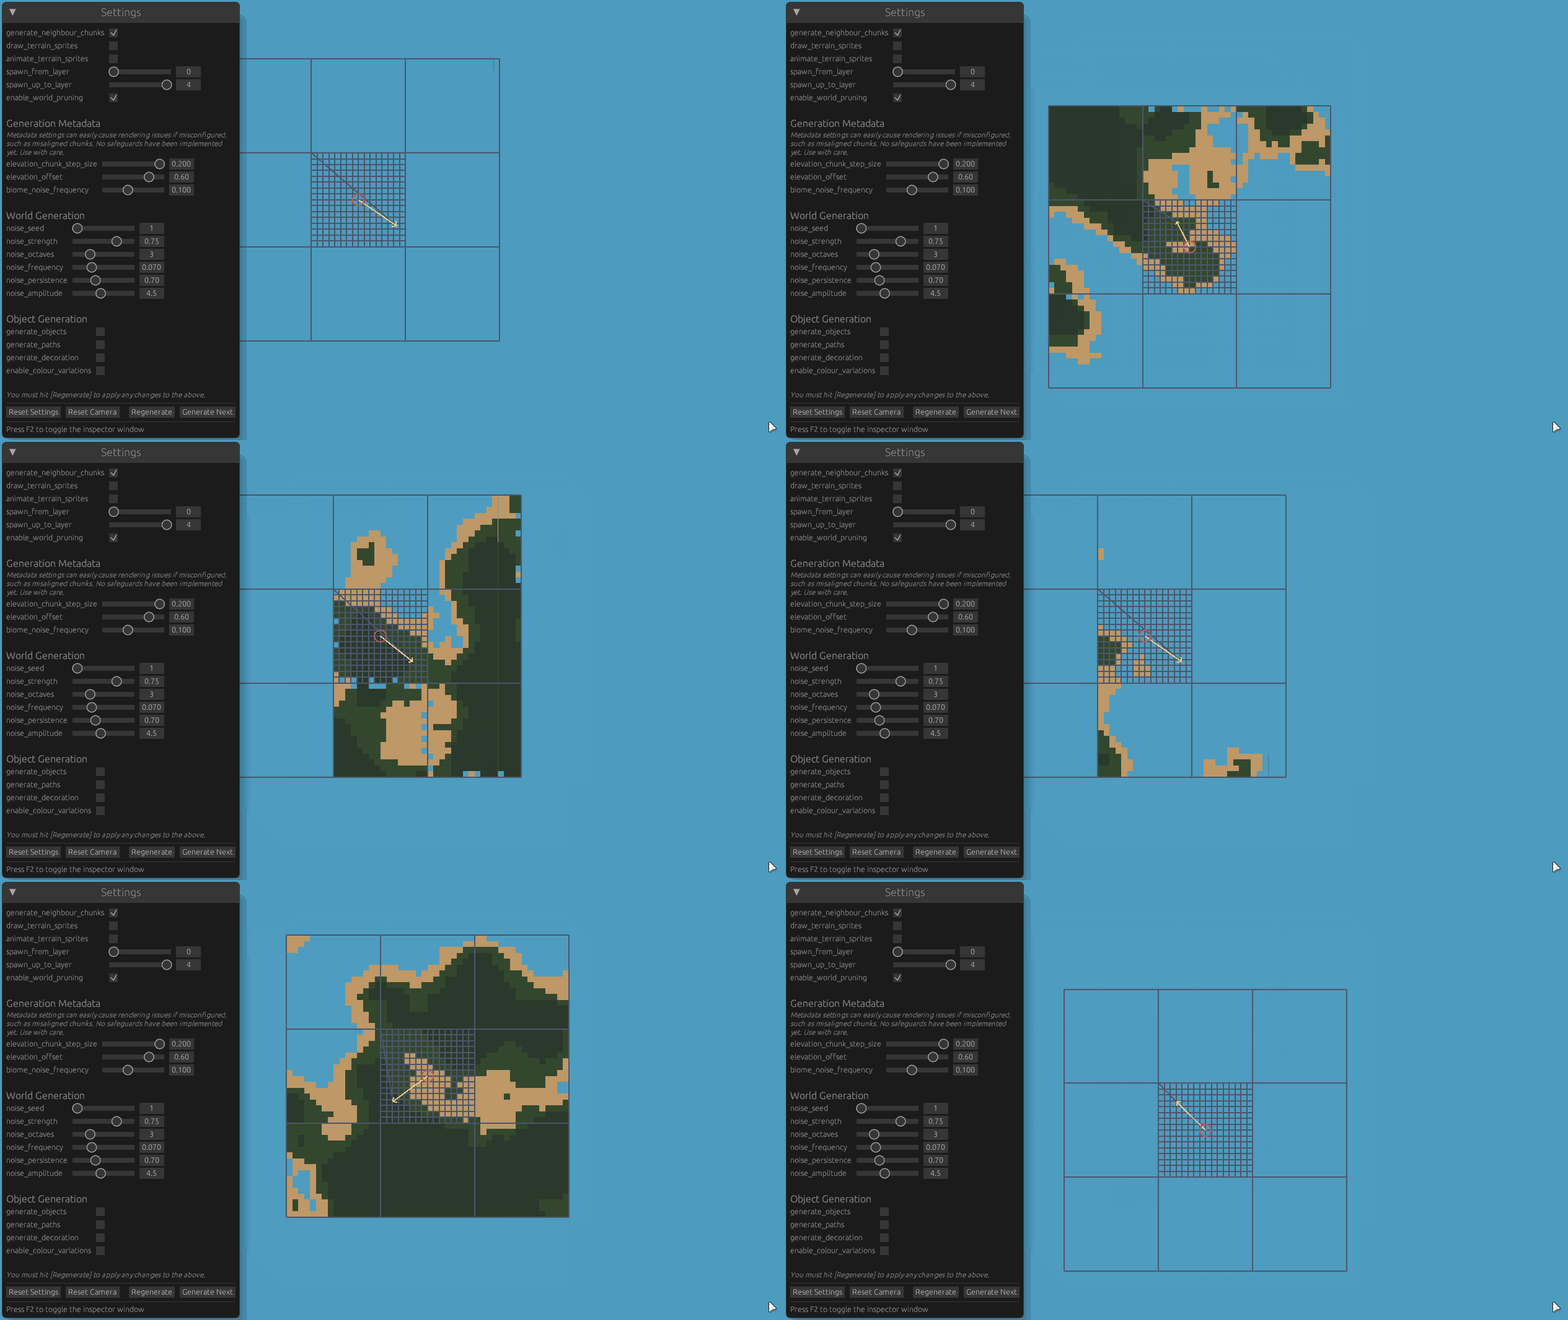
Features
- Generates an infinite and animated, 2D pixel art world that is fully deterministic
- Executes generation processes asynchronously (excluding entity spawning, of course)
- Terrain generation:
Metadata) to make chunks context aware, allowing for gradual elevation
changes over great distances and inter-chunk biome changes without reducing generation performance
- Object generation:
.toml files -
for example, ruins can span multiple tiles and span over multiple terrain types
- Features 32x32px sprites (or sprites that fit within a 32x32px grid) that were created by me
bevy-inspector-eguiplugin to play around with the generation parameters at runtimeiyesperfuiplugin for performance metrics in an overlay
Attribution
- Art work is somewhat inspired by sanctumpixel's style
- All sprites were created by myself and are available under CC BY 4.0
How to use
[!NOTE]
When you start the application, the default settings will result in no land or objects being spawned at the
origin cg(0, 0), so you'll have to move the camera in any direction to see something.
A/D/W/Sto move the camera- Hold
Shiftto move camera faster -
PageUp/PageDownor use mouse wheel to zoom in/out T/F6to reset the camera's zoom level (and rotation) but not its positionR/F5to regenerate the world with the current settingsRight Clicka tile to show and log its debug infoF1to toggle world inspector UIF2to toggle settingsF11to toggle fullscreen/windowed modeZto toggle performance metrics overlayXto toggle debug gizmosCto toggle tile debug info being displayed
How to develop
Looking at the codebase for the first time or haven't looked at it in a while?
- Start with the
GenerationStageenum in conjunction with theworldgenerationsysteminGenerationPluginwhich is
- The terrain/world generation which generates chunks and tiles sits in
crate::generation::world - The object generation which generates paths and decorative objects placed on the terrain lives in
crate::generation::object
- Resources used for both of the above can be found in
crate::generation::resources - Structs and enums used across multiple modules sit in
crate::generation::lib
Using Nix Flakes, JetBrains RustRover & Direnv
You can run this project in any way you like, but I have set things up to make it easy to develop using JetBrains RustRover. For this, you'll need:
direnv- Any Direnv integration plugin e.g. https://plugins.jetbrains.com/plugin/15285-direnv-integration
nix
direnv allow in the project directory after which all prerequisites (incl. Rust, Cargo,
all Bevy dependencies, etc.) will be available to you. The JetBrains plugin will ensure that the environment is
available to your IDE and you can run the project from there (vs cargo build and cargo run in the terminal).
How to deal with RustRover making problems again
RustRover forgetting where the Rust standard library is?
find /nix/store -type d -name rustlibsrcUsing Nix Flakes
Without direnv, you can use the Nix Flake by running nix develop in the project directory. If you want to use an IDE such as JetBrains RustRover, you'll have to set up the environment manually. You'll most likely have to make LDLIBRARYPATH available to your IDE.
Upgrade the flake by running nix flake update in the repository's base directory.
Reminders
How to add decorative object sprite assets
- Add the sprite to the relevant sprite sheet in
assets/objects/ - Add a new option to the
ObjectNameenum - Optional: Add the object name to the
any.terrain.ruleset.tomlfile (top, right, bottom, left) if it can be placed
ObjectName::Empty)
- Add the object name to the
all.tile-type.ruleset.tomlfile (like justFill) to the relevantTileTypes on which
- Add a new state to the relevant
{terrain}.terrain.ruleset.tomlfile using the index from the sprite sheet
Empty on all sides)
- Make sure the permitted neighbours themselves list the new object name as a neighbour, too
- The application will run some validations and prevent startup with clear error messages if the configured state is
unresolvable
- Optional: Add the object name to any terrain-climate combination in
all.exclusions.ruleset.tomlif it shouldn't
- Optional: If this is a large asset, make sure to add it to
ObjectName.ismultitile() - Optional: If this is an animated asset, add it to
ObjectName.is_animated()
How to add building or path sprite assets
- Add the sprite to the relevant sprite sheet in
assets/objects/ - Update the column and row values in
constants.rsfor buildings/paths, if necessary - Add the new option(s) to the
ObjectNameenum - Add the object name(s) to the
isbuilding()orispath()function inobject_name.rs - Add the object name(s) to the
getindexforbuilding()orgetindexforpath()function inobject_name.rs - Add the object name(s) to the
any.terrain.ruleset.tomlfile where appropriate (top, right, bottom, left) - If building sprite: Add the object name(s) to relevant
BuildingTypein theBuildingComponentRegistry
ObjectName::Empty). Without this, you'll see errors in the wave function collapse algorithm.
How to use cargo-flamegraph
- Run the command below to generate a flame graph
CARGOPROFILERELEASE_DEBUG=true RUSTFLAGS='-C force-frame-pointers=y' cargo flamegraph -c "record -g" --package=procedural-generation-2 --bin=procedural-generation-2$env:CARGOPROFILERELEASE_DEBUG = "true"; $env:RUSTFLAGS = "-C force-frame-pointers=y"; cargo flamegraph -c "record -g" --package=procedural-generation-2 --bin=procedural-generation-2
- This should run the application - once you close it, a
flamegraph.svg will be generated at the root of the
repository
- Open it in your browser to see the flame graph
Run configurations
The
.run folder contains a few run configurations for RustRover. Alternatively, you may want to consider creating:
- A run configuration with environment variable
RUSTLOG=proceduralgeneration_2=debug for debug logs
A run configuration that also appends
,proceduralgeneration2::generation::object=trace,proceduralgeneration2::generation::path=trace to RUST_LOG for
WFC and pathfinding trace logs
- A run configuration with environment variable
RUSTLOG=bevyecs=debug to see Bevy ECS logs (e.g. which system
caused an error[B0003]`)


