
create "Karpathy's style" 2d images out of your image embeddings
Embeddings2Image
former -> visualize-tsne
This small project is for creating 2d images out of the embeddings of the images. It was inspired by Andrej Karpathy's blog post on the visualization of CNNs using t-sne. (this guy is pretty sharp :wink: - you should definitely follow him! ).UPDATE #1 At first the package only supported dimension reduction using t-sne but now it also support the great umap. Check it out https://github.com/lmcinnes/umap
UPDATE #2 I saw that the project is useful to some people so I uploaded it to PyPI for easier integration.
UPDATE #3 Checkout the end2end example added by @nivha
Examples
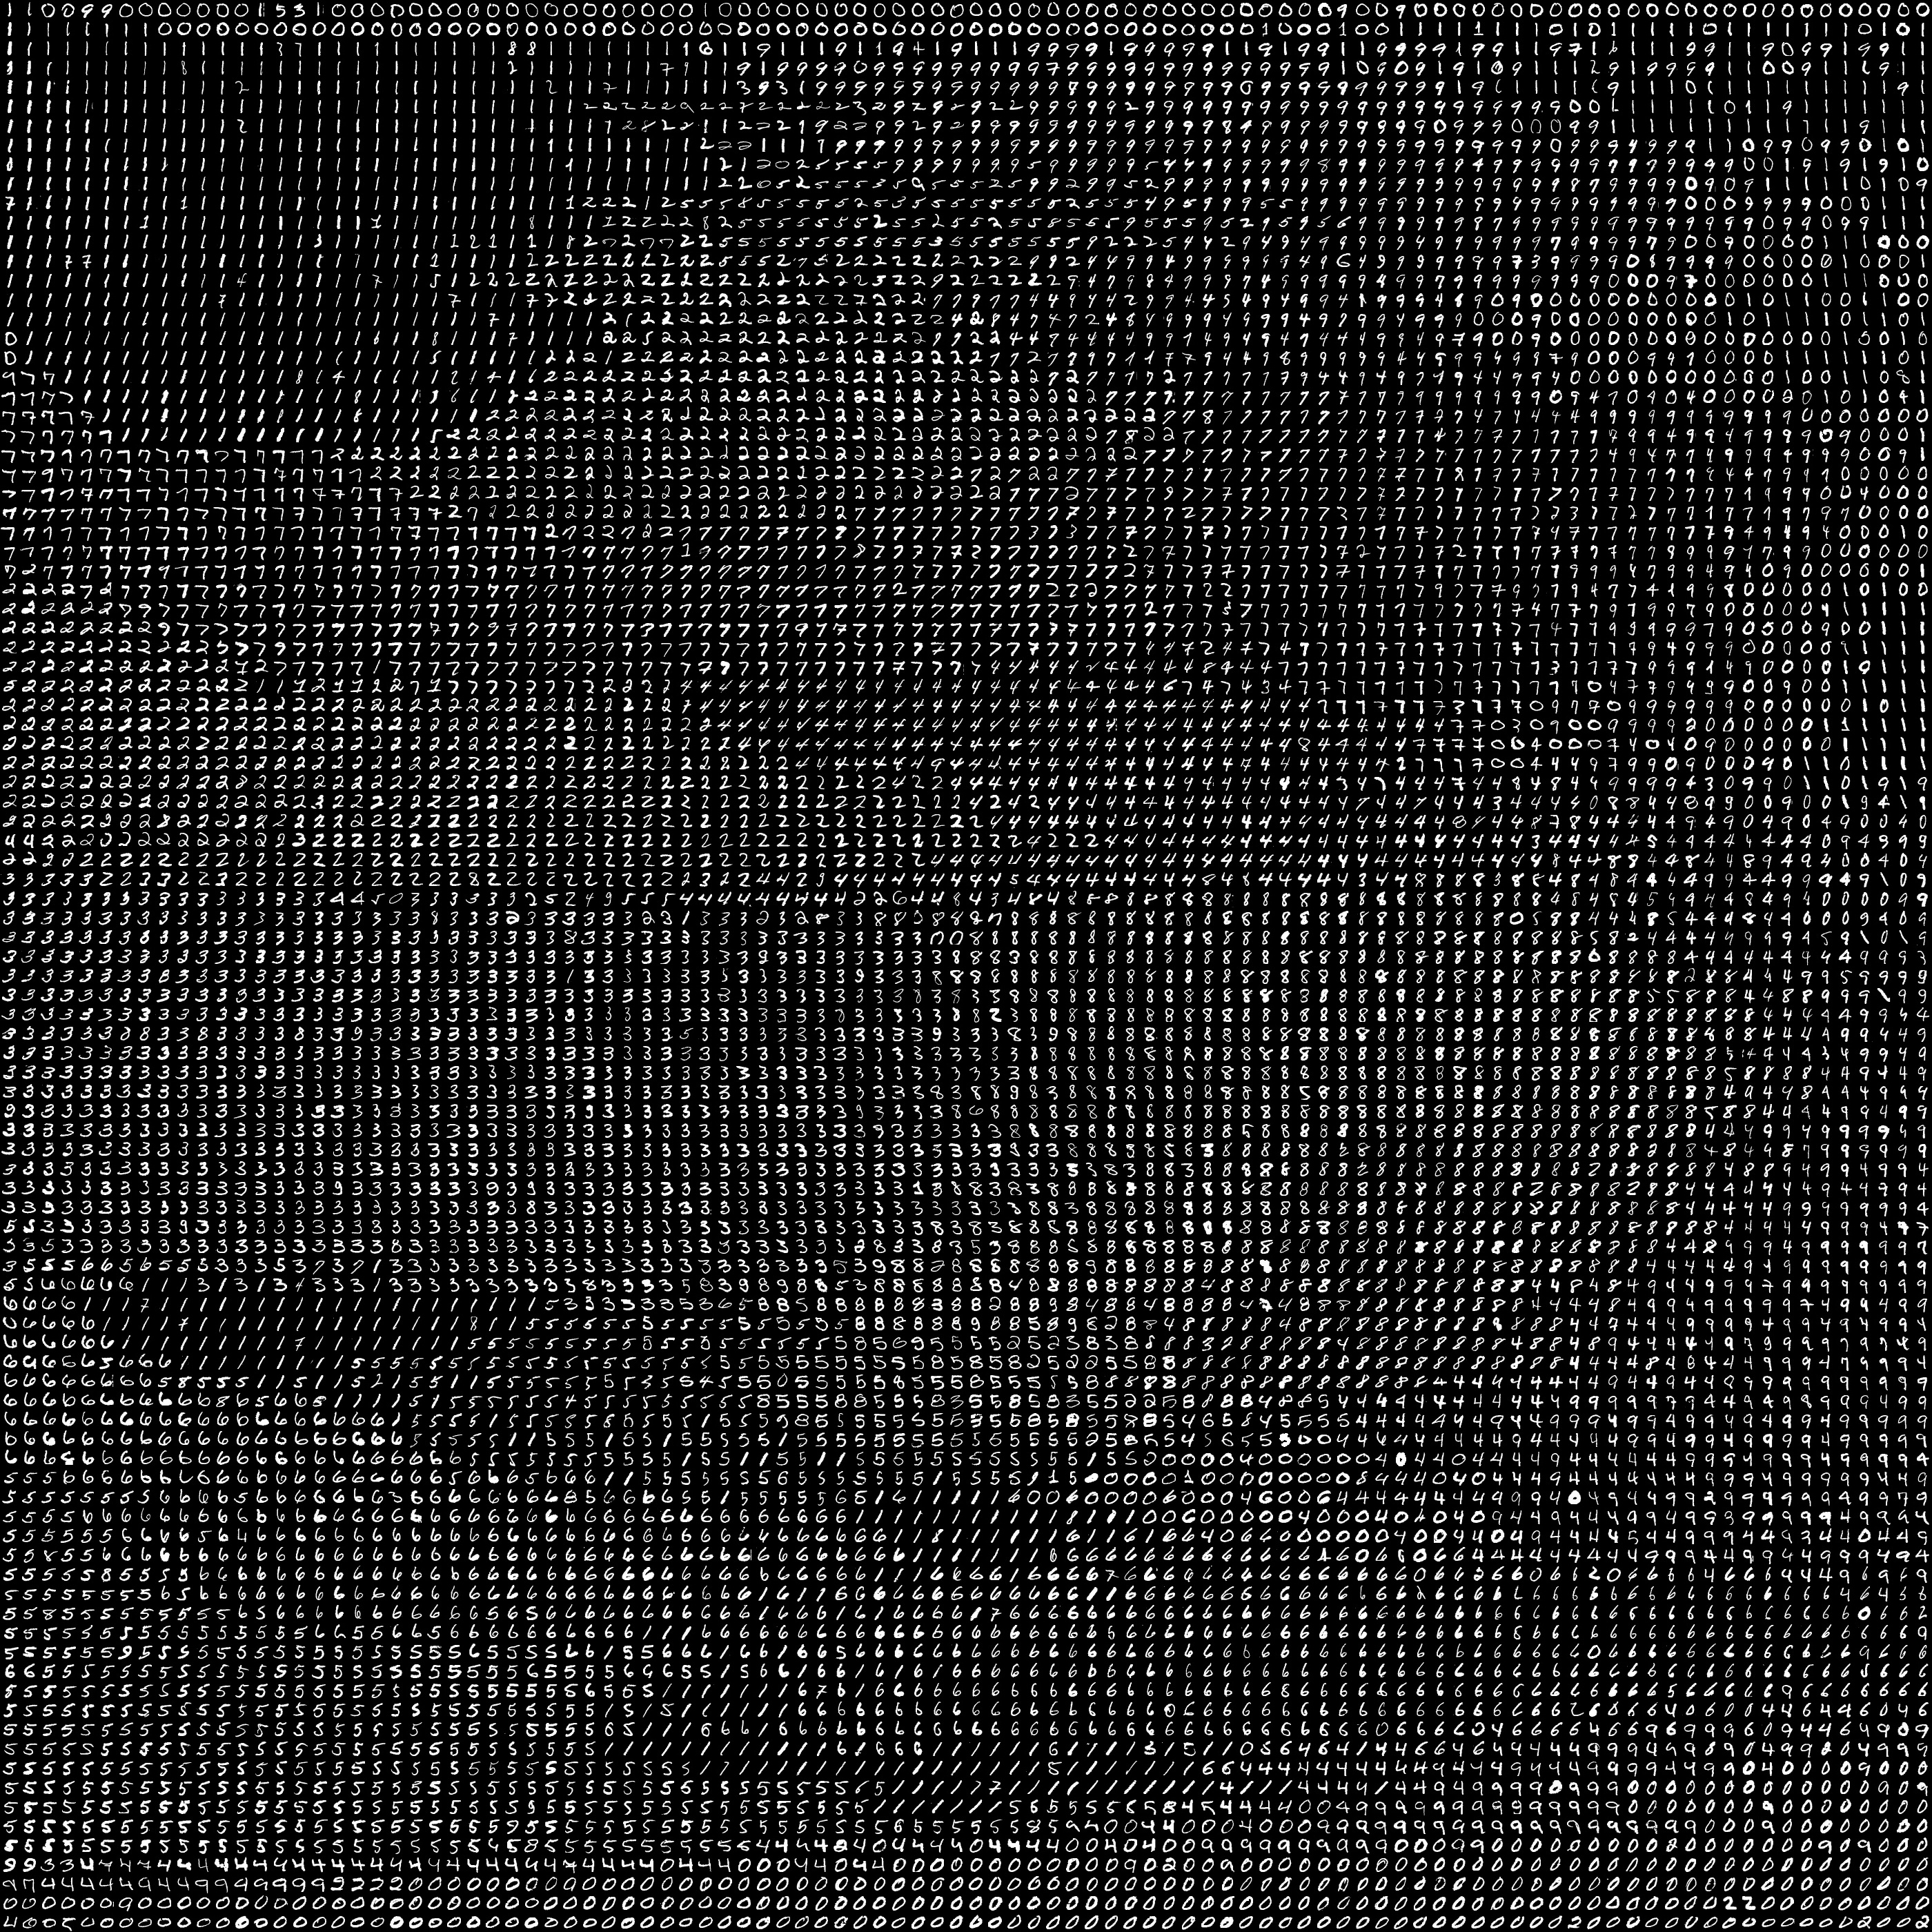
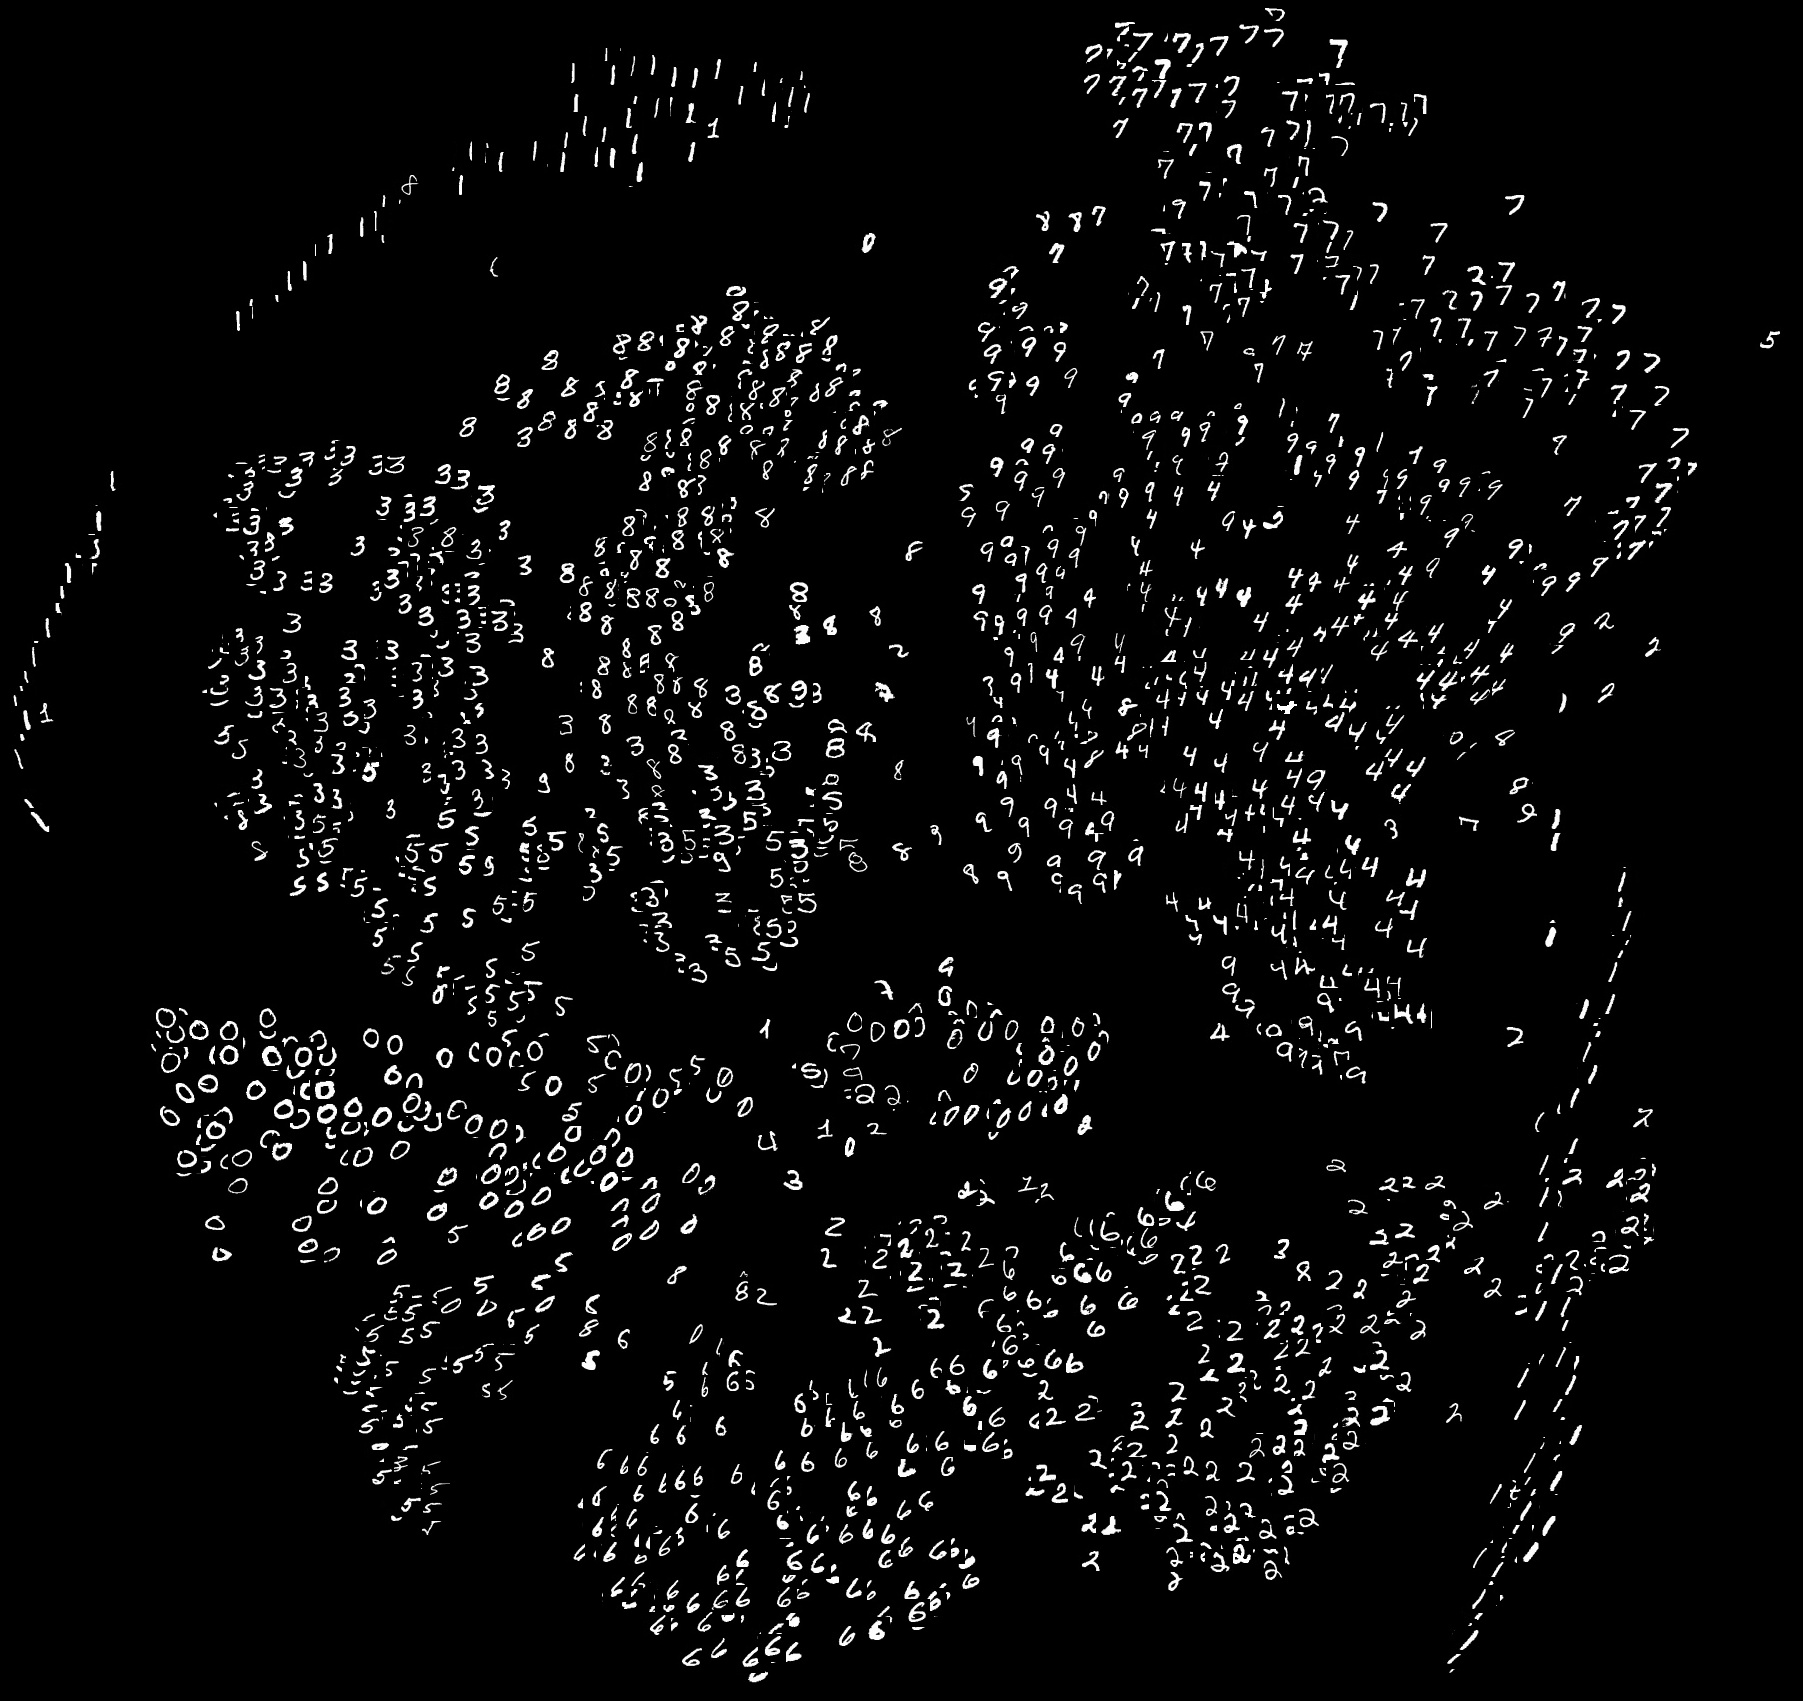
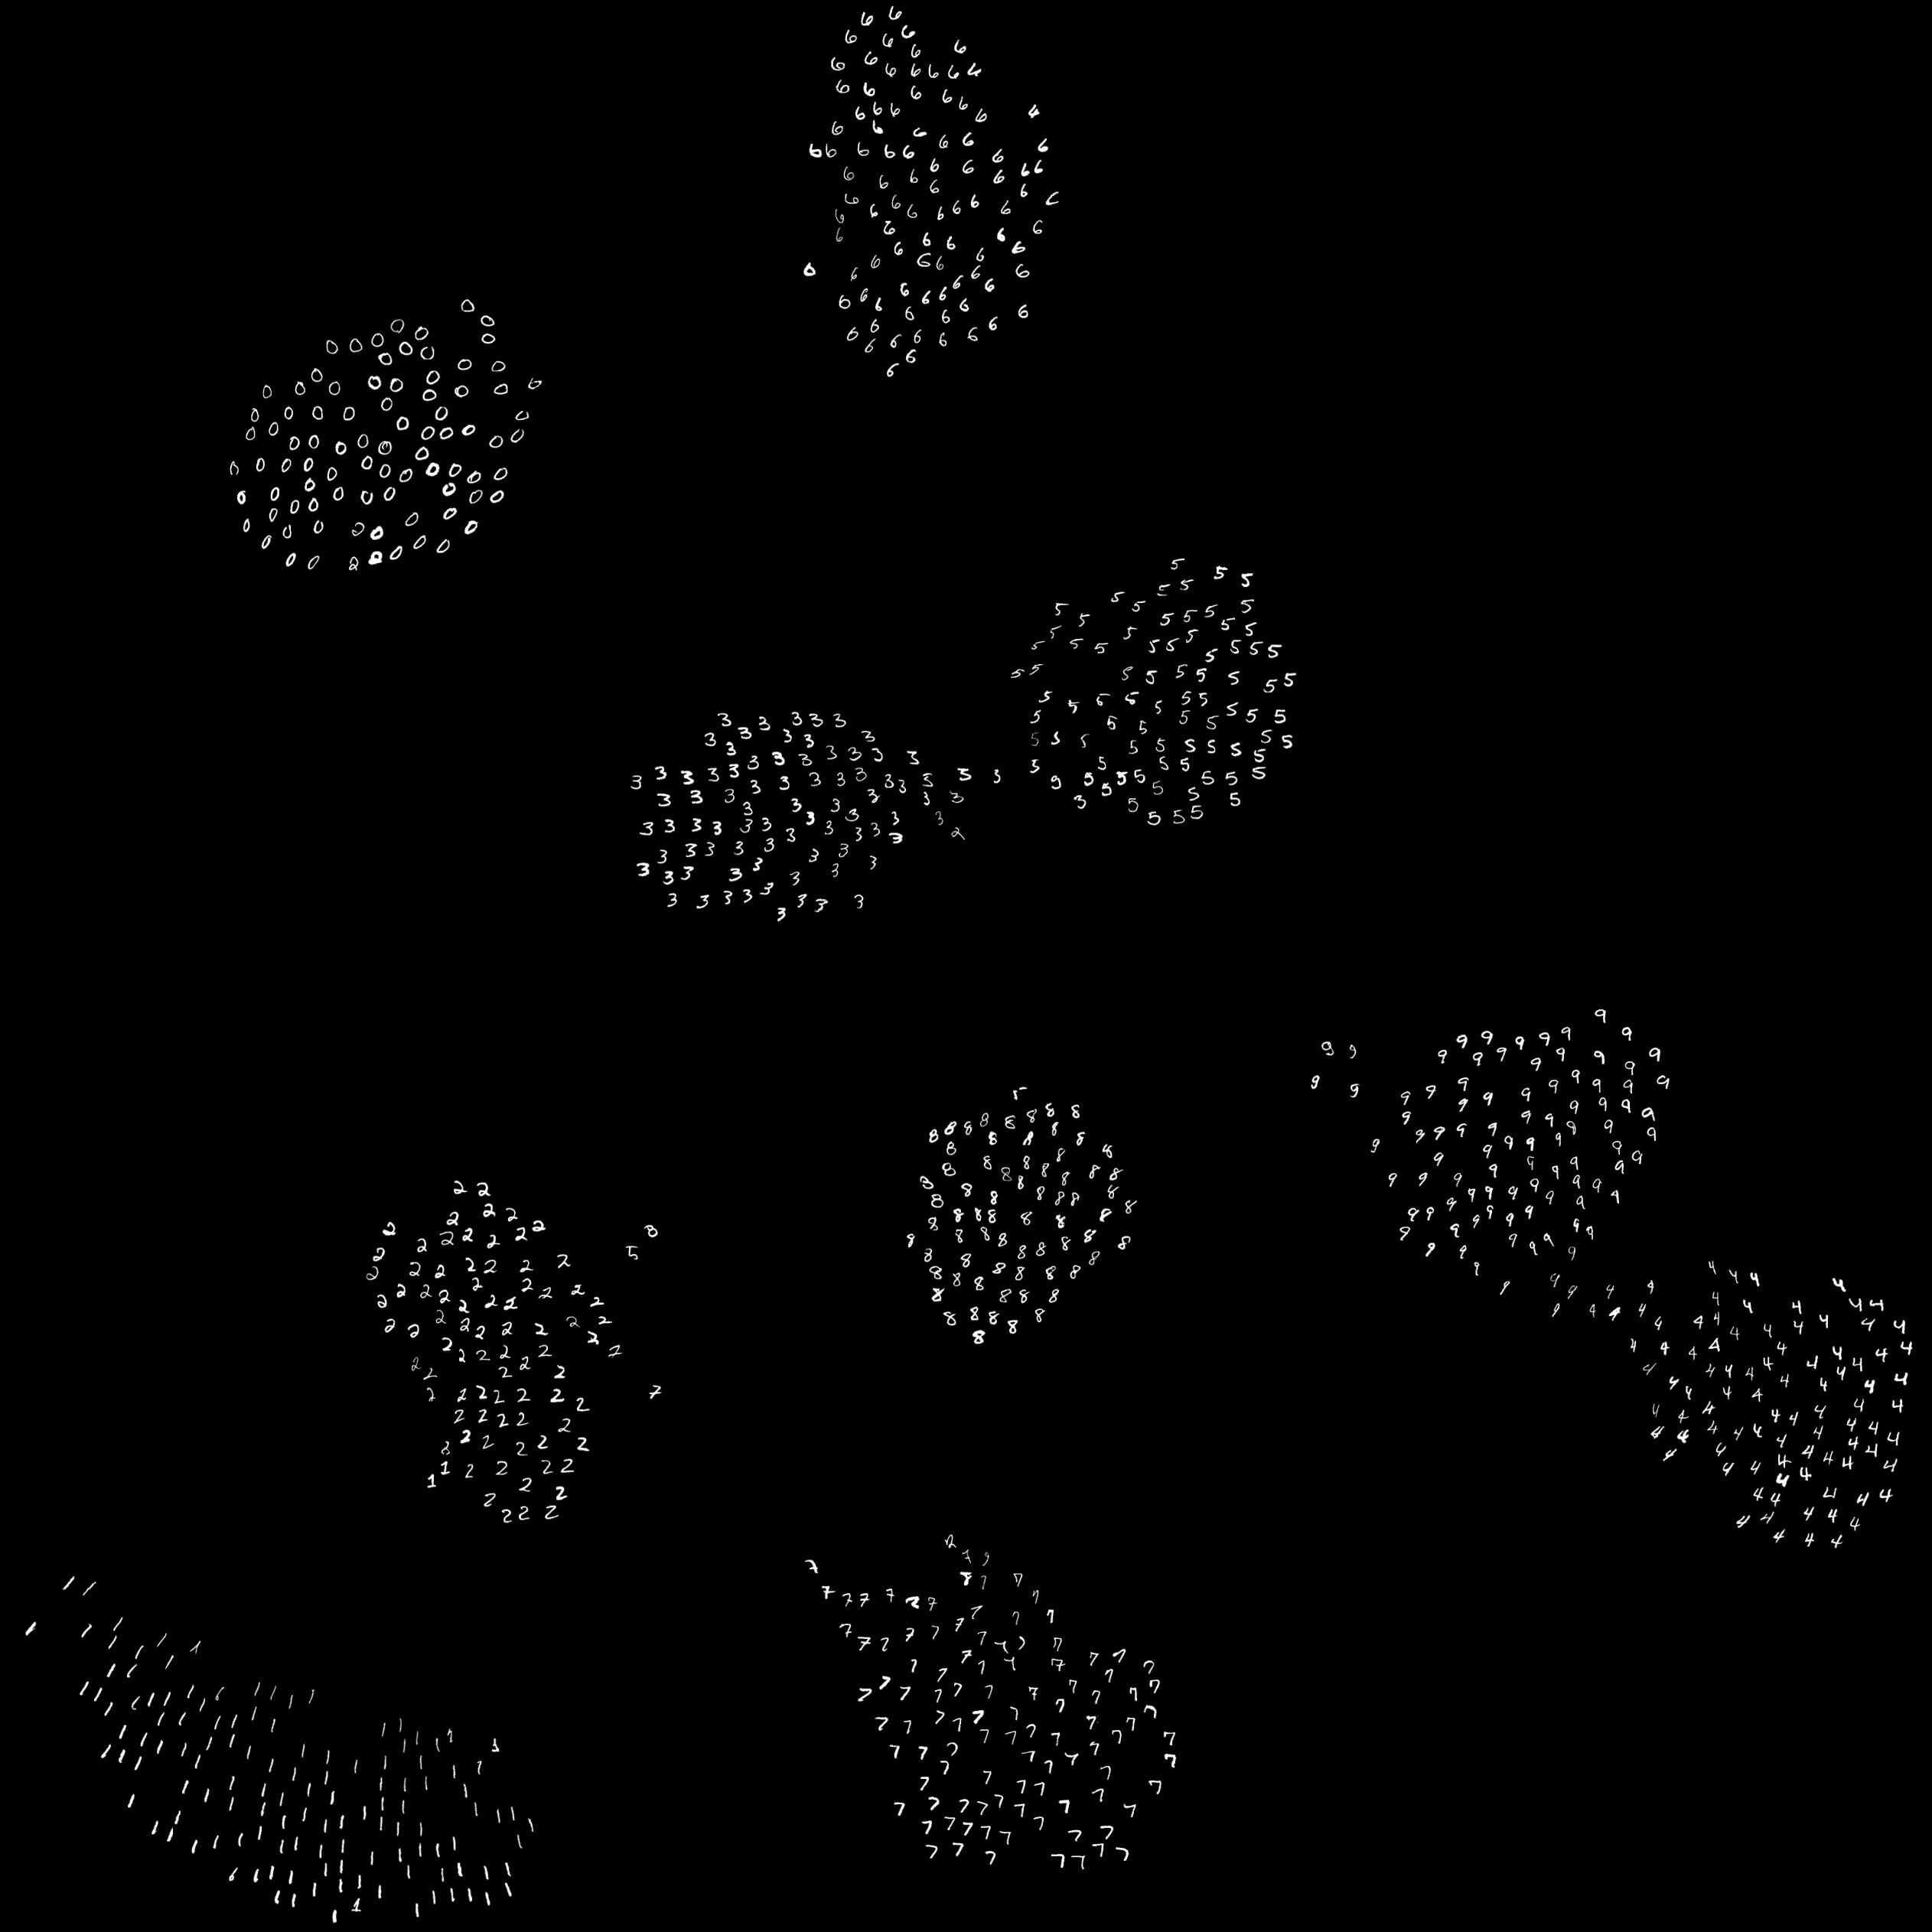
mnist TSNE grid example
mnist TSNE scatter example
mnist UMAP scatter example
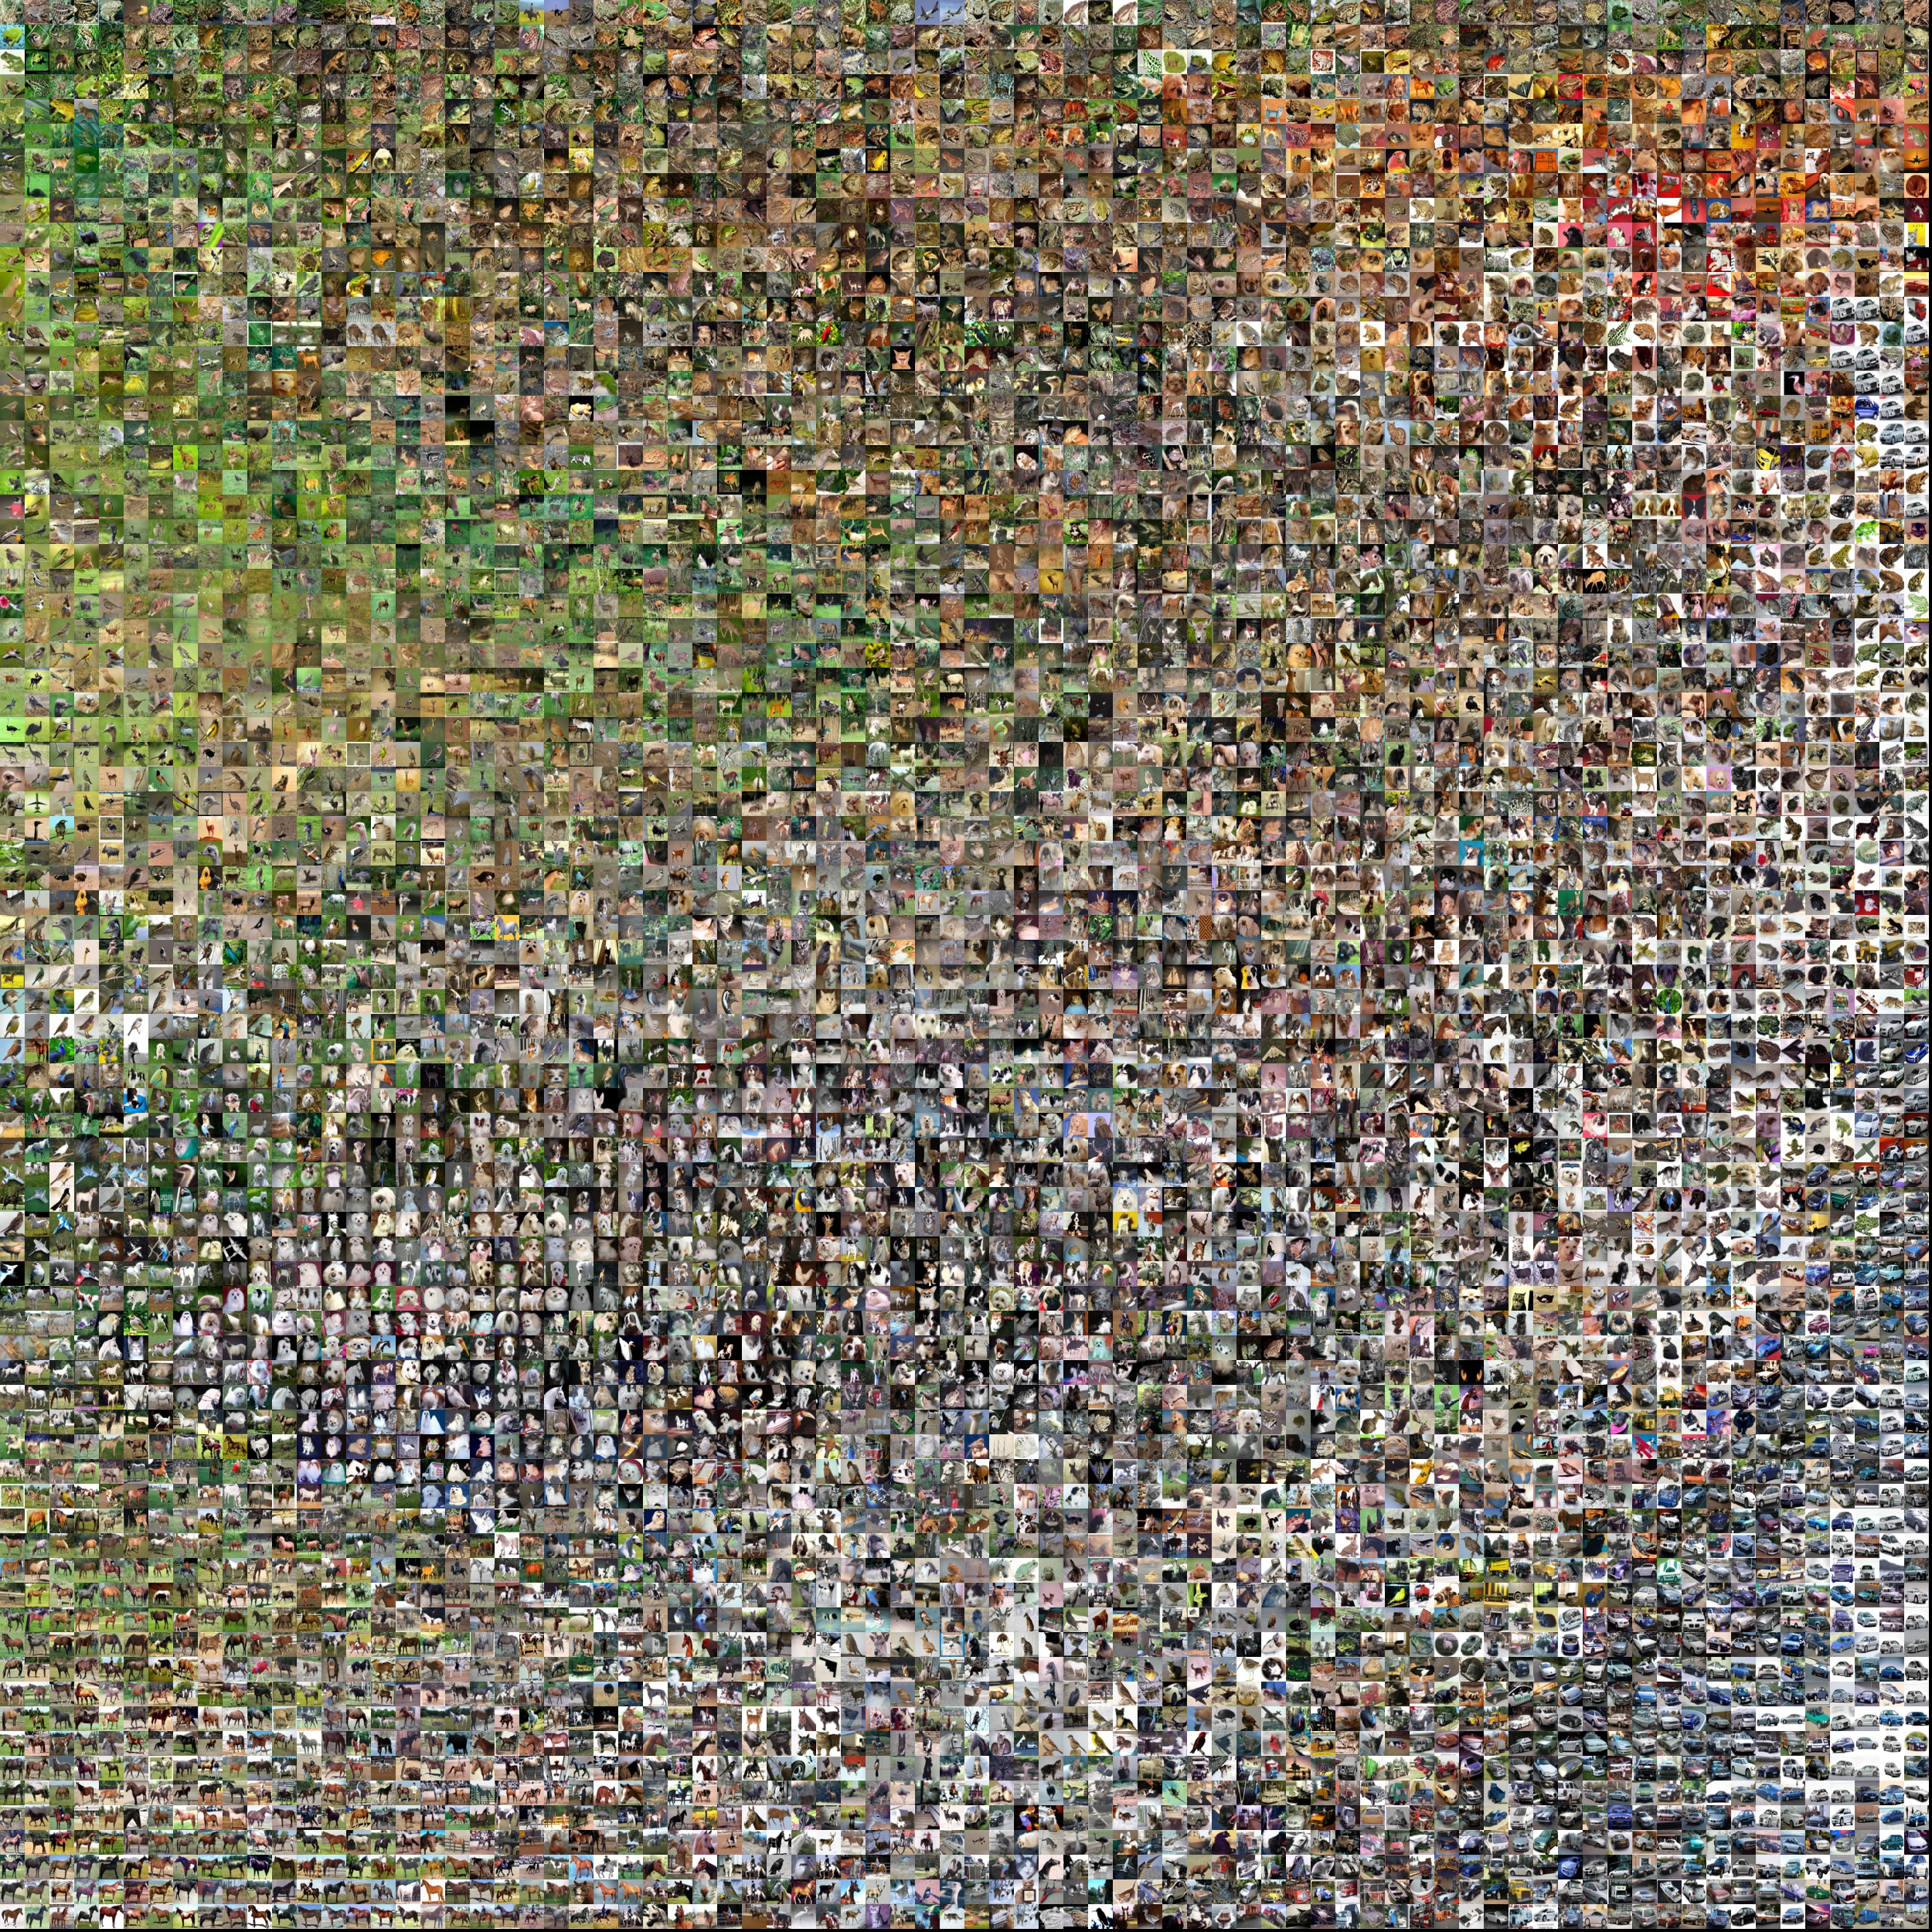
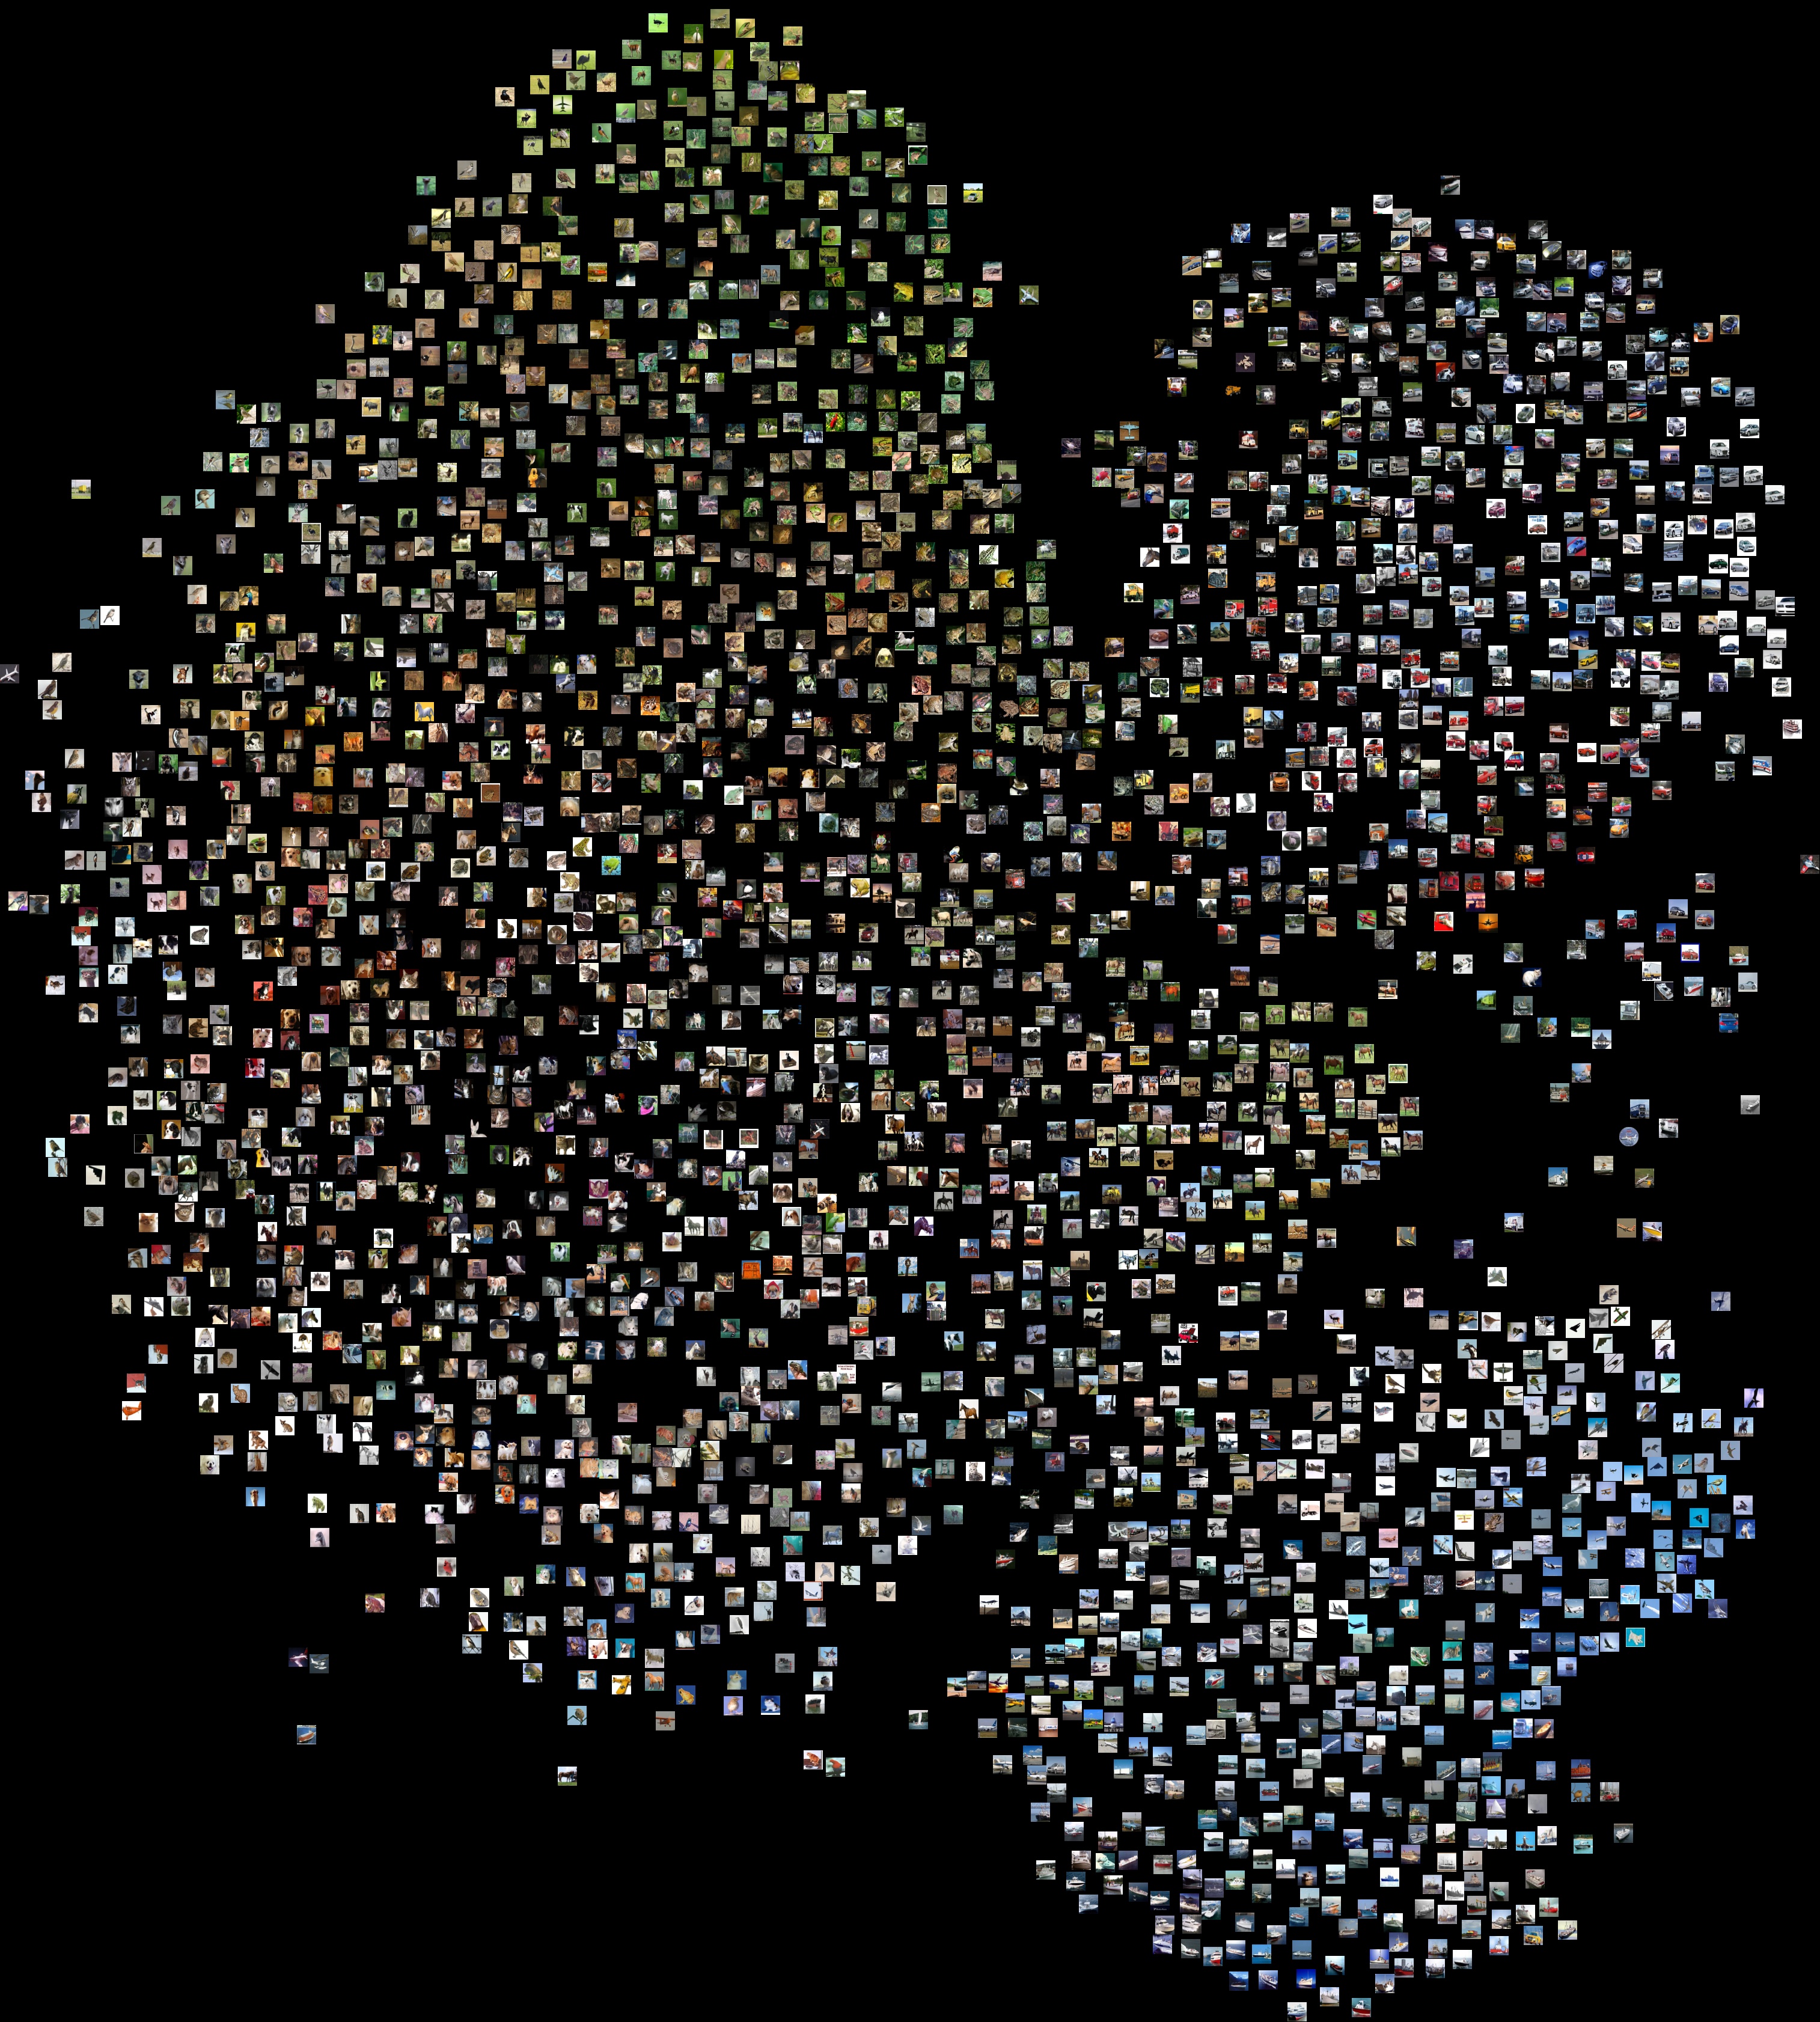
cifar10 grid image example
cifar10 scatter image example
Installation
- via pip
install Embeddings2Image- Download / Clone
setup.py installinstall -r requirements.txtUsage
if installed via PyPI
from e2i import EmbeddingsProjector

image = EmbeddingsProjector()
image.path2data = 'data.hdf5'
image.load_data()
image.calculate_projection()
image.create_image()
important! the module expects an hdf5 file with 2 datasets:
* urls - datasets which contain the path/url of each image * vectors - dataset which contains the corresponding vector for each image. make sure that they are both ordered alike * checkout this hdf5 exampleanother option is to load the data and urls explicitly:
* urls - create a np.asarray out of a url list and load to image.image_list * vectors - create a np.ndarray of the vectors and load to image.data_vectorsif cloned - you can use it from the cmd
root@yonti:~/github/Embeddings2|Image$ python cmd.py -h
usage: cmd.py [-h] -d PATH2DATA [-n OUTPUTNAME] [-t OUTPUTTYPE]
              [-s OUTPUTSIZE] [-i EACHIMGSIZE] [-c BGCOLOR] [--no-shuffle]
              [--no-sklearn] [--no-svd] [-b BATCH_SIZE]
Creating 2d images out of the embeddings ot the images
optional arguments:   -h, --help            show this help message and exit   -d PATH2DATA, --path2data PATH2DATA                         Path to the hdf5 file      -n OUTPUTNAME, --outputname OUTPUT_NAME                         output image name. Default is tsne_scatter/grid.jpg   -t OUTPUTTYPE, --outputtype OUTPUT_TYPE                         the type of the output images (scatter/grid)   -s OUTPUTSIZE, --outputsize OUTPUT_SIZE                         output image size (default=2500)   -i EACHIMGSIZE, --imgsize EACHIMG_SIZE                         each image size (default=50)   -c BGCOLOR, --background BGCOLOR                         choose output background color (black/white)   --no-shuffle          use this flag if you don't want to shuffle   --method              chose which method to use for projection.                         umap(default) / sklearn - for sklearn's tsne / matten                         - for his implementation of tsne   --no-svd              it is better to reduce the dimension of long dense                         vectors to a size of 50 or smallerbefore computing the                         tsne.use this flag if you don't want to do so   -b BATCHSIZE, --batchsize BATCH_SIZE                         for speed/memory size errors consider using just a                         portion of your data (default=all)
root@yonti:~/github/visualize-tsne$ python cmd.py -d /home/data/data.hdf5 -i 50 -s 4000 -n test
full usage options
# the folowing have both getter and setter
image.path2doc # getter
image.path2doc = '/home/data/data.hdf5' # setter -> expects string and correct path to an hdf5 file
image.outputimgname  #  getter image.outputimgname = 'be_creative'  # expects string. default is 'tsne'                                        # don't add the file type - jpg is set automatically                                        # also the image type(scatter/grid) is added automatically image.outputimgtype  #  getter image.outputimgtype = 'grid' # expects string. default is 'scatter'. set grid to this way.
image.outputimgsize  #  getter image.outputimgsize =  2500  # expects int. default is 2500.                                 # all images are squared so it means 2500x2500 img.                                # also the image type(scatter/grid) is added automatically
image.eachimgsize    #  getter image.eachimgsize =  50      # expects int. default is 50.                                 # the output looks better when constructed with squared images                                # but can also handle rects                                 image.image_list       #  getter image.imagelist = imglist    # expects numpy array of strings.                                 # this is filled up automatically when load_data is called.                                # set this explicitly only if you dont load your data from                                 # an hdf5 file
image.data_vectors      #  getter image.data_vectors = data       # expects numpy ndarray of dense vectors.                                 # this is filled up automatically when load_data is called.                                # set this explicitly only if you dont load your data from                                 # an hdf5 file
image.batch_size       #  getter image.batch_size =  5000       # expects int. default is 0 which means that all images are taken                                # use this when you have memory issues.                                 # it will shuffle your data and take only a subset in order to                                 # compute the tsne.
image.method       #  getter image.method =  'maaten'       # expects string. default is 'umap'.                                # it is both effiecient in time and ,to my naked eye, seperates the clusters better.                                 # the other options are 'sklearn' and 'maaten'                                # this sets the tsne method to sklearn.tsne vs python version                                # of Maaten's tsne.                                # i guess they both do the same but didn't fully check it                                 # so i left it as an option
image.background_color         #  getter image.background_color =  'white'  # expects string. default is 'black'. the other option is 'white'                                          image.tsne_vectors      #  getter image.tsne_vectors = data       # expects numpy ndarray of dense 2d vectors.                                 # this is filled up automatically when                                 # image.calaculate_tsne is called.                                # set this explicitly only if you have already the tsne vectors
the followings are methods
image.load_data()  #  opens the file which path2file point to
                   #  fills image.datavectors and image.imagelist

image.calculate_tsne()  #  straight forward
image.create_image()  #  straight forward


