
👻 A simple & beautiful GUI application for scrcpy.

✨ A simple & beautiful GUI application for scrcpy







💡Introduction
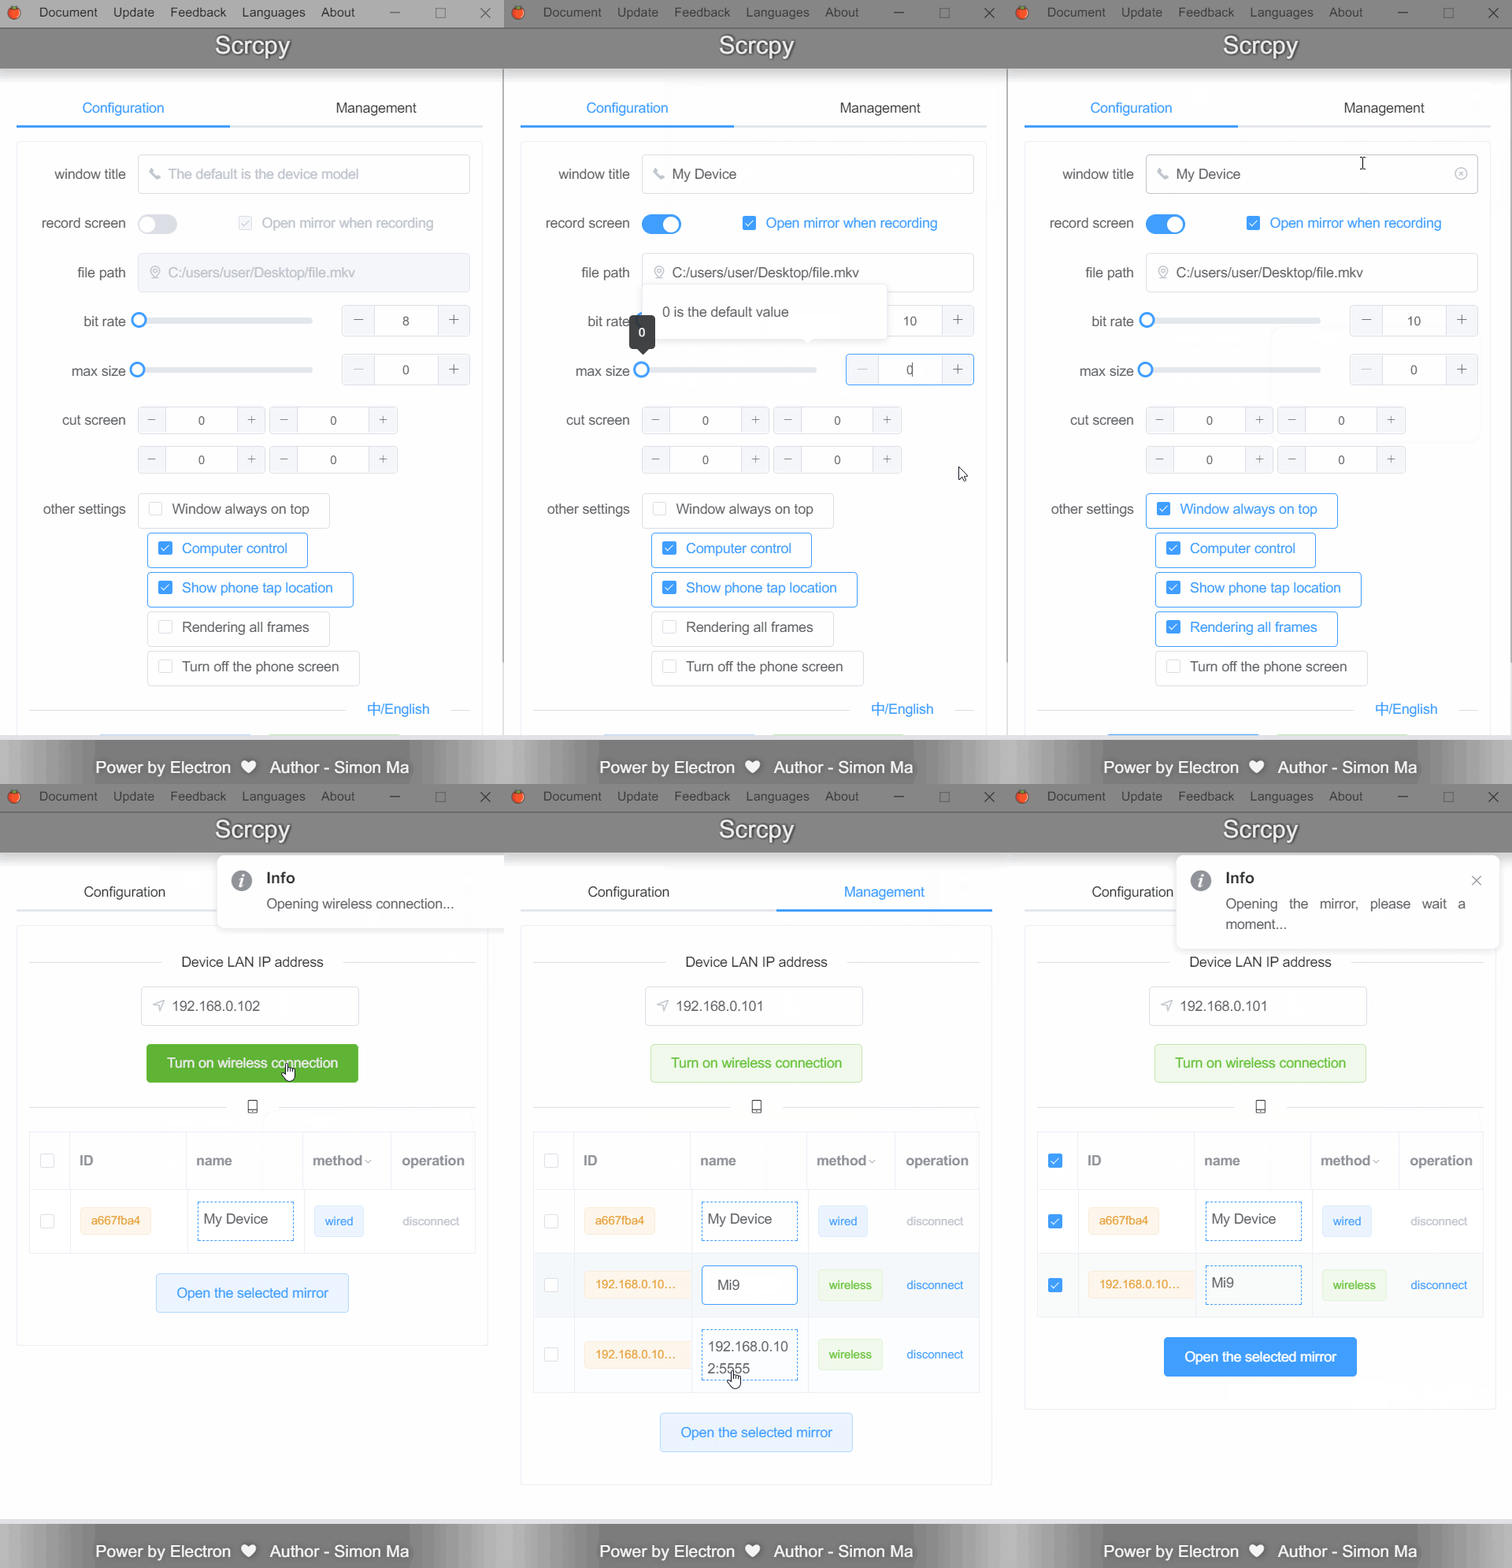
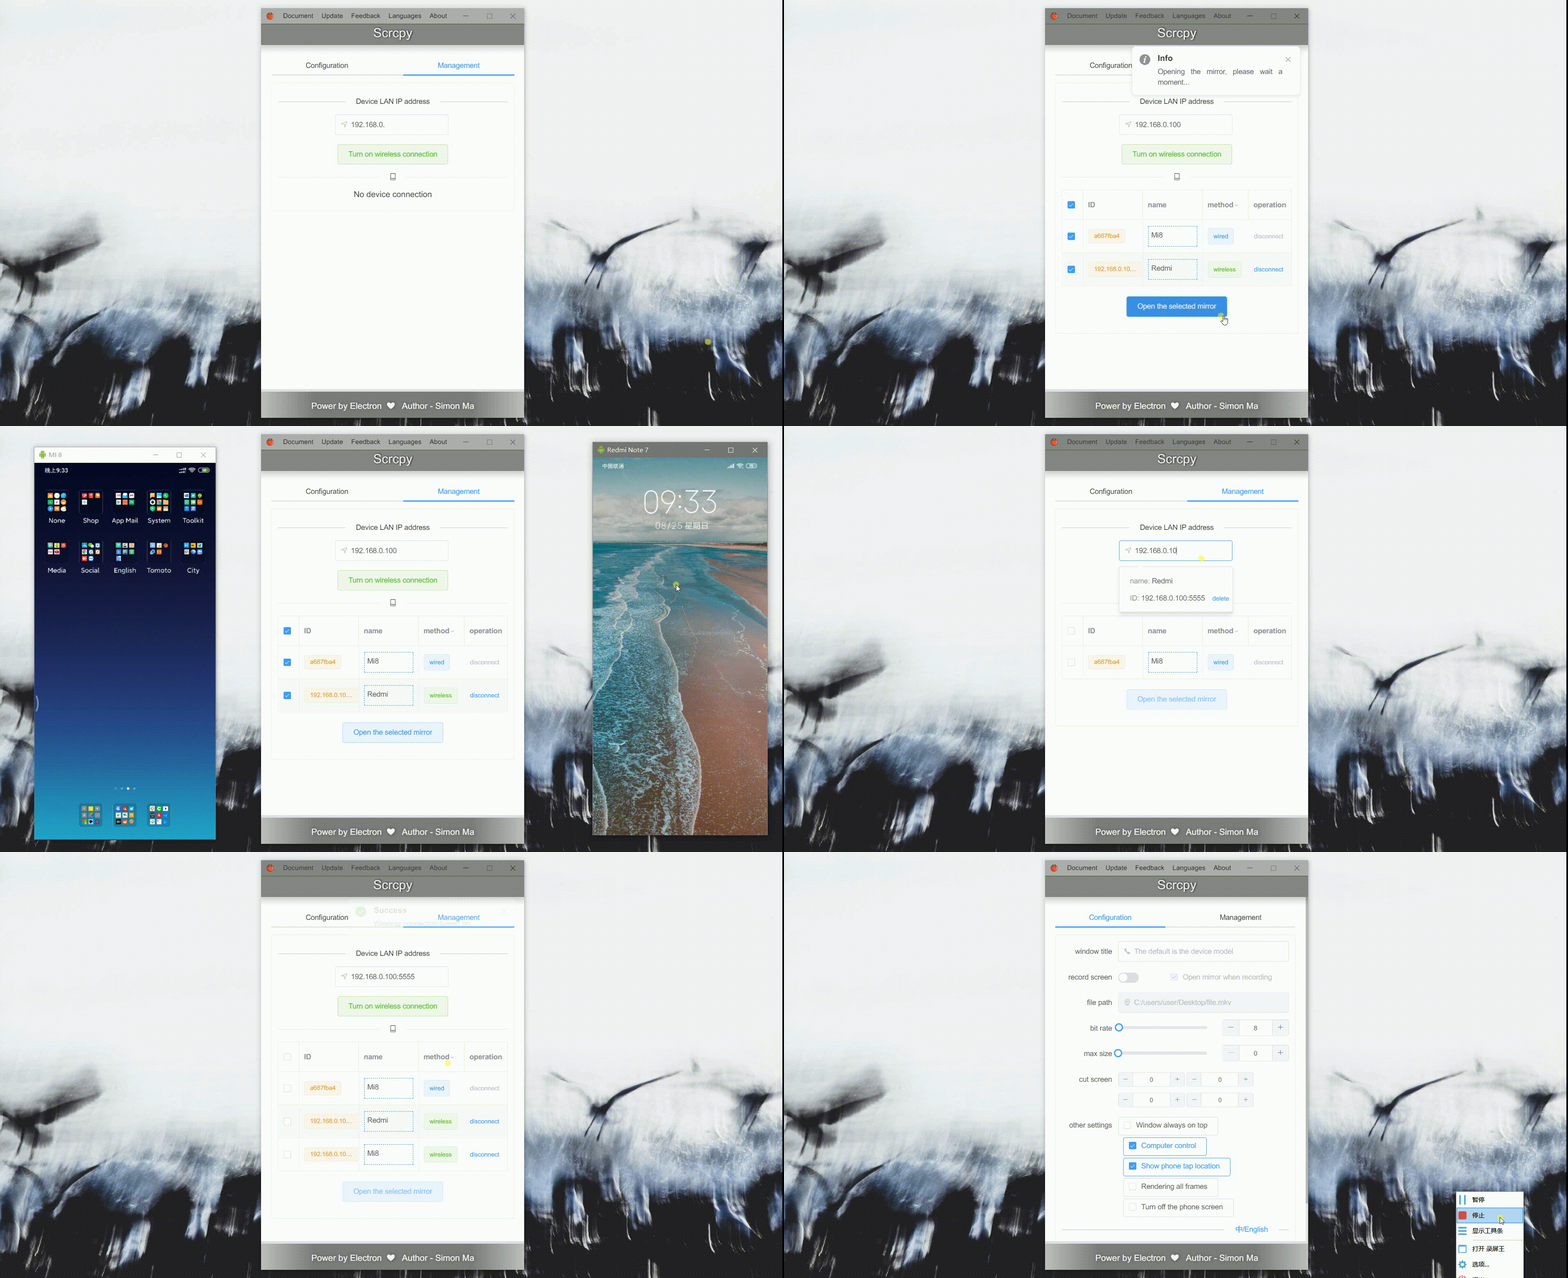
Scrcpy was created by the team behind the popular Android emulator Genymotion, but it is not an Android emulator itself, it displays and controls Android devices connected via USB or TCP/IP, it does not require any root access. It works with GNU/Linux, Windows, and MacOS.
Scrcpy works by running a server on your Android device, and the desktop application communicates using USB (or using ADB tunneling wireless). The server streams the H.264 video of the device screen. The client decodes the video frames and displays them. The client captures input (keyboard and mouse) events, sends them to the server, and the server injects them into the device. The documentation provides more details.
If you want to see your Android screen interact with the app or content on your desktop, record your phone screen or perform other basic tasks, then Scrcpy is a good choice.
In short, Scrcpy is an excellent way to easily view your Android screen on your computer and interact with it in real time.
✨Features
- lightness (native, displays only the device screen)
- performance (30~60fps)
- quality (1920×1080 or above)
- low latency (35~70ms)
- low startup time (~1 second to display the first image)
- non-intrusiveness (nothing is left installed on the device)
- No need for ROOT
- Wired and wireless can be connected
- You can adjust the interface and bit rate
- Pictures can be cut at will, with a screen recording
- Support multiple devices to screen at the same time
- Control your phone with your computer's keyboard and mouse
- Mobile computer sharing clipboard
- Automatically detect USB connected apps
- Can directly add the LAN IP of the device to achieve the effect of wireless control
- Automatically save the connected IP address, automatically reminder the next time you enter
- Support device alias
- Support for Chinese and English
- Tray menu
- etc...
🌞Requirements
- The Android device requires at least API 21 (Android 5.0).
- Make sure you enabled adb debugging on your device(s).
- Install scrcpy and configure environment variables
On Linux, you typically need to build the app manually. Don't worry, it's not that hard.
A Snap) package is available: scrcpy.
For Arch Linux, an AUR package is available: scrcpy.
For Gentoo, an Ebuild is available: scrcpy/.
- Windows
For Windows, for simplicity, prebuilt archives with all the dependencies (including adb) are available:
- scrcpy-win32-v1.10.zip (SHA-256: f98b400b3764404b33b212e9762dd6f1593ddb766c1480fc2609c94768e4a8e1) - scrcpy-win64-v1.10.zip (SHA-256: 95de34575d873c7e95dfcfb5e74d0f6af4f70b2a5bc6fde0f48d1a05480e3a44)
You can also build the app manually.
- macOS
The application is available in Homebrew. Just install it:
brew install scrcpyYou need adb, accessible from your PATH. If you don't have it yet:
brew cask install android-platform-toolsYou can also build the app manually.
🎉Install
Click here to download App.
🎇Instructions
connection method
Prerequisites
- Make sure adb , scrcpy are working properly
- Make sure the phone is turned on for USB debugging and certified for computer debugging
Wired connection
- Make sure the phone is connected to the computer via the data cable
- Wait for the software to automatically detect the device
- Select the device and click
Open Selected Mirror. - Wait for the device to open
Wireless connections
- Please make sure the phone is on the same LAN as the computer.
- When connecting for the first time:
- Enter the LAN IP address of the phone (if the IP is DHCP assigned, please change to static IP)
- Click
Open wireless connection - Waiting for the wireless connection to succeed
- Select the device and click
Open Selected Mirror. - Wait for the device to open
Shortcuts
| Action | Shortcut | Shortcut (macOS) | | --------------------------------------- | ----------------------------- | ---------------------------- | | Switch fullscreen mode | Ctrl+f | Cmd+f | | Resize window to 1:1 (pixel-perfect) | Ctrl+g | Cmd+g | | Resize window to remove black borders | Ctrl+x \| Double-click¹ | Cmd+x \| Double-click¹ | | Click on HOME | Ctrl+h \| Middle-click | Ctrl+h \| Middle-click | | Click on BACK | Ctrl+b \| Right-click² | Cmd+b \| Right-click² | | Click on APP_SWITCH | Ctrl+s | Cmd+s | | Click on MENU | Ctrl+m | Ctrl+m | | Click on VOLUME_UP | Ctrl+↑ (up) | Cmd+↑ (up) | | Click on VOLUME_DOWN | Ctrl+↓ (down) | Cmd+↓ (down) | | Click on POWER | Ctrl+p | Cmd+p | | Power on | Right-click² | Right-click² | | Turn device screen off (keep mirroring) | Ctrl+o | Cmd+o | | Expand notification panel | Ctrl+n | Cmd+n | | Collapse notification panel | Ctrl+Shift+n | Cmd+Shift+n | | Copy device clipboard to computer | Ctrl+c | Cmd+c | | Paste computer clipboard to device | Ctrl+v | Cmd+v | | Copy computer clipboard to device | Ctrl+Shift+v | Cmd+Shift+v | | Enable/disable FPS counter (on stdout) | Ctrl+i | Cmd+i |
¹Double-click on black borders to remove them. ²Right-click turns the screen on if it was off, presses BACK otherwise.
🎯Develop
This project was generated with electron-vue@8fae476 using vue-cli. Documentation about the original structure can be found here.
Feel free to open issues or PRs for any problem you may encounter, typos that you see or aspects that are confusing. Contributions are welcome, open an issue or email me if you have something you want to work on.
bash
install dependencies
npm install
serve with hot reload at localhost:9080
npm run dev
build electron application for production
npm run build
lint all JS/Vue component files in src/
npm run lint


