
Simple material-style flyout menus for Android. There are many flyout type menus for Android, but this one is mine.
FlyoutMenus
Simple material-style flyout menus for Android. There are many flyout type menus for Android, but this one is mine.compile 'org.zakariya.flyoutmenus:flyoutmenu:0.5.3'- minSdkVersion: 14
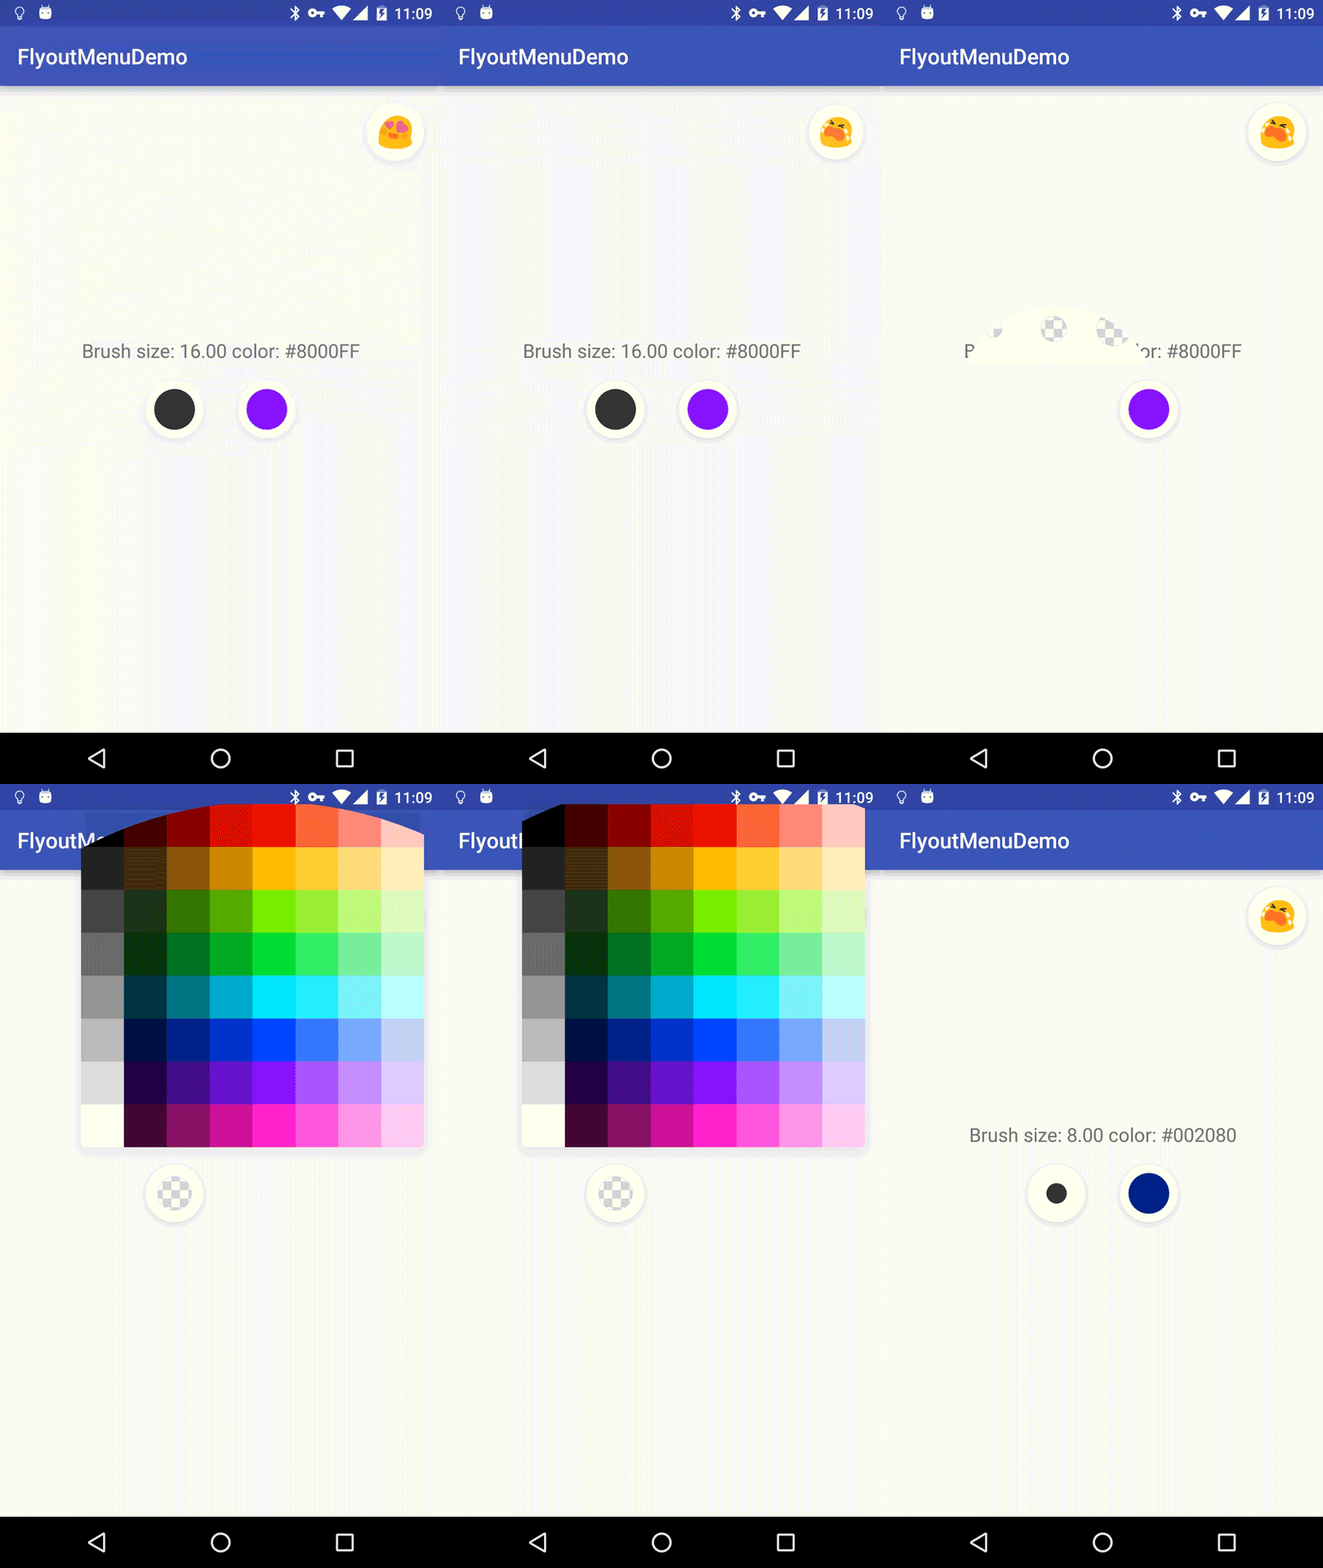
XML
<org.zakariya.flyoutmenu.FlyoutMenuView
	android:id="@+id/myMenu"
	android:layoutwidth="wrapcontent"
	android:layoutheight="wrapcontent"
	android:layoutmarginBottom="@dimen/flyoutmenubuttonmargin"
	android:layoutmarginLeft="@dimen/flyoutmenubuttonmargin"
	android:layoutmarginRight="@dimen/flyoutmenubuttonmargin"
	android:layoutmarginTop="@dimen/flyoutmenubuttonmargin"
	app:fmButt
	app:fmItemHeight="@dimen/palettemenuitem_size"
	app:fmItemMargin="0dp"
	app:fmItemWidth="@dimen/palettemenuitem_size"
	app:fmMenuAnchor="top"
	/>
FlyoutMenuView attributes (all have fm prefix) are:
// the size of the button
<attr name="fmButtonSize" format="dimension"/>
// the background color of the trigger button <attr name="fmButtonBackgroundColor" format="color"/>
// the background color of the menu <attr name="fmMenuBackgroundColor" format="color"/>
// the color drawn behind the selected menu item <attr name="fmSelectedItemBackgroundColor" format="color"/>
// width of items in the menu <attr name="fmItemWidth" format="dimension"/>
// height of items in the menu <attr name="fmItemHeight" format="dimension"/>
// margin around items in the menu <attr name="fmItemMargin" format="dimension"/>
// menu anchoring position (see below) <attr name="fmMenuAnchor" format="string"/>
// margin around the menu - menu will be positioned this far away from the button, but  // will also use this to respect screen edges <attr name="fmMenuMargin" format="dimension"/>
// if provided, the trigger button will use this as a drawable <attr name="fmButtonSrc" format="reference"/>
// elevation for the trigger button. if 0, no shadow is drawn <attr name="fmButtonElevation" format="dimension"/>
// elevation for the menu. if 0, no shadow is drawn <attr name="fmMenuElevation" format="dimension"/>
// if true, a shield (like for dialogs) is drawn behind the menu <attr name="fmShieldVisible" format="boolean"/>
// color of shield drawn behind menu, if shieldVisible == true <attr name="fmShieldColor" format="color"/>
// if true, menu operates in "tap to open", "tap to select and dismiss" mode <attr name="fmDialogMode" format="boolean"/>
The fmMenuAnchor attribute takes the following values:
top: menu attached above the buttonright|end: menu attached to right of buttonbottom: menu attached beneath buttonleft|start: menu attached to left of buttoncenter: menu centered on top of button
Java
To use a FlyoutMenuView, you must provide a FlyoutMenuView.Adapter (which provides FlyoutMenuView.MenuItem instances) and a FlyoutMenuView.Layout which describes how to position the items in the menu.
You must also provide a subclass of FlyoutMenuView.MenuItem to render your items. You may also subclass FlyoutMenuView.ButtonRenderer to render your trigger button, if you don't want to assign a Drawable. Here's an example implementation of FlyoutMenuView.MenuItem and FlyoutmenuView.ButtonRenderer which draws a simple unicode character. I use it in the demo app to render emoji.
public class EmojiFlyoutMenu {
static String getEmojiByUnicode(int unicode){ 		return new String(Character.toChars(unicode)); 	}
public static class MenuItem extends FlyoutMenuView.MenuItem {
int emojiCode; 		String emojiString; 		TextPaint textPaint;
public MenuItem(int id, int emojiCode, float size, @ColorInt int color) { 			super(id); 			this.emojiCode = emojiCode; 			this.emojiString = getEmojiByUnicode(emojiCode);
textPaint = new TextPaint(); 			textPaint.setTextSize(size); 			textPaint.setTextAlign(Paint.Align.CENTER); 			textPaint.setStyle(Paint.Style.FILL); 			textPaint.setColor(color); 		}
public int getEmojiCode() { 			return emojiCode; 		}
@Override 		public void onDraw(Canvas canvas, RectF bounds, float degreeSelected) { 			canvas.drawText(emojiString, bounds.centerX(), bounds.centerY() - ((textPaint.descent() + textPaint.ascent()) / 2), textPaint); 		} 	}
public static class ButtonRenderer extends FlyoutMenuView.ButtonRenderer {
int emojiCode; 		String emojiString; 		Paint paint; 		TextPaint textPaint;
public ButtonRenderer(int emojiCode, float size, @ColorInt int color) { 			super();
this.setEmojiCode(emojiCode);
paint = new Paint(); 			paint.setAntiAlias(true);
textPaint = new TextPaint(); 			textPaint.setTextSize(size); 			textPaint.setTextAlign(Paint.Align.CENTER); 			textPaint.setStyle(Paint.Style.FILL); 			textPaint.setColor(color); 		}
public int getEmojiCode() { 			return emojiCode; 		}
public void setEmojiCode(int emojiCode) { 			this.emojiCode = emojiCode; 			this.emojiString = getEmojiByUnicode(this.emojiCode); 		}
@Override 		public void onDrawButtonContent(Canvas canvas, RectF buttonBounds, @ColorInt int buttonColor, float alpha) { 			textPaint.setAlpha((int) (alpha * 255f)); 			canvas.drawText(emojiString, buttonBounds.centerX(), buttonBounds.centerY() - ((textPaint.descent() + textPaint.ascent()) / 2), textPaint); 		} 	} }
To use the above:
FlyoutMenuView smileyFlyoutMenu = findViewById(R.id.smileyFlyoutMenu);
int[] emojiCodes = { 		0x1F60D, //smiling face heart shaped eyes 		0x1F605, // smiling face with open mouth and cold sweat 		0x1F60A, // smiling face 		0x1F613, // face with cold sweat 		0x1F61E, // disappointed face 		0x1F620, // angry face 		0x1F62D, // loudly crying face 		0x1F4A9, // pile of poo };
@ColorInt int color = ContextCompat.getColor(this, R.color.smileyMenuCharColor); float fontSizeInMenu = getResources().getDimension(R.dimen.smileymenuitem_size) * 0.5f; float fontSizeInButton = getResources().getDimension(R.dimen.flyoutmenubutton_size) * 0.5f;
// build a List<> of EmojiFlyoutMenu.MenuItem List<EmojiFlyoutMenu.MenuItem> menuItems = new ArrayList<>(); for (int code : emojiCodes) { 	menuItems.add(new EmojiFlyoutMenu.MenuItem(menuItems.size(), code, fontSizeInMenu, color)); }
// assign a GridLayout with 2 columns and unspecified rows (allows menu to grow vertically) smileyFlyoutMenu.setLayout(new FlyoutMenuView.GridLayout(2, FlyoutMenuView.GridLayout.UNSPECIFIED));
// assign the menuItems via an ArrayAdapter smileyFlyoutMenu.setAdapter(new FlyoutMenuView.ArrayAdapter<>(menuItems));
// create and assign the button renderer. we'll change the button renderer's emoji in the callback below final EmojiFlyoutMenu.ButtonRenderer renderer = new EmojiFlyoutMenu.ButtonRenderer(emojiCodes[0], fontSizeInButton, color); smileyFlyoutMenu.setButtonRenderer(renderer);
smileyFlyoutMenu.setSelectionListener(new FlyoutMenuView.SelectionListener() { 	@Override 	public void onItemSelected(FlyoutMenuView flyoutMenuView, FlyoutMenuView.MenuItem item) { 	 		// user has selected an item. update the button renderer's emoji to match 		renderer.setEmojiCode(((EmojiFlyoutMenu.MenuItem) item).getEmojiCode()); 	}
@Override 	public void onDismissWithoutSelection(FlyoutMenuView flyoutMenuView) { 	} });


