
Beer App demo on DC/OS + Kubernetes + Helm + Cloudflare Warp
The DC/OS + Kubernetes + Helm + Cloudflare Warp - cool beer demo
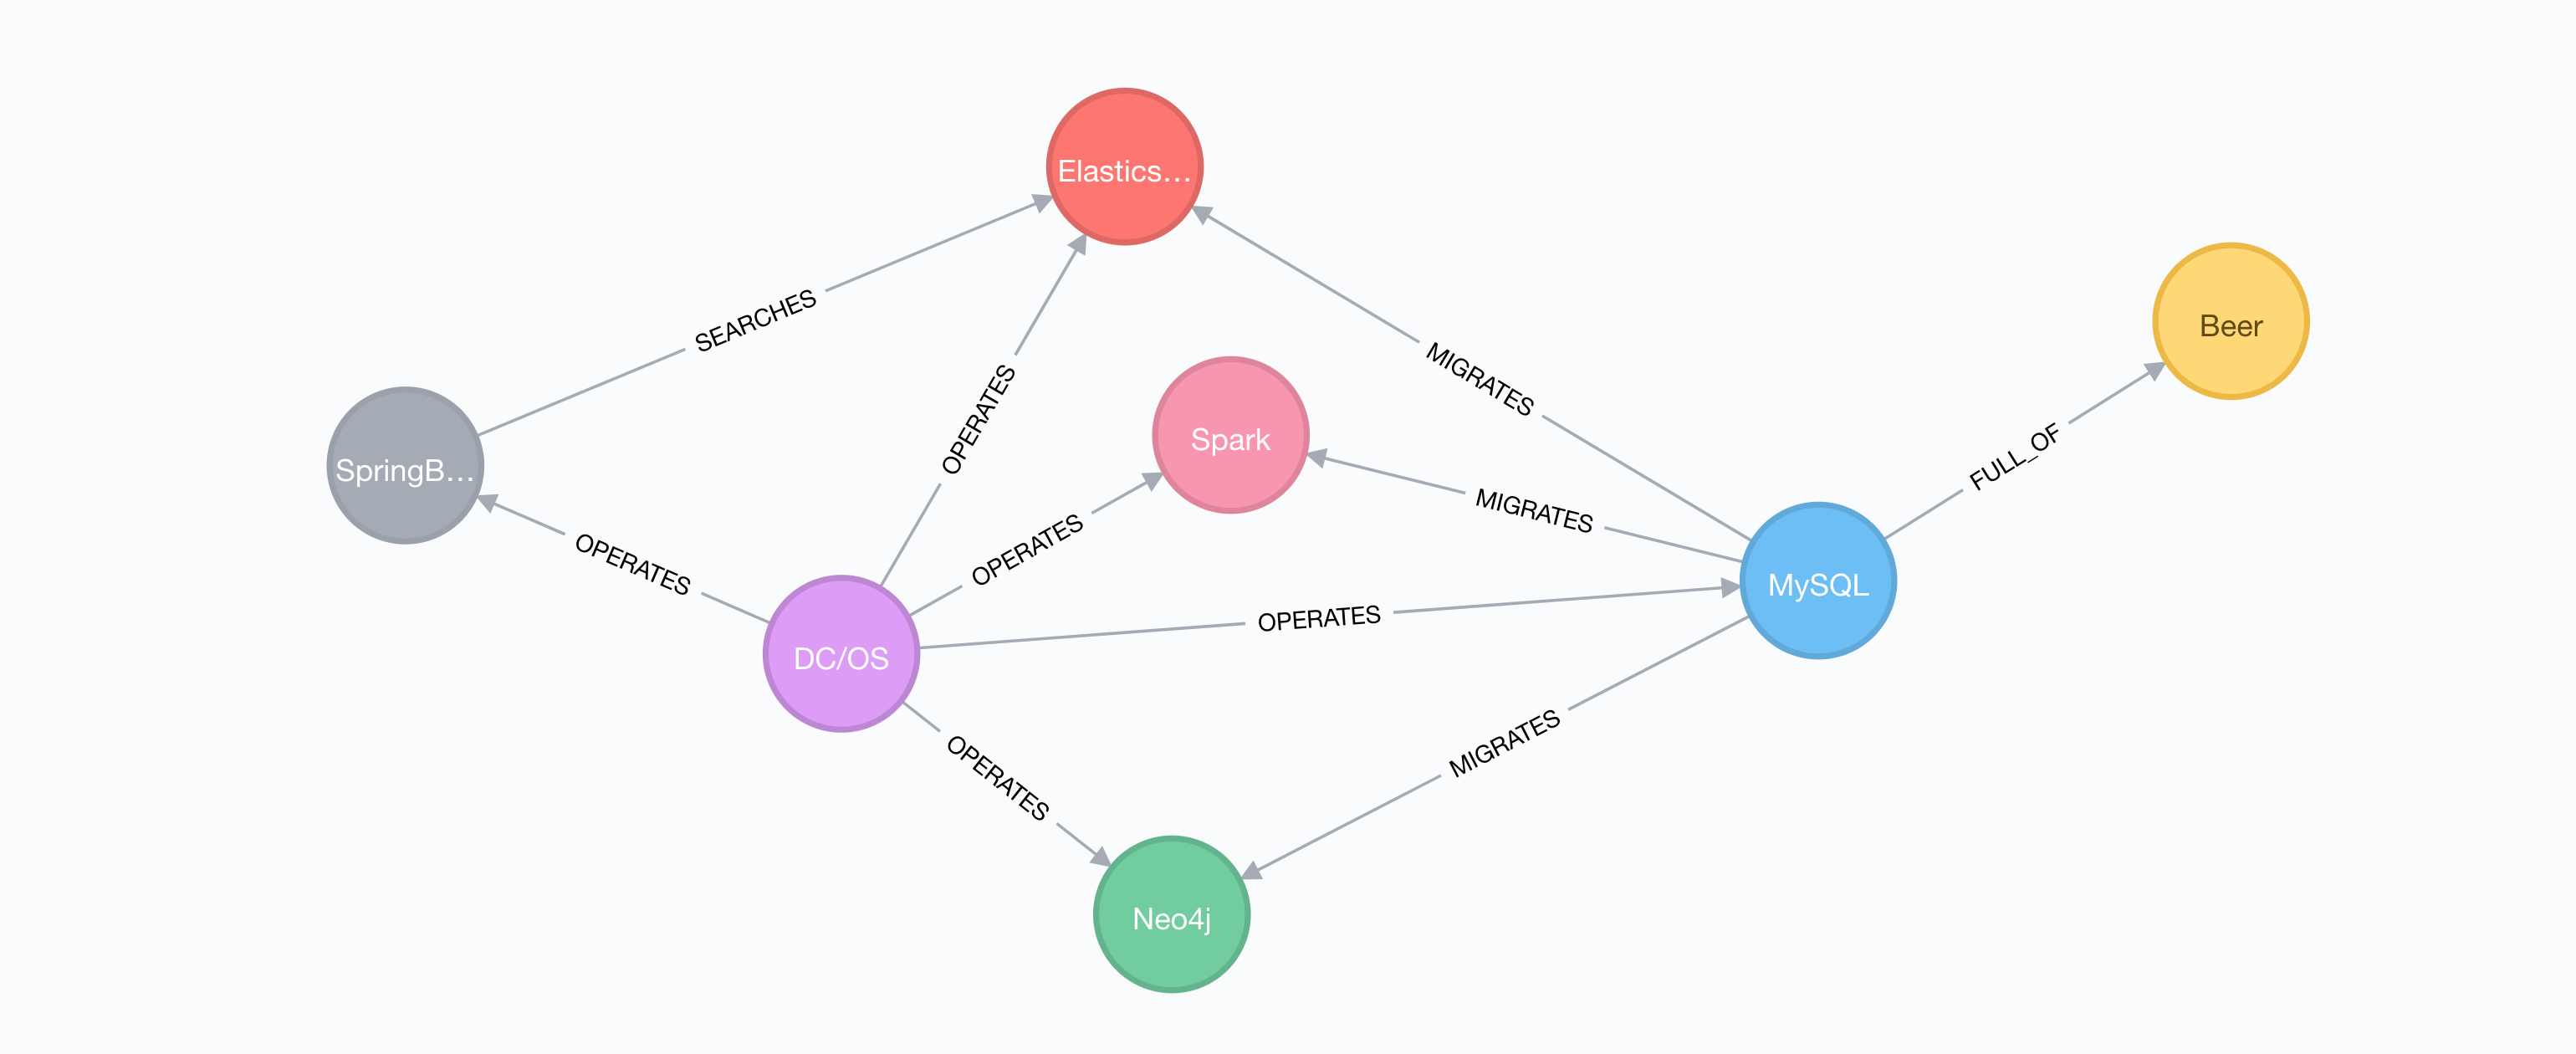
Are you wondering how Java, Spring Boot, MySQL, Neo4j, Apache Zeppelin, Apache Spark, Elasticsearch, Apache Mesos, DC/OS, Kubernetes and Helm can all fit in one demo? Well, we'll show you! This is a cool demo, so grab your favourite beer and enjoy. 🍺
Note: It is based on dcos-beer-demo, but beer-service is running on Kubernetes and is exposed to Internet with Cloudflare Warp.
So that means all the backend is running on DC/OS and Internet facing services are running on Kubernetes.
DC/OS cluster with Kubernetes
Note: In order to deploy all parts of this demo successfully, I would recommend to spin up a cluster with at least 7 private DC/OS nodes, also you will need Kubernetes package to be installed.
If you do not have DC/OS cluster you can easily bootstrap it as per dcos-kubernetes-quickstart. By default dcos-kubernetes-quickstart install is set to 3 private DC/OS nodes, you need to set it to 7.
When you have DC/OS cluster ready, clone this repo:
git clone git@github.com:rimusz/dcos-k8s-beer-demo.git && dcos-k8s-beer-demoInstalling DC/OS CLI
The recommended method to install the DC/OS CLI is from the DC/OS web interface. Or, you can manually install the CLI by using the instructions below.
Installing the DC/OS CLI on Linux
Installing the DC/OS CLI on macOS
Connecting to DC/OS cluster
Connect to your DC/OS cluster:
dcos cluster setup <http://REPLACEWITHYOURMASTERIP>Check that cluster in the list:
dcos cluster list NAME CLUSTER ID VERSION URL blabla-vad0b3* 11-333-44-55 1.10.2 http://1.2.3.4Installing Kubernetes (if you have't done it already)
To install Kubernetes on DC/OS is easy as:
dcos package install --yes beta-kubernetesWait till it gets installed, you can check it's progress in DC/OS Dashboard/Services/kubernetes.
Installing kubectl
Use the Kubernetes command-line tool, kubectl, to deploy and manage applications on Kubernetes. Using kubectl, you can inspect cluster resources; create, delete, and update components; and look at your new cluster and bring up example apps.
Follow instructions here to download and install.
Connecting to Kubernetes API
In order to access the Kubernetes API from outside the DC/OS cluster, one needs SSH access to a node-agent. On a terminal window, run:
ssh -4 -N -L 9000:apiserver-insecure.kubernetes.l4lb.thisdcos.directory:9000 <REPLACEWITHYOURREMOTELINUXUSERNAME>@<http://REPLACEWITHYOURMASTER_IP>When the Kubernetes API task(s) are healthy, it should be accessible on http://localhost:9000.
We are now ready to install and configure kubectl, the Kubernetes CLI tool. For the sake of simplicity, we'll be covering the set-up alone:
kubectl config set-cluster dcos-k8s --server=http://localhost:9000 kubectl config set-context dcos-k8s --cluster=dcos-k8s --namespace=default kubectl config use-context dcos-k8sTest access by retrieving the Kubernetes cluster nodes:
$ kubectl get nodes NAME STATUS AGE VERSION kube-node-0-kubelet.kubernetes.mesos Ready 7m v1.7.10 kube-node-1-kubelet.kubernetes.mesos Ready 7m v1.7.10 kube-node-2-kubelet.kubernetes.mesos Ready 7m v1.7.10Helm setup
To deploy beer-service and Cloudflare Warp we will need Helm.
To download and install Helm cli run:
curl https://raw.githubusercontent.com/kubernetes/helm/master/scripts/get | bashThen we need to install Helm's server side Tiller:
helm initOnce Tiller is installed, running helm version should show you both the client and server version:
helm version Client: &version.Version{SemVer:"v2.7.2", GitCommit:"8478fb4fc723885b155c924d1c8c410b7a9444e6", GitTreeState:"clean"} Server: &version.Version{SemVer:"v2.7.2", GitCommit:"8478fb4fc723885b155c924d1c8c410b7a9444e6", GitTreeState:"clean"}Deploy Backend on DC/OS
Let's deploy Backend using the dcos cli:
dcos marathon group add marathon-apps/marathon-configuration.jsonWait till it gets installed, you can check it's progress in DC/OS Dashboard/Services/beer.
Deploy Frontend App and Cloudflare Warp on Kubernetes
Frontend App
To deploy Frontend App run (do not forget to replace there with your domain_name):
helm install --name beer --namespace beer charts/beer-service-web --set ingress.host=beer.mydomain.comCheck that pods are running:
kubectl -n beer get pods NAME READY STATUS RESTARTS AGE beer-beer-service-web-854fb8dc65-76bk4 2/2 Running 0 2m beer-beer-service-web-854fb8dc65-d8tm9 2/2 Running 0 2mCloudflare Warp
The Cloudflare Warp Ingress Controller makes connections between a Kubernetes service and the Cloudflare edge, exposing an application in your cluster to the internet at a hostname of your choice. A quick description of the details can be found at https://warp.cloudflare.com/quickstart/. Also you do not need to update your Cloudflare domain zone with DNS record in this case beer, Cloudflare Warp will make it work automatically.
Note: Before installing Cloudflare Warp you need to obtain Cloudflare credentials for your domain zone. The credentials are obtained by logging in to https://www.cloudflare.com/a/warp, selecting the zone where you will be publishing your services, and saving the file locally to dcos-k8s-beer-demo folder.
To deploy Cloudflare Warp Ingress Controller run:
helm install --name beer-ingress --namespace beer charts/cloudflare-warp-ingress --set cert=$(cat cloudflare-warp.pem | base64)Check that ingress controller pod is running:
kubectl -n beer get pods NAME READY STATUS RESTARTS AGE beer-beer-service-web-57f9bc955c-c9v4q 2/2 Running 0 3m beer-beer-service-web-57f9bc955c-k4mps 2/2 Running 0 3m beer-ingress-cloudflare-warp-ingress-775b5965fd-qd4rk 1/1 Running 0 16sTesting external access
Now you should be able to check beer at https://beer.mydomain.com/ And if you noticed Cloudflare Warp Ingress Controller creates https connection by default :-)


