
Manage your GnuPG keys with ease! 🔐








About
gpg-tui is a Terminal User Interface for GnuPG.
It aims to ease the key management operations such as listing/exporting/signing by providing an interface along with the command-line fallback for more complex operations. It is not trying to be a full-fledged interface for all the features that gpg provides but it tries to bring a more interactive approach to key management.
Demo

gpg-tui --style colored --splash --homedir /etc/pacman.d/gnupg
Table of Contents
Requirements
- Rust:
>=1.87.0 - Core dependencies:
gnupg,gpgme>=1.12.0,libgpg-error - Other dependencies:
libxcb
For installing these dependencies:
- on Arch Linux, run
pacman -S gpgme libx11 - on Debian/Ubuntu, run
apt-get install libgpgme-dev libx11-dev libxcb-shape0-dev libxcb-xfixes0-dev libxkbcommon-dev - on Fedora, run
dnf install gpgme-devel libX11-devel - on Void Linux, run
xbps-install -S gpgme-devel libxcb-devel libgpg-error-devel gnupg
Installation
Packaging status

Cargo
gpg-tui is available on crates.io:
cargo install gpg-tuiArch Linux
Community
gpg-tui can be installed from the extra repository using Pacman:
pacman -S gpg-tuiAUR
gpg-tui is also available on AUR and it can be installed with an AUR helper:
paru -S gpg-tui-gitOr if you prefer, you can clone the AUR packages and compile them with makepkg:
# clone the AUR repository
git clone https://aur.archlinux.org/gpg-tui-git.git && cd gpg-tui-git/
build the package
makepkg -si
Alpine Linux
gpg-tui is available for Alpine Edge. It can be installed via apk after enabling the community repository.
apk add gpg-tuiGentoo
Available in dm9pZCAq overlay
eselect repository enable dm9pZCAq
emerge --sync dm9pZCAq
emerge app-crypt/gpg-tui::dm9pZCAq
Homebrew
To install the Homebrew package, run:
brew install gpg-tuiTo update, run:
brew upgrade gpg-tuiDocker
Docker Hub
See available tags.
docker pull orhunp/gpg-tui:[tag]You can also use the following command for a quick launch:
docker run --rm -it -v "$HOME/.gnupg":/app/.gnupg --user 1000:1000 orhunp/gpg-tui --homedir /app/.gnupgUsing the Dockerfile
# clone the repository
git clone https://github.com/orhun/gpg-tui.git && cd gpg-tui/
build the image
docker build -t gpg-tui .
run the container
docker run -it gpg-tui
FreeBSD
All required dependencies are automatically fetched and installed independently of the installation method chosen.
Building from source
# using a port
cd /usr/ports/security/gpg-tui
make install
# alternative method using portmaster
portmaster security/gpg-tuiBinary releases
# update repository catalogue (if outdated)
pkg update
fetch and install the package
pkg install gpg-tui
NetBSD
gpg-tui is available from the main pkgsrc branch.
Install using the package manager
pkgin install gpg-tuiBuilding from source
cd /usr/pkgsrc/security/gpg-tui
make install
Manually
Building from source
# clone the repository
git clone https://github.com/orhun/gpg-tui.git && cd gpg-tui/
build and install
cargo install --root "$HOME/.cargo" --path .
Binary releases
See available releases that are automated by Continuous Deployment workflow.
Usage
gpg-tui [OPTIONS]Options:
-a, --armor Enables ASCII armored output
--splash Shows the splash screen on startup
--config <path> Sets the configuration file [env: GPGTUICONFIG=]
--homedir <dir> Sets the GnuPG home directory [env: GNUPGHOME=]
-o, --outdir <dir> Sets the output directory [env: OUTDIR=]
--outfile <path> Sets the template for the output file name [env: OUTFILE=] [default: {type}_{query}.{ext}]
-d, --default-key <key> Sets the default key to sign with [env: DEFAULT_KEY=]
-t, --tick-rate <ms> Sets the tick rate of the terminal [env: TICK_RATE=] [default: 250]
-c, --color <color> Sets the accent color of the terminal [env: COLOR=] [default: gray]
-s, --style <style> Sets the style of the terminal [env: STYLE=] [default: colored] [possible values: plain, colored]
-f, --file-explorer <app> Sets the utility for file selection [env: FILE_EXPLORER=] [default: xplr]
--detail-level <level> Sets the detail level for the keys [env: DETAIL_LEVEL=] [default: minimum] [possible values: minimum, standard, full]
--log-file <path> Sets the file to save the logs [env: LOG_FILE=]
--select <option> Enables the selection mode [env: SELECT=] [possible values: row1, row2, key, key-id, key-fingerprint, user-id]
-h, --help Print help (see more with '--help')
-V, --version Print versionConfiguration
It is possible to override the command line arguments with a configuration file.
See gpg-tui.toml for the default configuration values.
The configuration file can be specified via --config argument or GPGTUICONFIG environment variable. Also, it can be placed to a location where gpg-tui looks for:
<config_dir>/gpg-tui.toml<config_dir>/gpg-tui/gpg-tui.toml<config_dir>/gpg-tui/config
<config_dir> depends on the platform as shown in the following table:
| Platform | Value | Example | | -------- | ------------------------------------- | ---------------------------------------- | | Linux | $XDGCONFIGHOME or $HOME/.config | /home/alice/.config | | macOS | $HOME/Library/Application Support | /Users/Alice/Library/Application Support | | Windows | {FOLDERID_RoamingAppData} | C:\Users\Alice\AppData\Roaming |
Key Bindings
User Interface
| Key Binding | Action | | -------------------- | ---------------------------- | | ? | show help | | o,space,enter | show options | | hjkl,arrows,pgkeys | navigate | | n | switch to normal mode | | v | switch to visual mode | | c | switch to copy mode | | p,C-v | paste from clipboard | | a | toggle armored output | | 1,2,3 | set detail level | | t,tab | toggle detail (all/selected) | | ` ` | toggle table margin | | m | toggle table size | | C-s | toggle style | | / | search | | : | run command | | C-l,f2 | show logs | | r,f5 | refresh application | | q,C-c/d,escape | quit application |
Key Management
| Key Binding | Action | | ------------- | ------------- | | x | export key | | s | sign key | | e | edit key | | i | import key(s) | | f | receive key | | u | send key | | g | generate key | | d,backspace | delete key | | C-r | refresh keys |
Customization
Key bindings can be overridden/customized via using general.key_bindings setting in the configuration file. For example,
<pre><code class="lang-toml">key_bindings = [ { keys = [ "?", "h", "f1" ], command = ":help" }, { keys = [ "C-s", "s" ], command = ":style colored" }, { keys = [ "C-d", "C-c", "q" ], command = ":quit" }, ]</code></pre>
keys array contains the keycodes which is either a single key (e.g. a), a key combination (e.g. Control-C: C-c, Alt-C: A-c), or a special key (e.g. Backspace, Enter). Available key codes can be found in the crossterm documentation.
Also, see the list of commands.
Approach
Available keys in the keyring (which can be specified via --homedir argument) are showed on a table. This table consists of 2 columns which are key information and user information.
The level of detail that an individual table row shows is determined by detail levels.
Detail Levels
- Minimum: shows only the primary key and user ID.
- Standard: shows all the subkeys and user IDs.
- Full: shows signatures and notations.
Detail level can be set using --detail-level argument or detail_level entry in the configuration file.
Key Information
An example table entry for the detail level full (which includes subkeys) is explained via reference numbers below.
<pre> [sc--]<b>⁰</b> rsa3072<b>¹</b>/B14085A20355B74DE0CE0FA1E19F76D037BD65B6<b>²</b> |<b>³</b> └─(2021-05-14)<b>⁴</b> [--e-]<b>⁰</b>*<b>⁶</b>rsa3072<b>¹</b>/E56CAC142AE5A979BEECB00FB4F68595CAD4E7E5<b>²</b> └─(2021-05-14) -> (2021-05-16)<b>⁴</b> [exp]<b>⁵</b> </pre>
0: Key flags. Determines what the key can do.
- s
: sign - c
: certify - e
: encrypt - a
: authenticate
2: Fingerprint of the key.
3: Indicates that the next key is a subkey.
4: Time information of the key:
- creation time (Y-m-d
) - expiration time (Y-m-d
)
- [exp]
: expired - [rev]
: revoked - [d]
: disabled - [i]
: invalid - [q]
: qualified
) is shown after key flags if the key is selected as the default signing key.
User Information
An example table entry for the detail level
full (which includes other user IDs, signatures and notations) is explained via reference numbers below.
<pre> [u]<b>⁰</b> Test Key <test@test><b>¹</b> │<b>²</b> └─[13]<b>³</b> selfsig<b>⁴</b> (2021-05-16)<b>⁶</b> │ └─[h]<b>⁹</b> test@notation=xyz<b>⁸</b> └─[u]<b>⁰</b> Test Key2 <test2@test2><b>¹</b> ├─[13]<b>³</b> selfsig<b>⁴</b> (2021-05-16)<b>⁶</b> └─[10]<b>³</b> 84C39331F6F85326 Test Key 2 <test2@example.com><b>⁵</b> (2021-05-16)<b>⁶</b> [!x]<b>⁷</b> </pre>
0: Validity of the user.
[q]: undefined
[n]: never
[m]: marginal
[f]: full
[u]: ultimate
[?]: unknown
1: User ID. (name + email)
2: Indicates the next user ID.
3: Certification level of the signature.
[10]: no indication
[11]: personal belief but no verification
[12]: casual verification
[13]: extensive verification
4: Indicates that this is a self signature, whereby the users' own private key was used to sign their public key.
5: Key and user ID of the signer. (
key + name + email)
6: Time information of the signature.
- creation time (
Y-m-d)
expiration time ( Y-m-d)
7: Is the signature one of the following?
[exp]: expired
[rev]: revoked
[i]: invalid
[!x]: non-exportable
8: Notation data.
9: Flags associated with the notation data.
[h]: the notation data is in human readable form
[!]: the notation data is critical
Features
Press
? while running the terminal interface to see information about key bindings and GnuPG configuration.
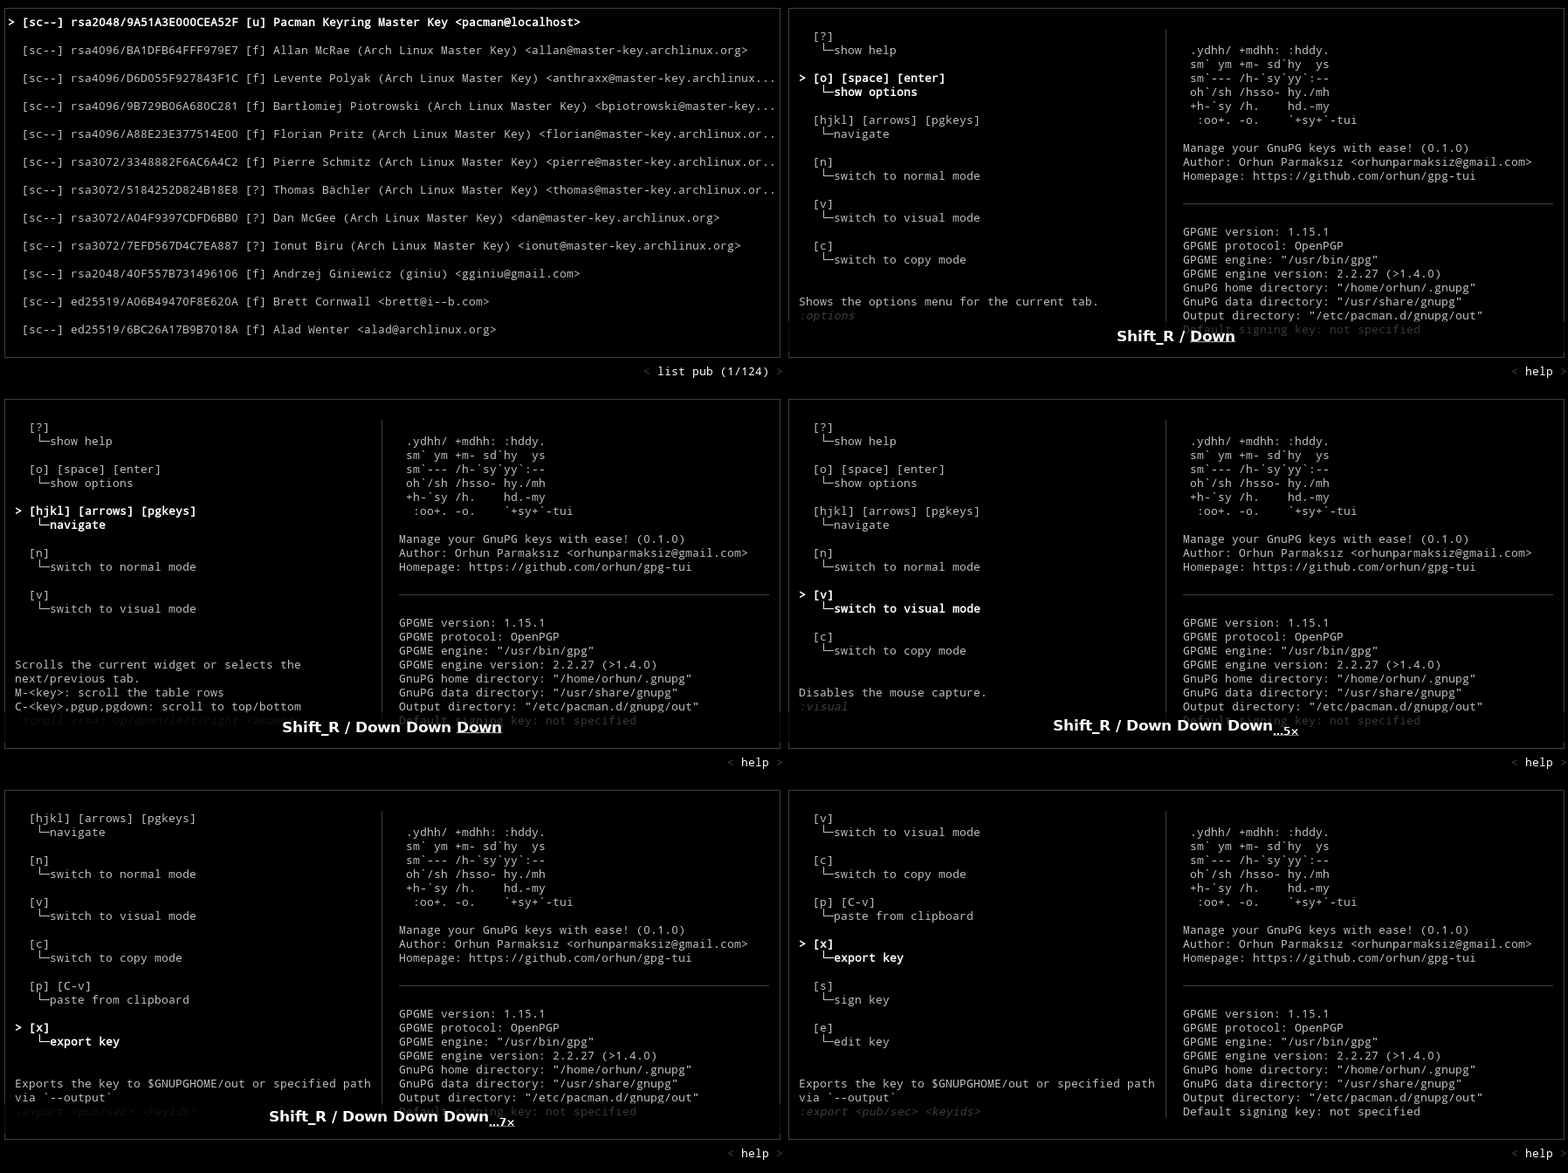
User Interface
Scrolling
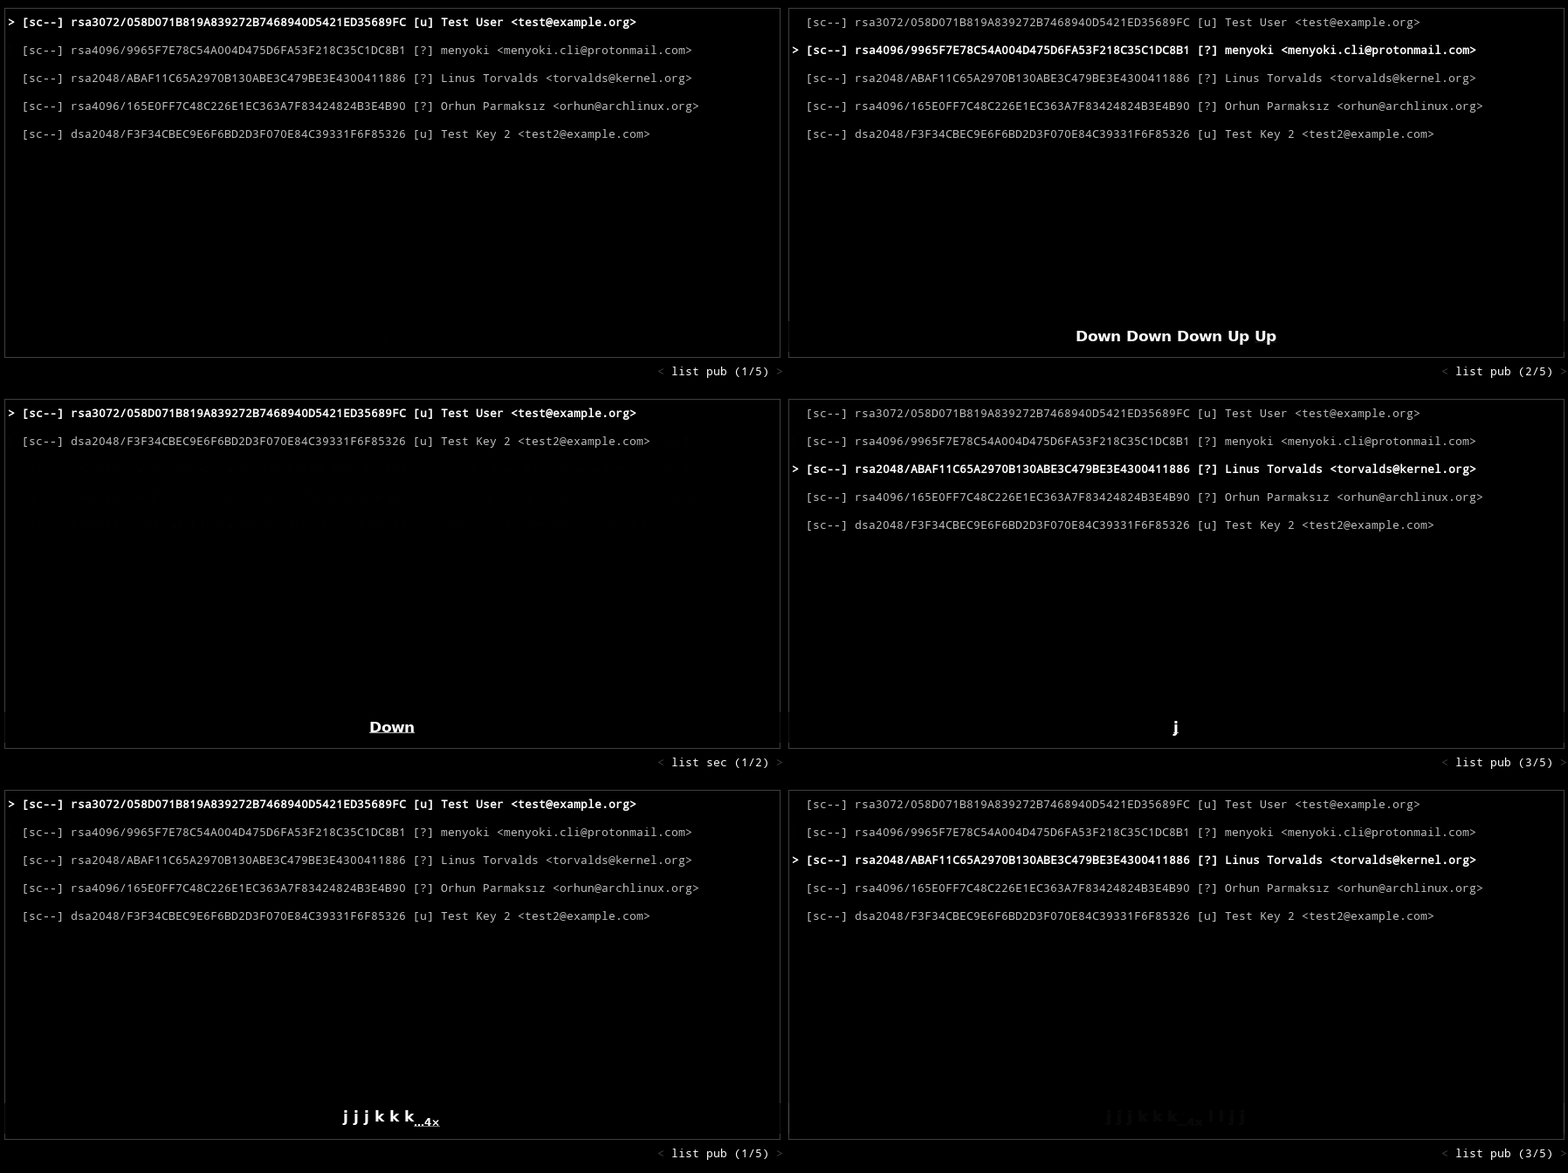
Use arrow or
hjkl keys to scroll and navigate through lists/menus/tabs. Additionally, you can use Ctrl-Up/Down combinations or PageUp/PageDown keys to scroll to the top/bottom.
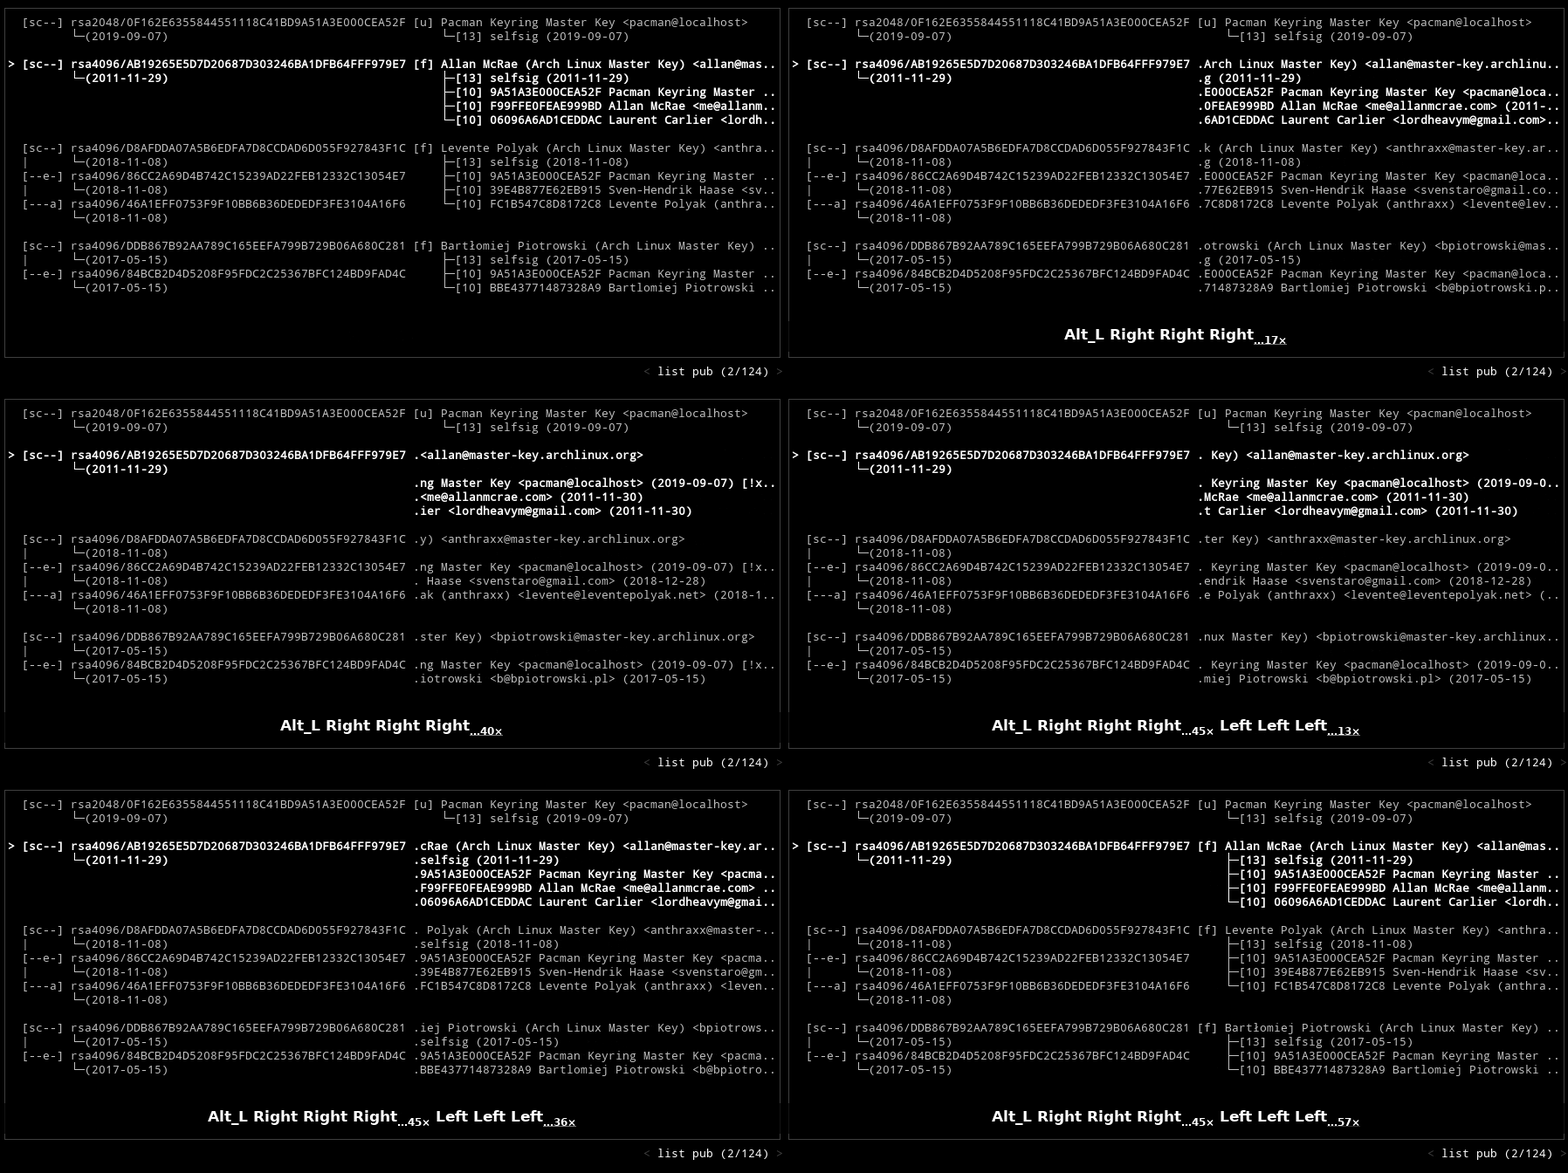
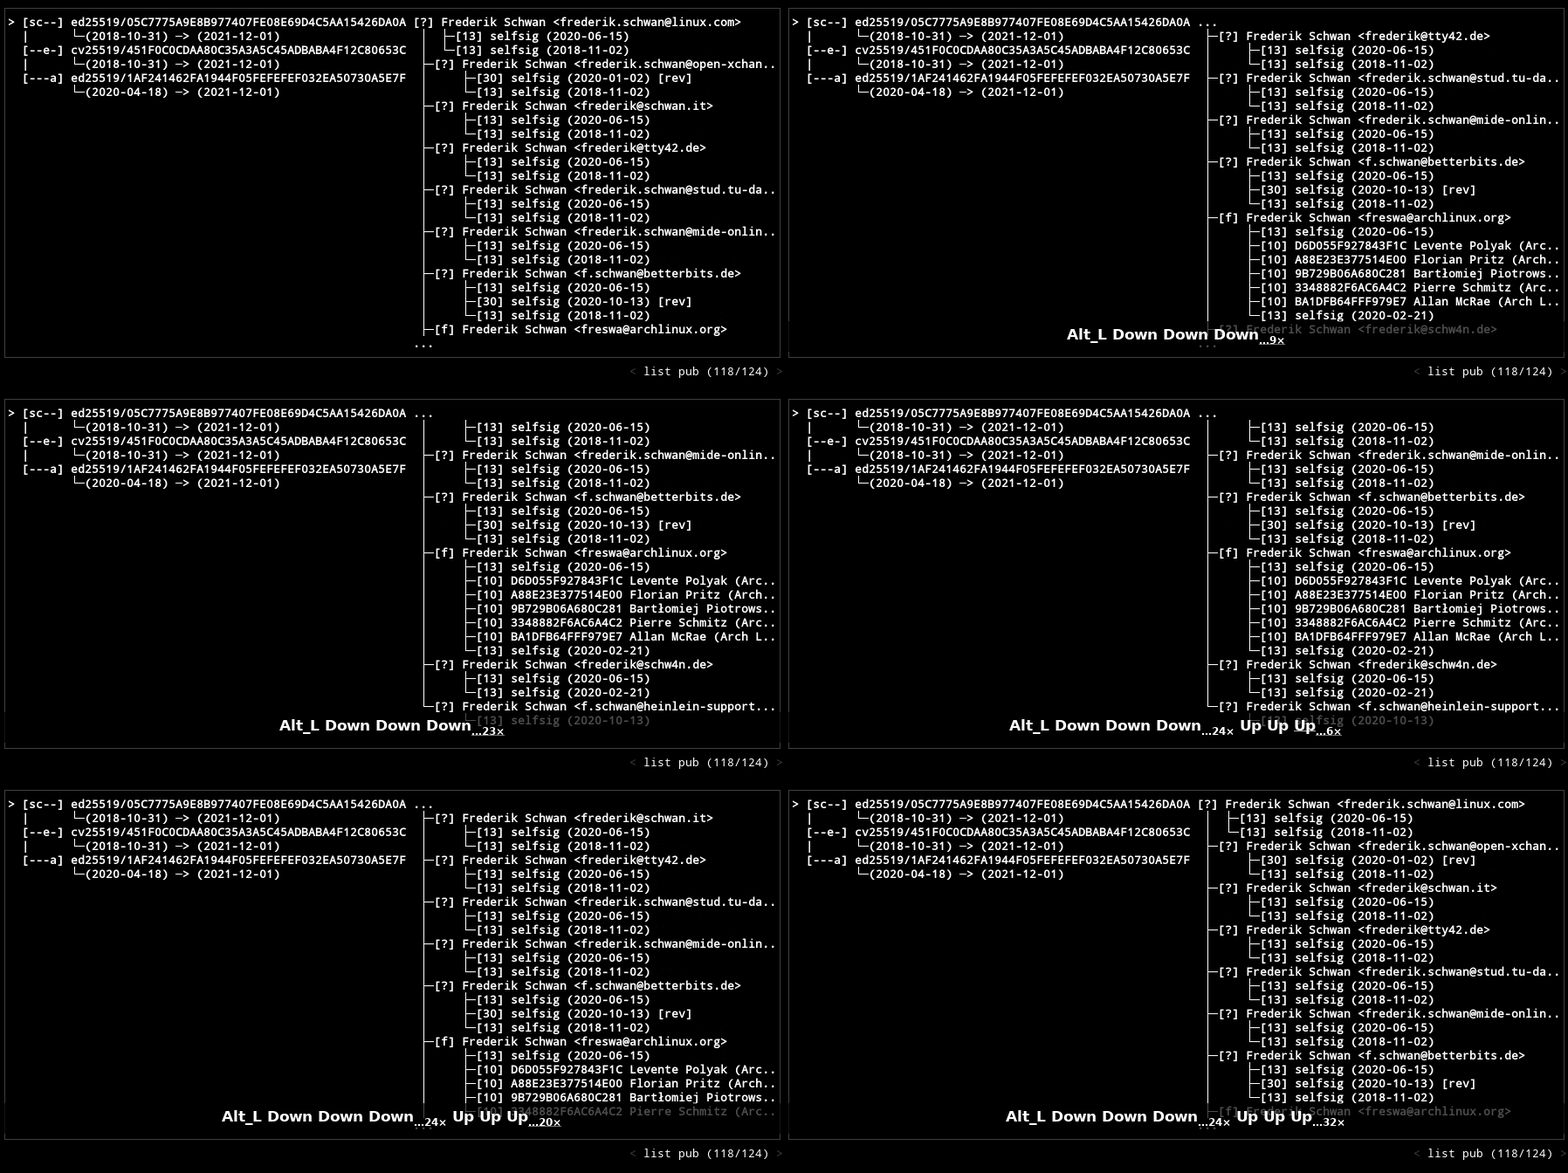
If rows are not fitting on the terminal interface, use
Alt + arrow/hjkl keys to individually scroll them.
Options Menu
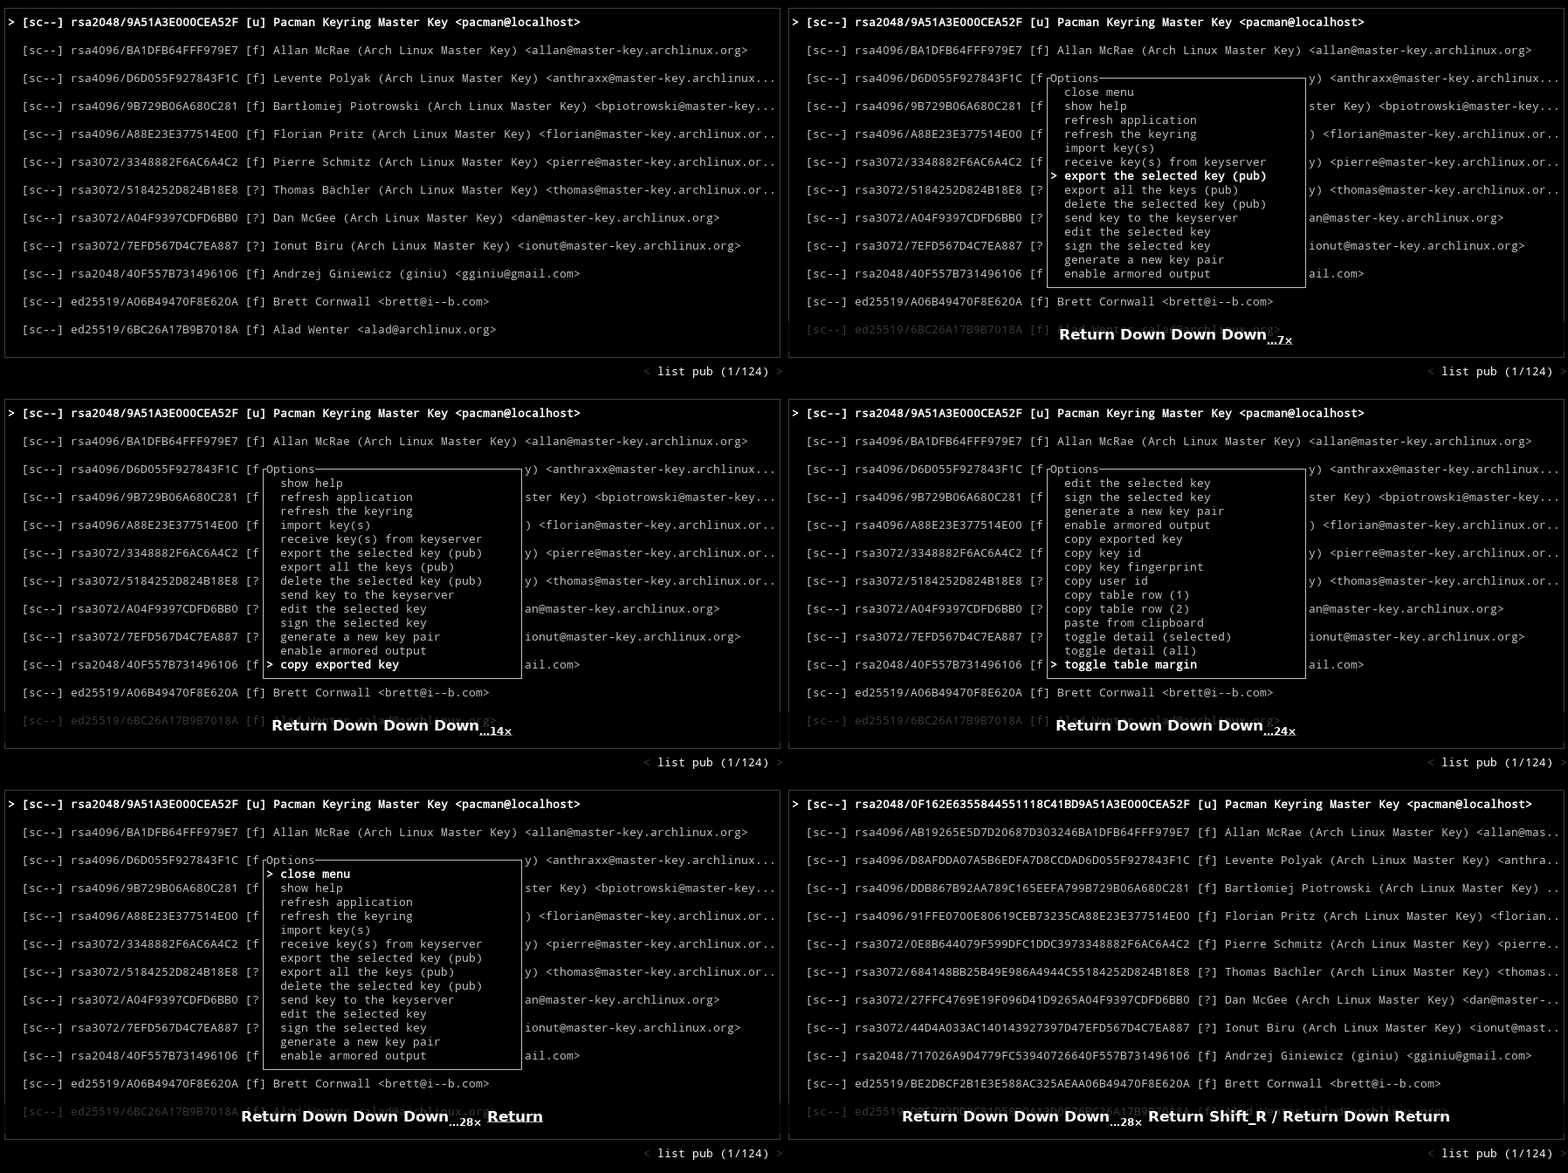
Most of the actions can be performed using the options menu. Simply press
Enter and select what you want to do.
Copy / Paste
There's a
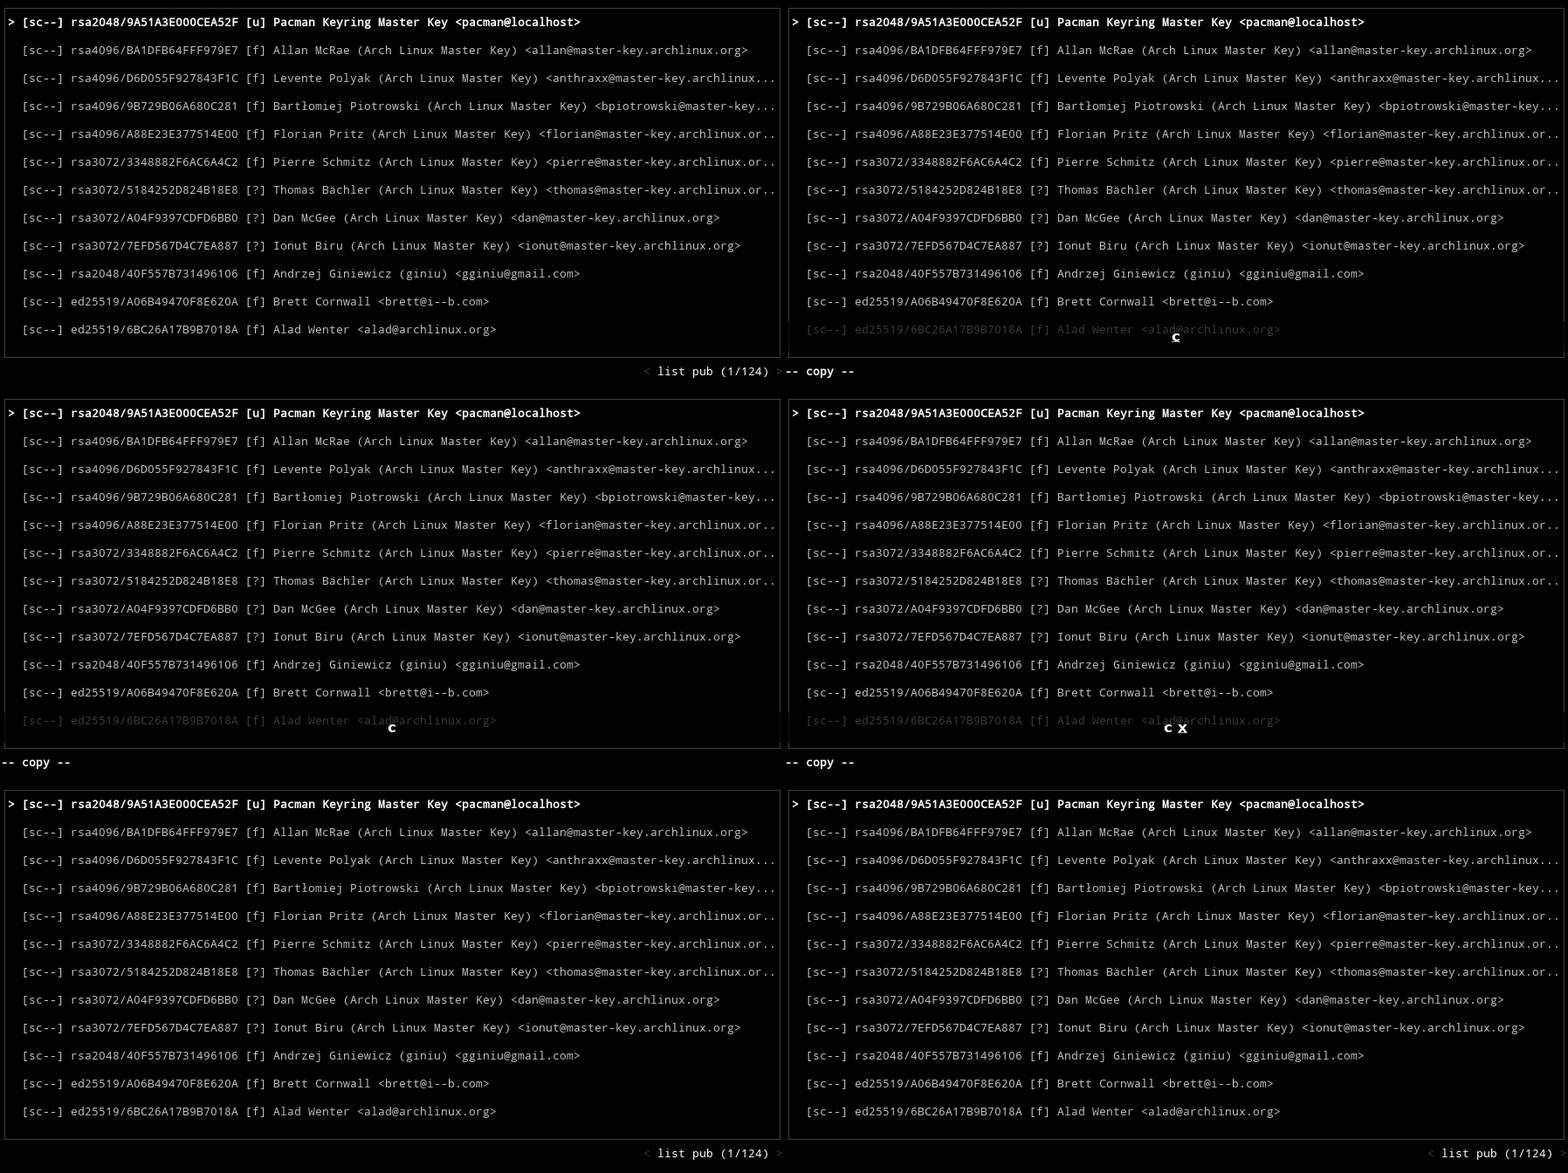
copy mode for making it easier to copy particular values to the clipboard. To use this mode, press c followed by one of the key bindings:
x: Copy the exported key
i: Copy the key id
f: Copy the key fingerprint
u: Copy the user id
1,2: Copy the content of the row
Then the value will be copied to the clipboard and the application mode will be reverted to normal.
Press
ESC or n to cancel and switch to normal mode during this operation.
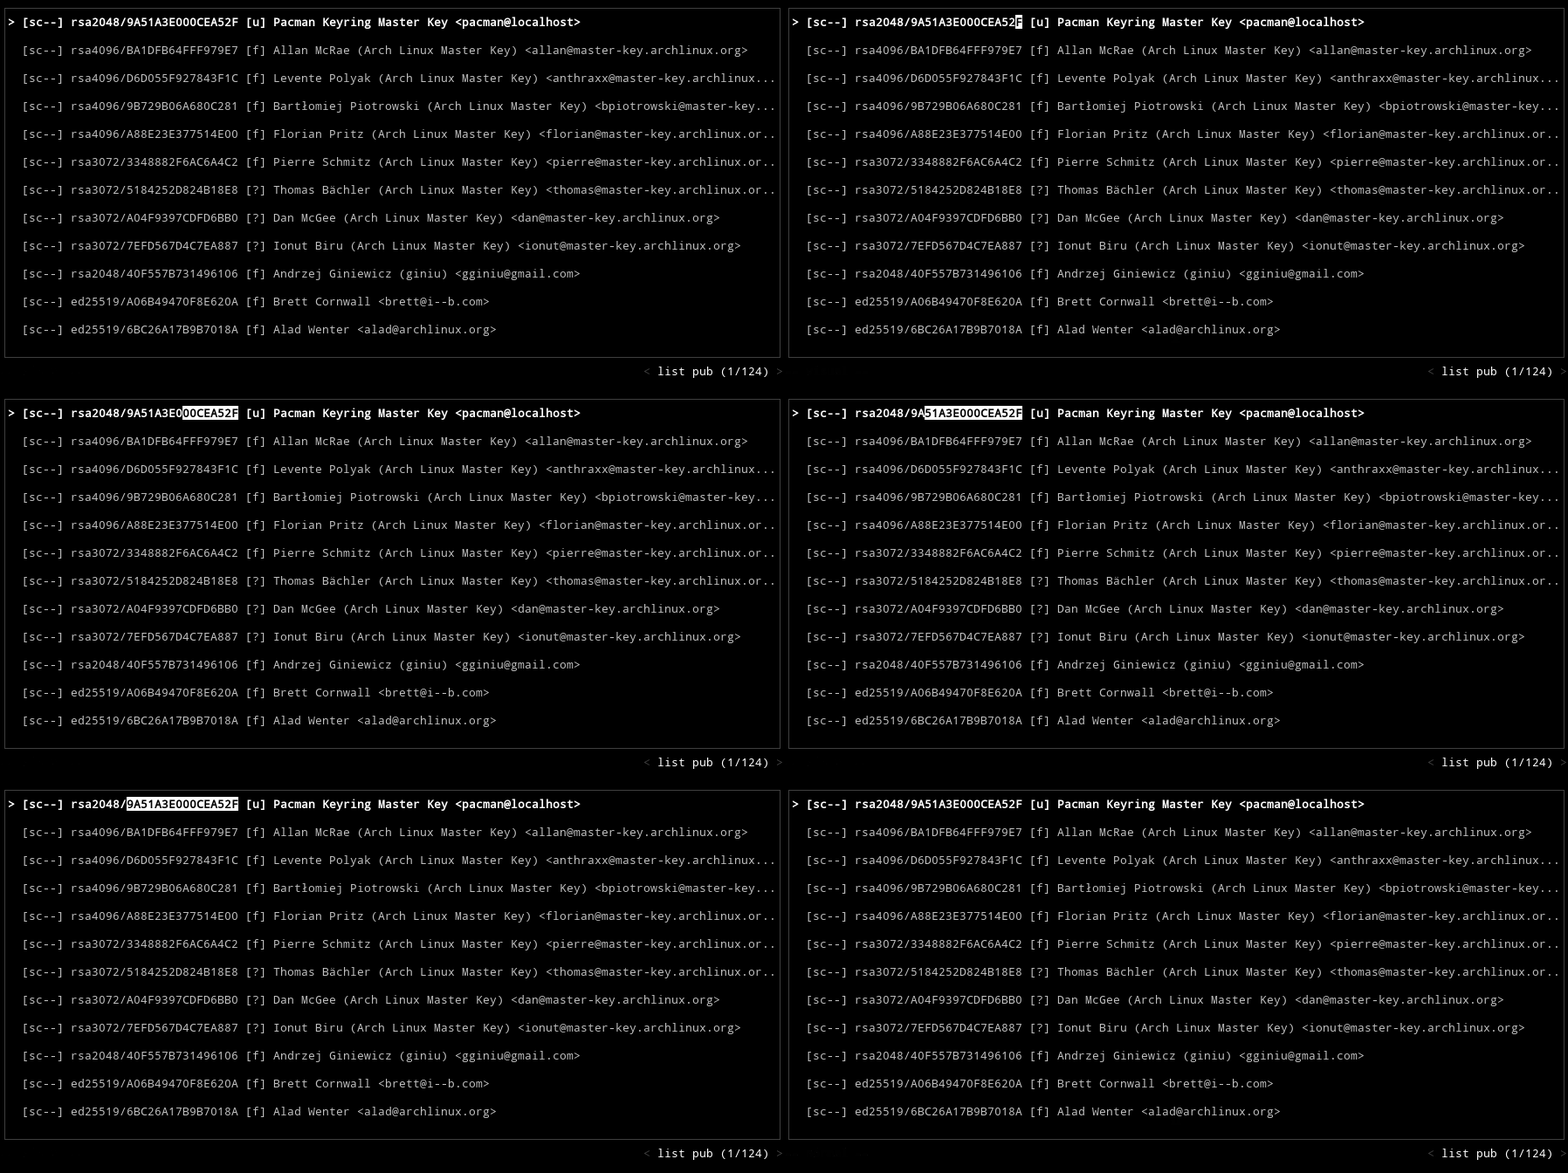
Instead of copying values with
copy mode, you can use the visual mode which disables the mouse capture. It means that you can select/highlight the text on the interface and copy as you do normally.
visual mode can be used for other purposes such as scrolling via mouse.
Selection Mode
In the selection mode, key bindings that are responsible for showing the options menu (e.g.
enter) are used for exiting the user interface and printing out the selection to the standard output. This is useful when you want to use gpg-tui in conjunction with shell commands/other tools.
For switching to the selection mode, use the
--select argument as follows:
<pre><code class="lang-sh">gpg-tui --select <option></code></pre>


