
(CVPR 2025) Code of "Chat2SVG: Vector Graphics Generation with Large Language Models and Image Diffusion Models"
Last updated Aug 5, 2026
244
Stars
34
Forks
0
Issues
+1
Stars/day
Attention Score
40
Language breakdown
Python 99.6%
Shell 0.4%
▸ Files
click to expand
README
Chat2SVG: Vector Graphics Generation with Large Language Models and Image Diffusion Models


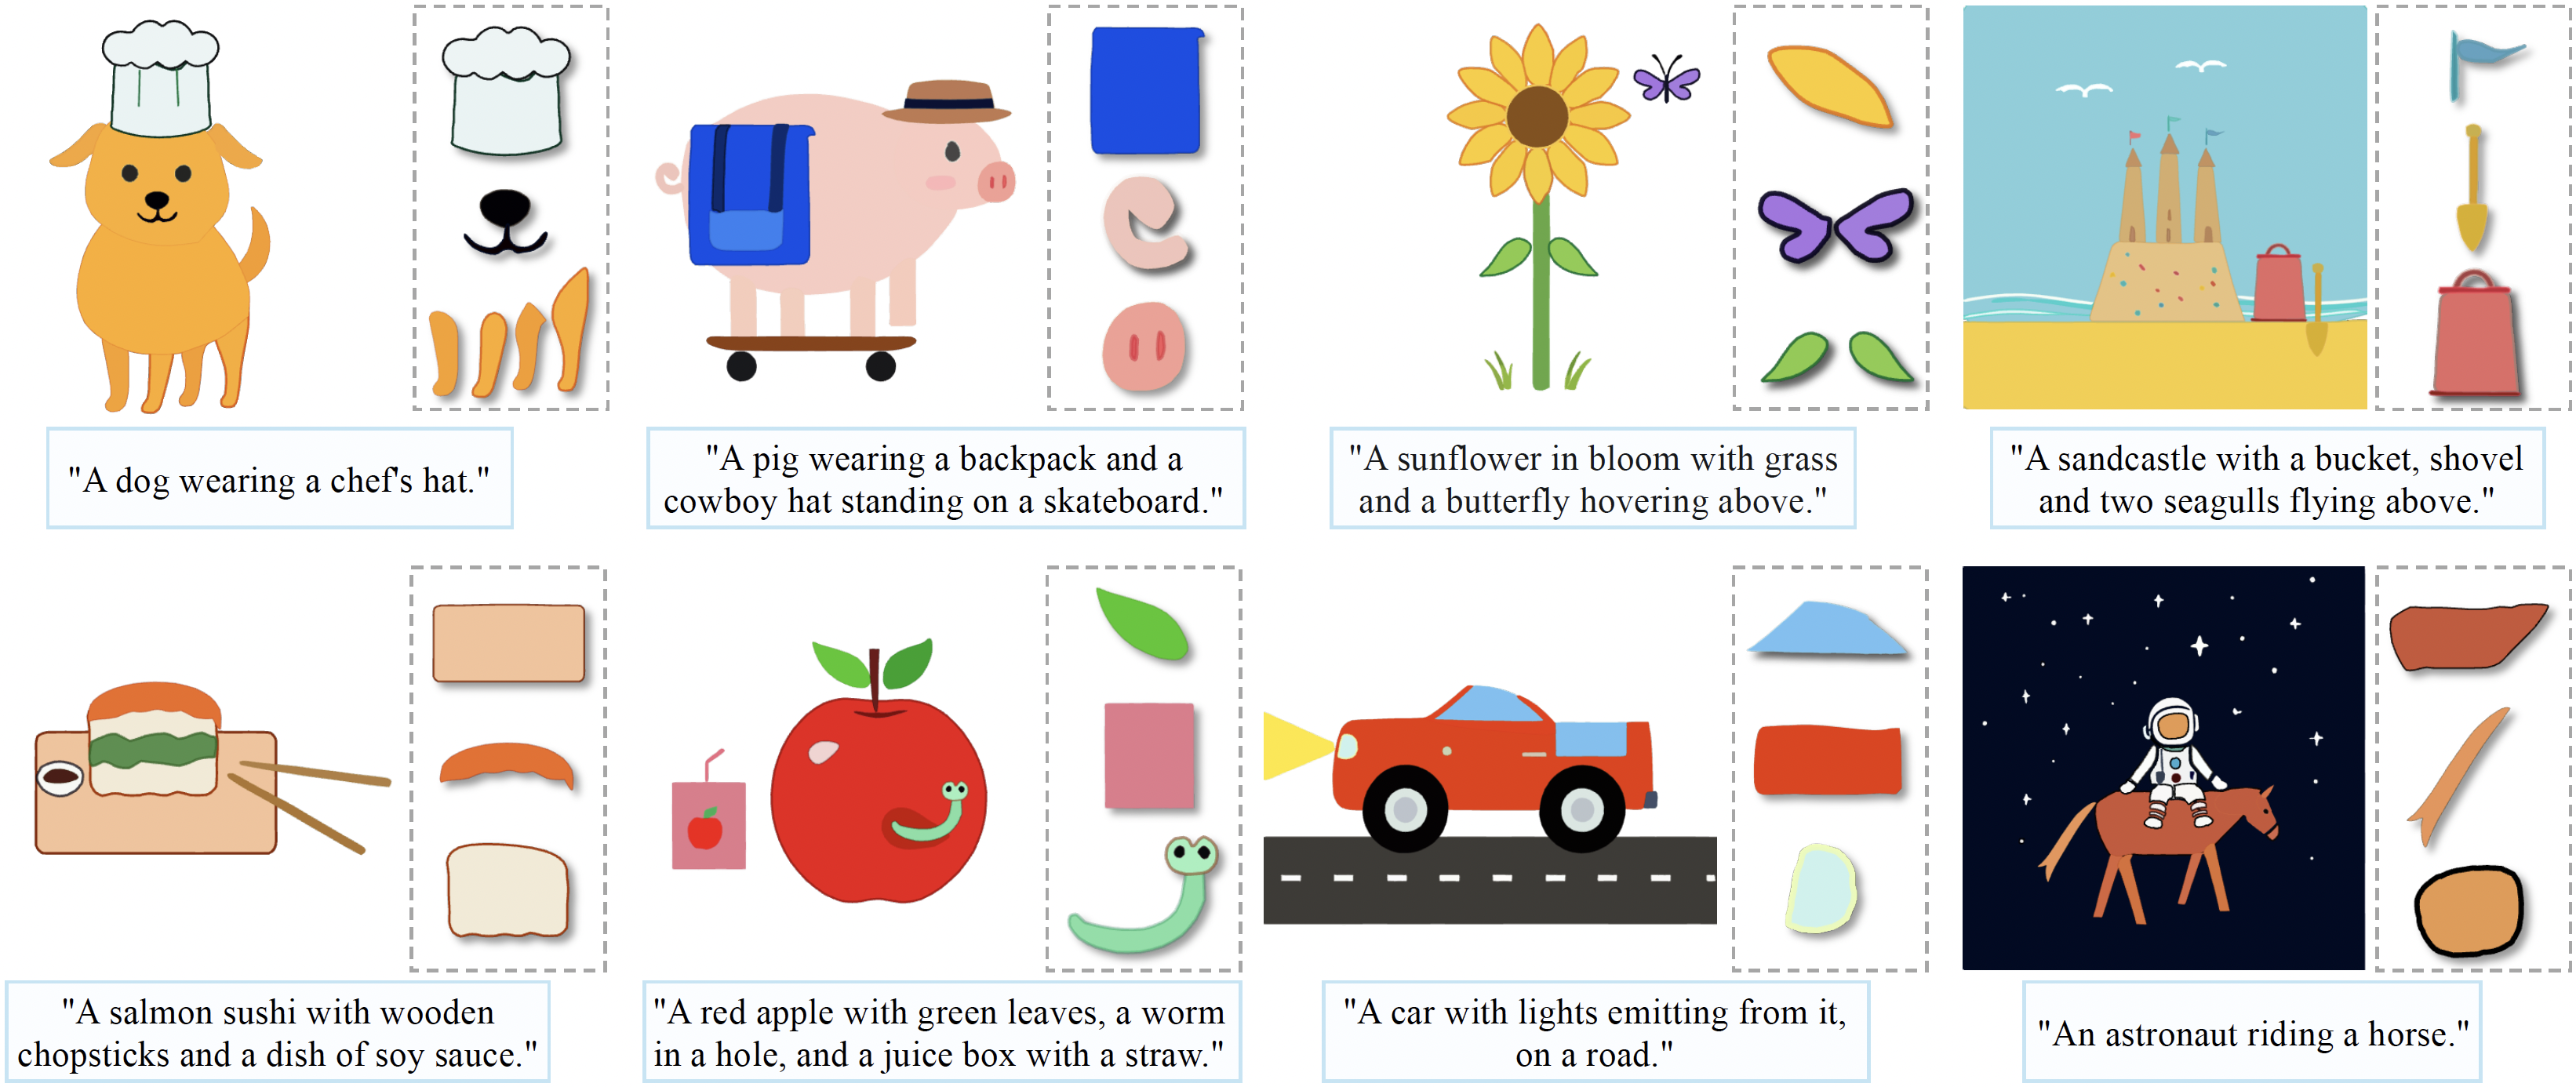
Overview
Chat2SVG is a framework for generating vector graphics using large language models and image diffusion models. The system works in multiple stages to generate, enhance, and optimize SVG from text descriptions.
Updates
- [2025.04.02]: The official Anthropic APIs are now supported. You can configure this in the
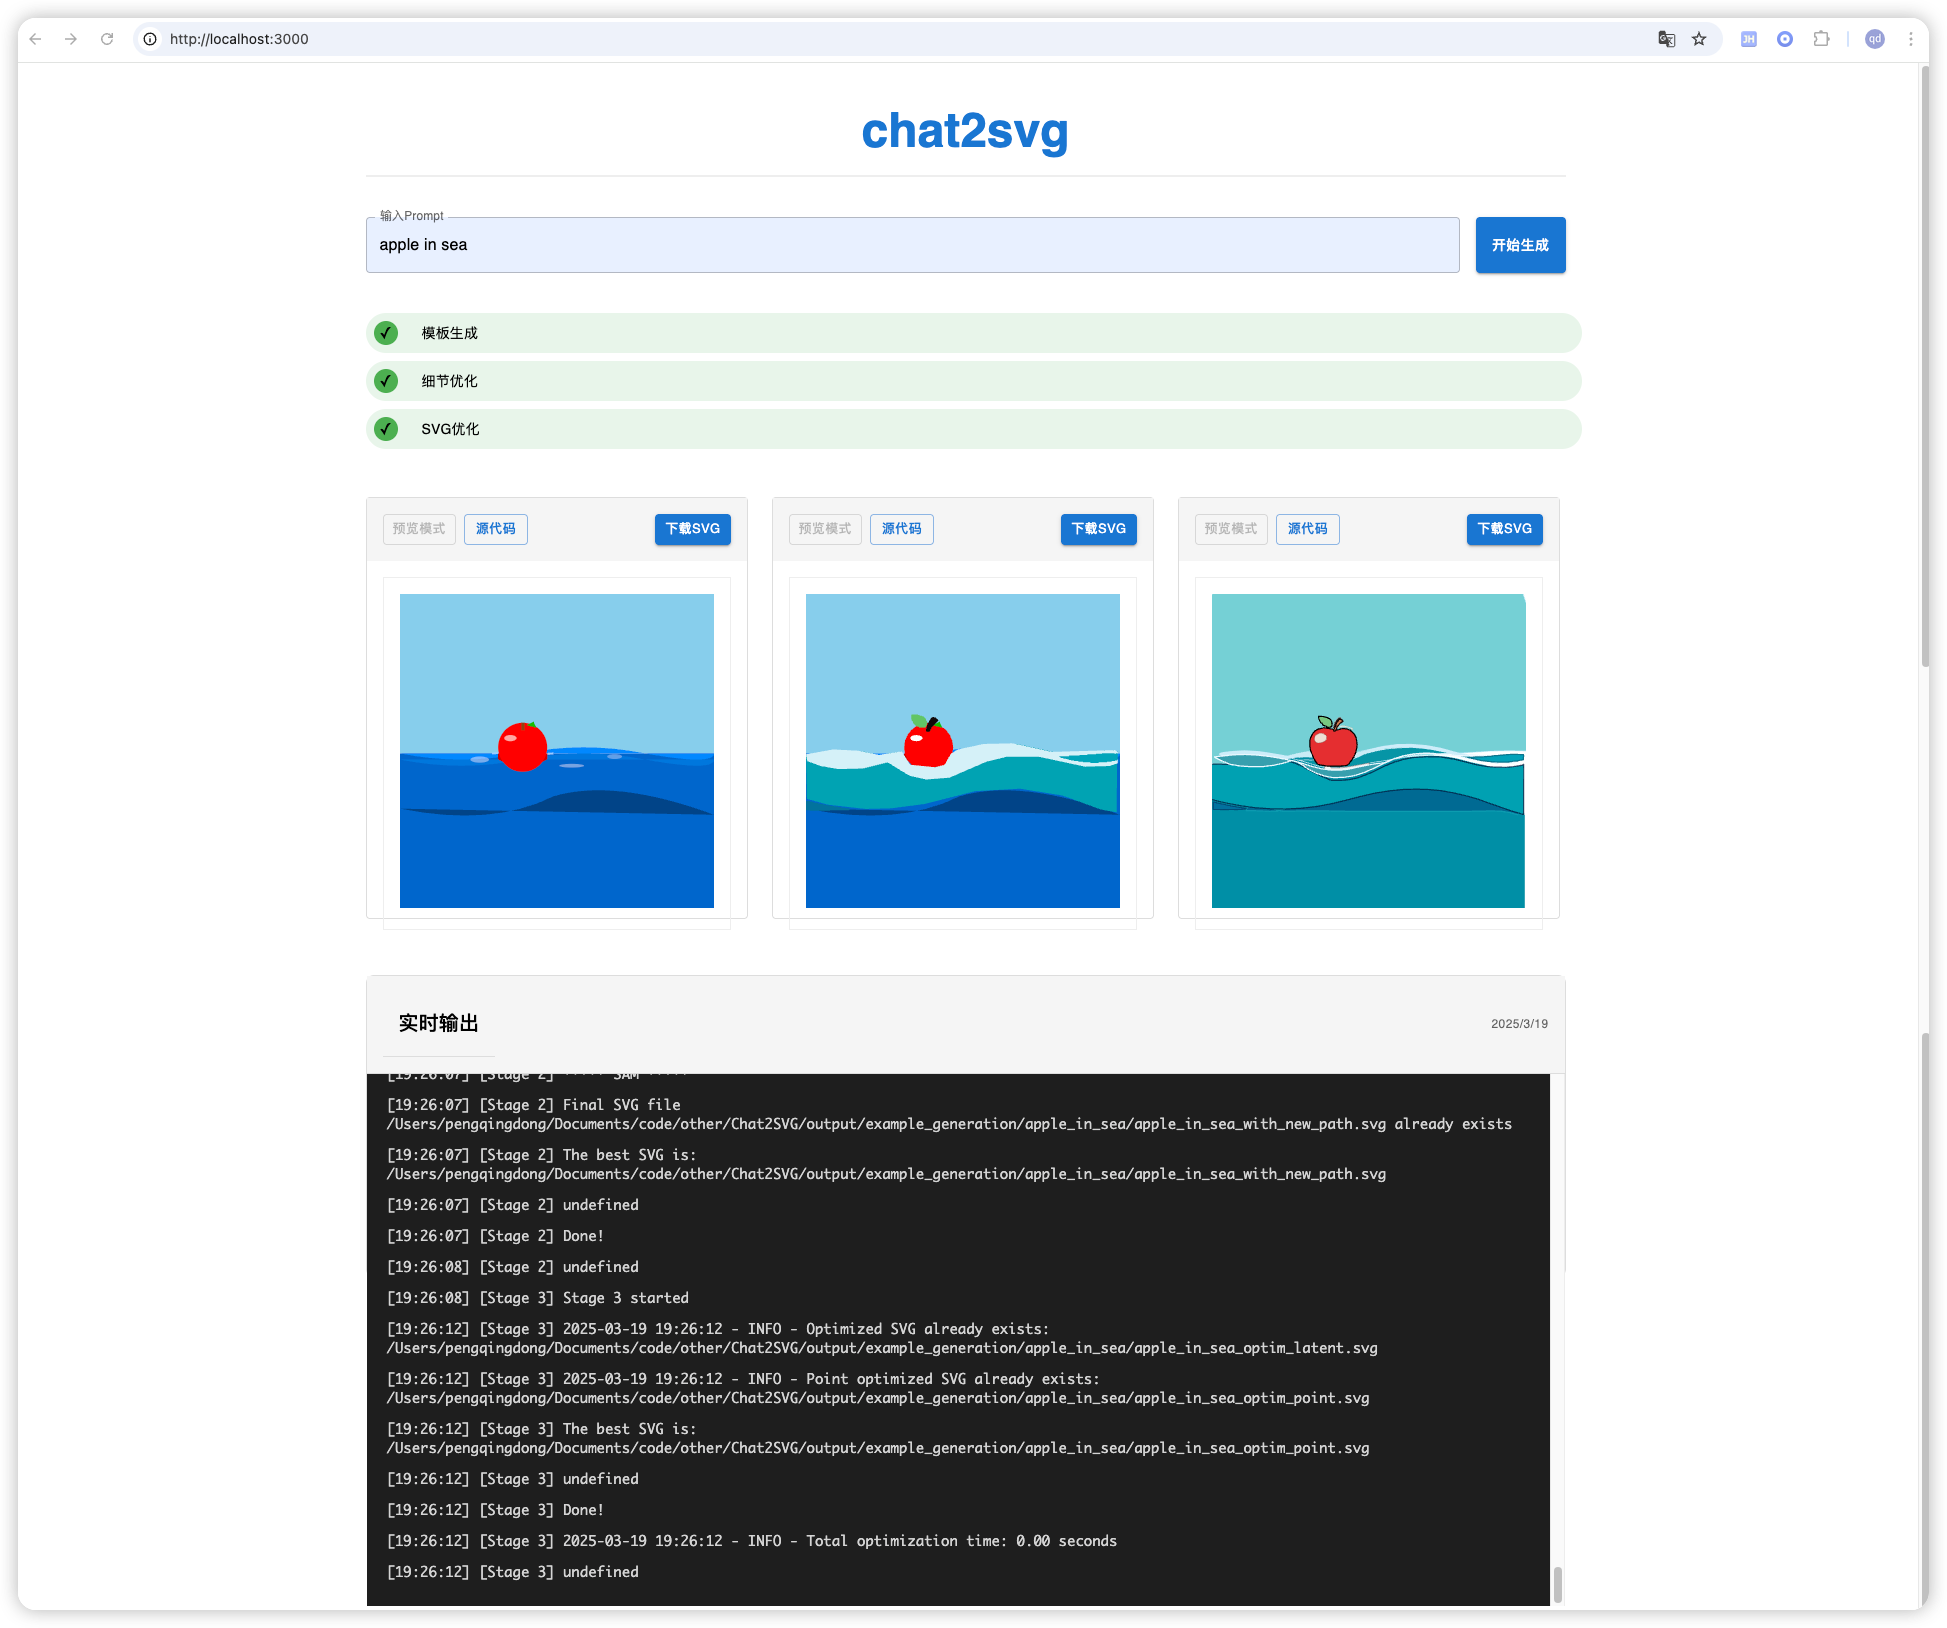
.envfile. You can also adjust themaxtokensparameter inutils/gpt.pyon line 127. Thanks to @potpov's contribution. - [2025.03.31]: We sincerely thank @pq-dong for implementing a web demo for convenient use. Visit the repository for more details. The web demo will be refined and updated in the future.
- [x] SVG template generation with Large Language Models
- [x] Detail enhancement with image diffusion models
- [x] SVG shape optimization
Setup
Clone the repository:git clone git@github.com:kingnobro/Chat2SVG.git
cd Chat2SVG
conda create --name chat2svg python=3.10
conda activate chat2svgInstall PyTorch and other dependencies:
conda install pytorch==2.5.1 torchvision==0.20.1 torchaudio==2.5.1 pytorch-cuda=11.8 -c pytorch -c nvidia pip install git+https://github.com/facebookresearch/segment-anything.git pip install -r requirements.txtInstall diffvg for differentiable rendering:
git clone https://github.com/BachiLi/diffvg.git cd diffvg git submodule update --init --recursive conda install -y -c anaconda cmake conda install -y -c conda-forge ffmpeg pip install svgwrite svgpathtools cssutils torch-tools python setup.py install cd ..Install picosvg for SVG cleaning:
git clone git@github.com:googlefonts/picosvg.git cd picosvg pip install -e . cd ..Pipeline 🖌
[!TIP]
We provide two ways to generate SVG templates:
1. If you want to create high-quality SVG, we recommend checking the output of each stage to ensure the generated SVG meet "human-preferred" criteria.
2. If you want to compare the performance of our method with your own SVG generation method, we also provide a simple way to automatically generate all outputs.
[!CAUTION]
Hong Kong is banned by Anthropic/OpenAI. Therefore, I use a third-party API from WildCard to forward requests to Claude. If you are in a region where you can access Anthropic/OpenAI directly, you can modify lines 64-65 in utils/gpt.py to use the original Anthropic API. Additional modifications may be required. Sorry for the inconvenience.
Step-By-Step Pipeline (For High-Quality SVG 🎨)
We have provided some sample generation and intermediate results in the output/example_generation folder. You can check them to get a better understanding of the pipeline.
Stage 1: Template Generation
First, paste your Anthropic API key into the .env file:
OPENAIAPIKEY=<your_key>Then, run the following command to generate SVG templates:
cd 1templategeneration bash run.sh- The detailed prompts of each target object can be found in
utils/util.py → get_prompt(). - Output files will be saved in
output/examplegeneration/stage1folder. - To visualize/edit the SVG results, we recommend using the SVG and SVG Editor plugins of VSCode.
- Since multiple SVG templates are generated, we use ImageReward or CLIP to select the best one for the next stage. You can also manually select the best SVG template based on your own preference.
- Finally, there should be a
targettemplate.svg(e.g.,appletemplate.svg) file in the root directory.
[!TIP]
Our visual rectification process can solve common issues in SVG. However, we've observed that in some cases, VLM may actually degrade the quality of the SVG during rectification. We recommend double-checking the output before and after rectification to ensure the best results.
Stage 2: Detail Enhancement
cd 2detailenhancement
bash download_models.sh  # download pretrained model weights
bash run.sh              # detail enhancement
The above command will:
- clean SVG templates using picosvg (convert shapes to cubic Bézier curves), output
apple_clean.svg - generate target images using SDXL and ControlNet, output
apple_target.png - use Segment Anything Model (SAM) to add new shapes, output
applewithnewshape.svg
[!TIP]
1. Adjust thestrengthto control the strength of the SDEdit (Image to Image). We recommend0.75for mild enhancement and1.0for strong enhancement.
2. The default number of generated target images is 4, and we select the first one as the default target image. You can check all generated images to select your preferred one. 3. Adjustpointspersidein SAM to control the granularity of the added shapes, and adjustthresh_iouto control the threshold that determines whether a shape is a new shape or not.
4. As mentioned in the paper's limitation section, SAM sometimes may not add appropriate shapes. Please check the output and modify if necessary.
Stage 3: SVG Shape Optimization
cd 3svgoptimization
bash download_models.sh  # download pretrained SVG VAE model
bash run.sh              # optimize SVG shapes (GPU consumption: less than 4GB)
[!TIP]
1. We turn offenablepathiou_lossby default, which can greatly improve time efficiency. To avoid path semantic meaning shifts, you can set it toTrue.
2. We proportionally scale up the loss weights (different from the paper) to ensure faster convergence.
3. Results:appleoptimlatent.svgandappleoptimpoint.svg
Automated Pipeline (For Comparison ⚖️)
Code coming soon. Alternatively, you can enter each folder and run therun.sh script to generate all outputs.


