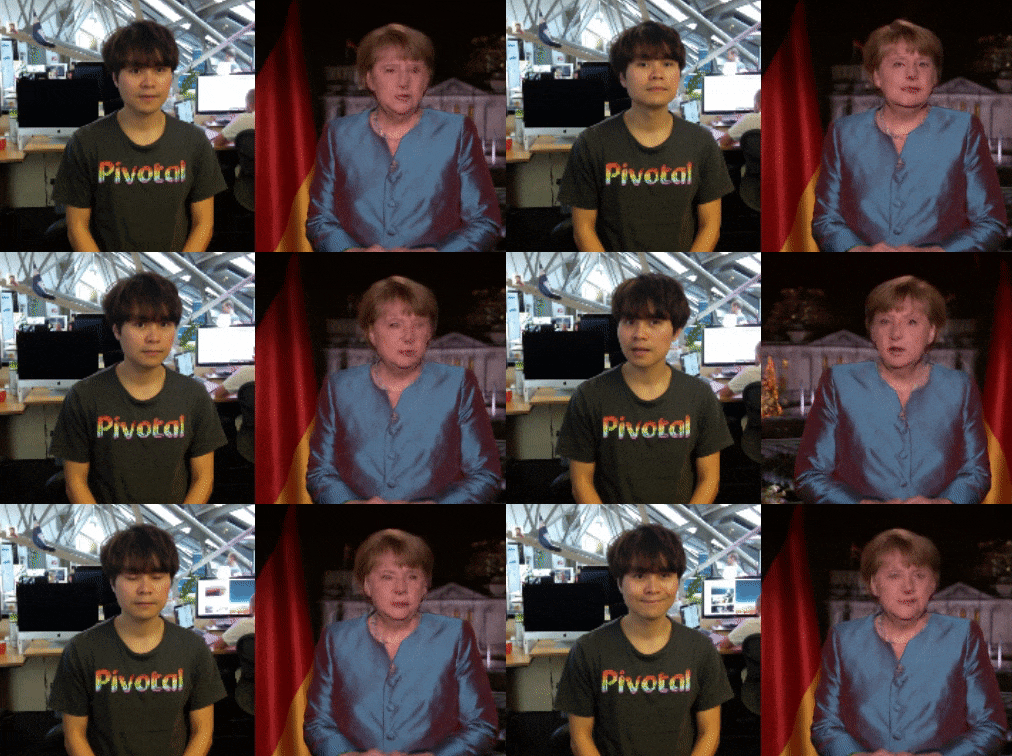
pix2pix demo that learns from facial landmarks and translates this into a face
Last updated Jun 28, 2026
1.5k
Stars
412
Forks
29
Issues
0
Stars/day
Attention Score
48
Language breakdown
Python 100.0%
▸ Files
click to expand
README
face2face-demo
This is a pix2pix demo that learns from facial landmarks and translates this into a face. A webcam-enabled application is also provided that translates your face to the trained face in real-time.
Getting Started
1. Prepare Environment
# Clone this repo
git clone git@github.com:datitran/face2face-demo.git
Create the conda environment from file (Mac OSX)
conda env create -f environment.yml
2. Generate Training Data
python generatetraindata.py --file angelamerkelspeech.mp4 --num 400 --landmark-model shapepredictor68facelandmarks.datInput:
fileis the name of the video file from which you want to create the data set.numis the number of train data to be created.landmark-modelis the facial landmark model that is used to detect the landmarks. A pre-trained facial landmark model is provided here.
- Two folders
originalandlandmarkswill be created.
3. Train Model
# Clone the repo from Christopher Hesse's pix2pix TensorFlow implementation
git clone https://github.com/affinelayer/pix2pix-tensorflow.git
Move the original and landmarks folder into the pix2pix-tensorflow folder
mv face2face-demo/landmarks face2face-demo/original pix2pix-tensorflow/photos
Go into the pix2pix-tensorflow folder
cd pix2pix-tensorflow/
Resize original images
python tools/process.py \
  --input_dir photos/original \
  --operation resize \
  --outputdir photos/originalresized

Resize landmark images
python tools/process.py \
  --input_dir photos/landmarks \
  --operation resize \
  --outputdir photos/landmarksresized

Combine both resized original and landmark images
python tools/process.py \
  --inputdir photos/landmarksresized \
  --bdir photos/originalresized \
  --operation combine \
  --output_dir photos/combined

Split into train/val set
python tools/split.py \
  --dir photos/combined

Train the model on the data
python pix2pix.py \
  --mode train \
  --output_dir face2face-model \
  --max_epochs 200 \
  --input_dir photos/combined/train \
  --which_direction AtoB
For more information around training, have a look at Christopher Hesse's pix2pix-tensorflow implementation.
4. Export Model
- First, we need to reduce the trained model so that we can use an image tensor as input:
python reduce_model.py --model-input face2face-model --model-output face2face-reduced-modelmodel-input is the model folder to be imported.
- model-output is the model (reduced) folder to be exported.
Output:
- It returns a reduced model with less weights file size than the original model.
- Second, we freeze the reduced model to a single file.
python freeze_model.py --model-folder face2face-reduced-modelInput: - model-folder is the model folder of the reduced model. Output: - It returns a frozen model file frozen_model.pb in the model folder. I have uploaded a pre-trained frozen model here. This model is trained on 400 images with epoch 200.
5. Run Demo
python runwebcam.py --source 0 --show 0 --landmark-model shapepredictor68facelandmarks.dat --tf-model face2face-reduced-model/frozenmodel.pbInput:
sourceis the device index of the camera (default=0).showis an option to either display the normal input (0) or the facial landmark (1) alongside the generated image (default=0).landmark-modelis the facial landmark model that is used to detect the landmarks.tf-modelis the frozen model file.