
Minecraft game clone written in Rust.
rustcraft
Minecraft game clone written in Rust, using the Bevy game engine.
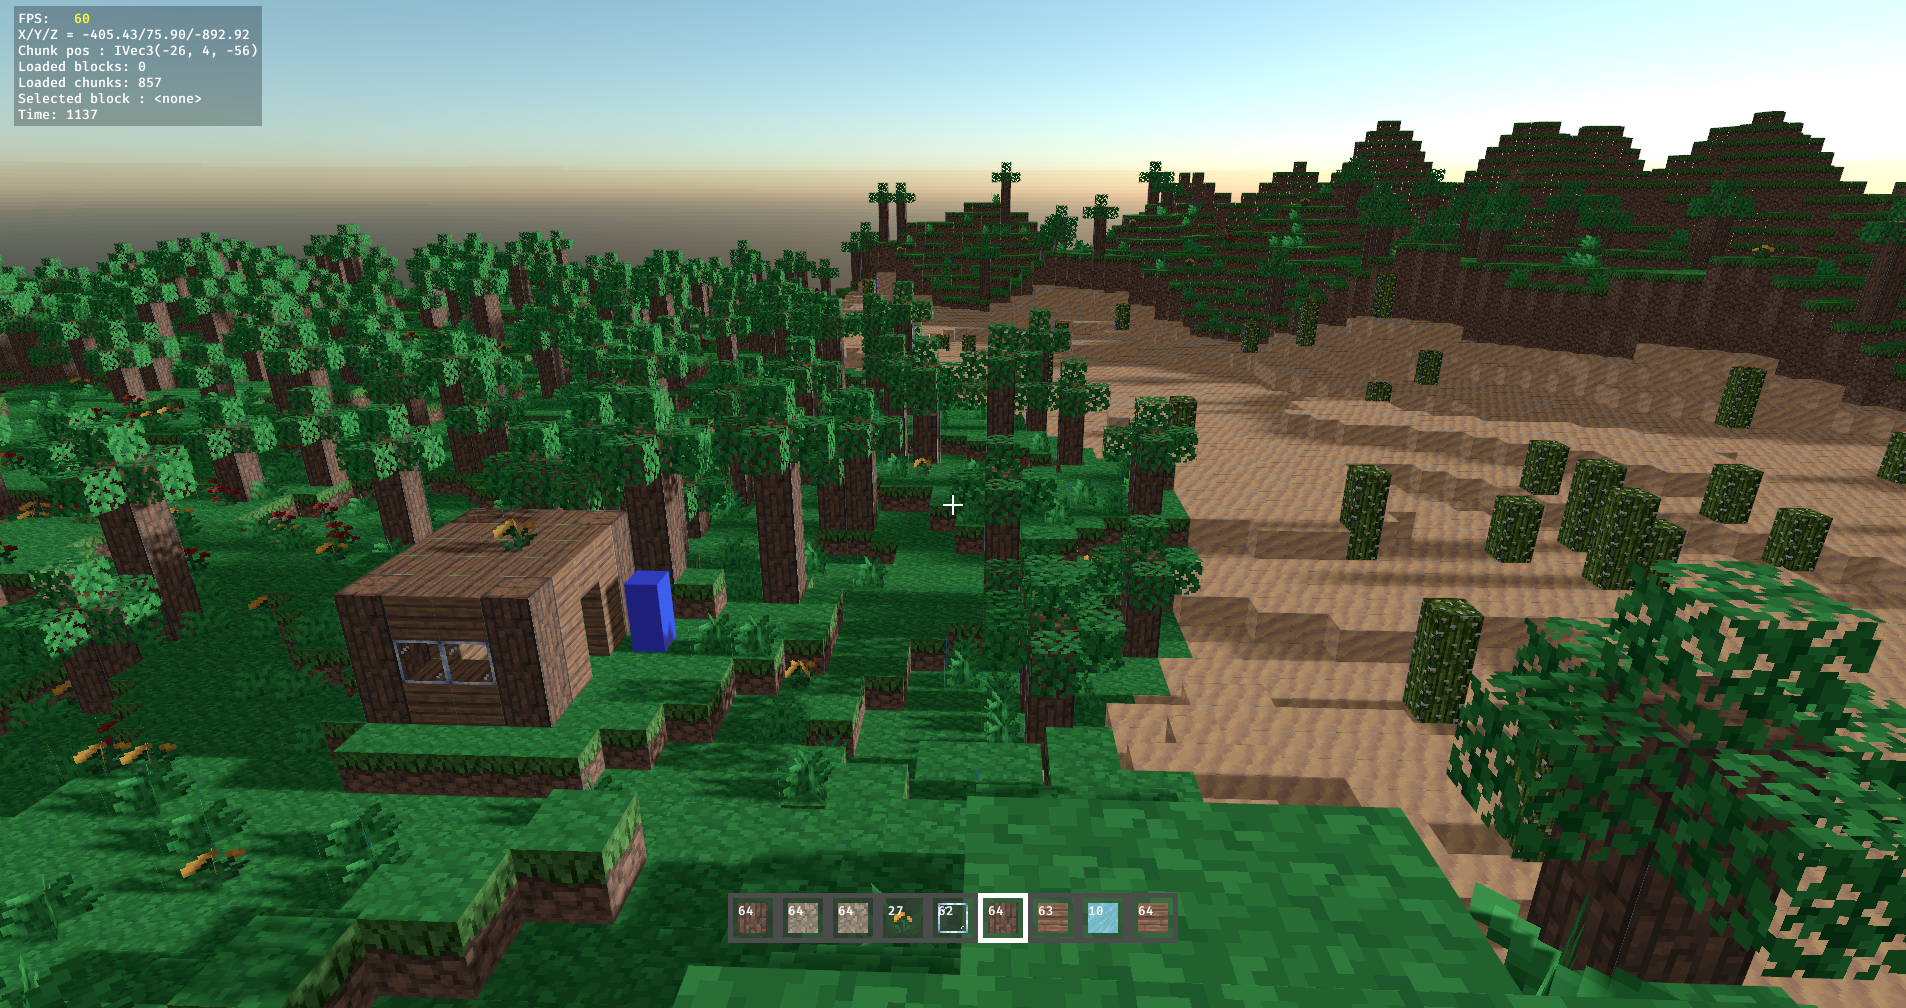
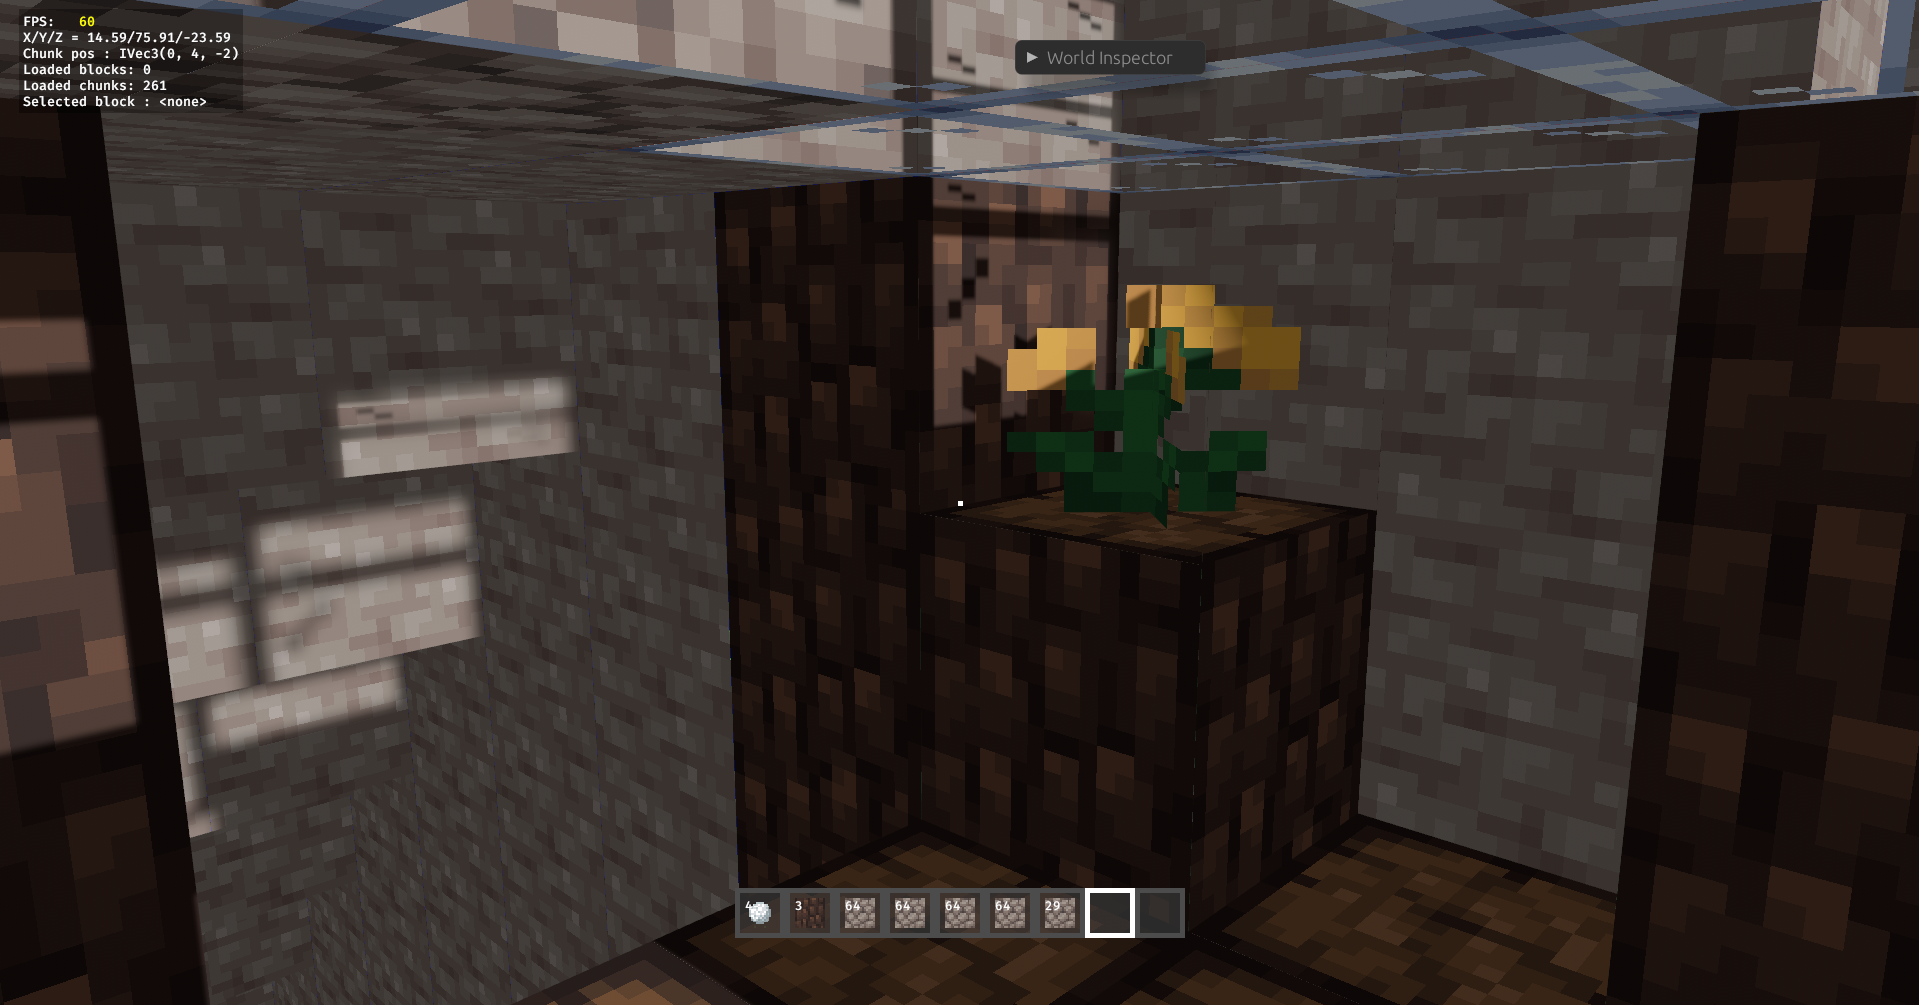
Table of contents
- Package Managers - Manual - Prerequisites - Running the Project - GuidelinesFeatures
- Procedurally generated worlds with biomes (Plains, Forest, Mountains, Desert, Ice Plain, Flower plains), trees, cactus, tall grass and flowers.
- Multiplayer functionality.
- Day/night cycle
- Block breaking and placing mechanics.
- Inventory system with a functional hotbar.
- World saving and loading.
- Customizable keybindings and dynamic render distance adjustment.
Installation
Manual
You can download the game for Windows and Linux from the Releases page of the GitHub repository.
Once downloaded, extract the archive for your operating system. The executable will be located in the /bin folder of the extracted directory.
Package Managers
Arch Linux
There are 2 AUR packages available for rustcraft:
- rustcraft: The latest release built from source
- rustcraft-bin: The latest release pre-built
paru:
paru -S rustcraftControls
| Category | Action | Key(s) | |-------------------|------------------------|-----------------------------| | Movement | Jump | Space | | | Strafe Left | A / Arrow Left | | | Strafe Right | D / Arrow Right | | | Walk Backward | S / Arrow Down | | | Walk Forward | W / Arrow Up | | | Toggle Fly Mode | F | | | Fly Up | Space | | | Fly Down | Left Shift | | | | | | Gameplay | Destroy Block | Left Mouse Button | | | Place Block | Right Mouse Button | | | | | | Inventory | Open/Close Inventory | E | | | Pick up stack | Left Click | | | Pick up half of stack | Right Click (with empty mouse) | | | Deposit 1 item | Right Click (over valid stack) | | | Deposit MAX items | Left Click (over valid stack) | | | Exchange stacks | Left Click (over a different stack or full valid stack) | | | | | | Miscellaneous | Toggle FPS Display | F3 | | | Toggle Perspective | F5 | | | Toggle Chunk Debug | F4 | | | Toggle Block Debug | F6 | | | Toggle Raycast Debug | F7 | | | Decrease Render Distance | O | | | Increase Render Distance | P | | | Exit Game | Escape |
How to Build
Prerequisites
To build and run this project, you need the following tools and dependencies installed:
1. Rust
- Install Rust using Rustup
- After installation, add the Nightly toolchain with the Cranelift backend:
rustup install nightly
  rustup default nightly
  rustup component add rustc-codegen-cranelift-preview --toolchain nightly
2. Just
- Just is used in this project to manage build. Install it using Cargo:
cargo install justNote: You can also install Just using your system's package manager.
3. Dependencies
Install the required dependencies based on your operating system:
Windows
- Git Bash is required to ensure the commands in the
Justfileand scripts run correctly. Download and install Git Bash. - After installation, make sure Git Bash is added to your system's
PATH. You can verify it by running:
bash --versionArch Linux
sudo pacman -S base-devel mold clang vulkan-radeon vulkan-tools- Replace
vulkan-radeonwith:
vulkan-intel for Intel GPUs.
- nvidia-utils for NVIDIA GPUs.
Ubuntu/Debian
sudo apt install -y build-essential mold clang mesa-vulkan-drivers vulkan-tools pkg-config libasound2-dev libudev-dev- For NVIDIA GPUs, also install:
sudo apt install -y nvidia-driver nvidia-vulkan-icdRunning the Project
To compile and run the game locally, use the following commands:
Note: the first compilation will be slow depending on your hardware, next compilations will be incremental and thus faster.
# Clone the repository
git clone https://github.com/c2i-junia/rustcraft
Navigate to the project directory
cd rustcraft
Debug mode:
./run1.sh        # this will compile the project and run the client
./run-server.sh  # (optional) do this only to test multiplayer features
Release mode:
# Build the project in release mode just generate-release-folder
Run the executable
./release/bin/rustcraft         # run the client
./release/bin/rustcraft-server  # (optional) do this only to test multiplayer features
Contributing
Feel free to submit issues or open pull requests. If you want to know where to help, refer to the existing issues.
Guidelines
Format
Runcargo fmt before committing.
Commit messages:
- We follow the Conventional Commit specification. Our commit types are inspired by the Karma specification
<type>[optional scope]: <description>
[optional body]
[optional footer(s)]
Allowed
- Write commit messages in the present tense (e.g., "Add feature X" instead of "Added feature X").
Branches
- Use the naming convention
<type>/<name>for branches introducing new features. Only use lowercase letters, numbers, and dashes. - The
mainbranch should always compile successfully and be free of warnings. Usecargo check. - Experimental branches are allowed to include code that does not build successfully.
- Prefer rebasing over merging.


