
Venom - A Multi-hop Proxy for Penetration Testers
Venom - A Multi-hop Proxy for Penetration Testers
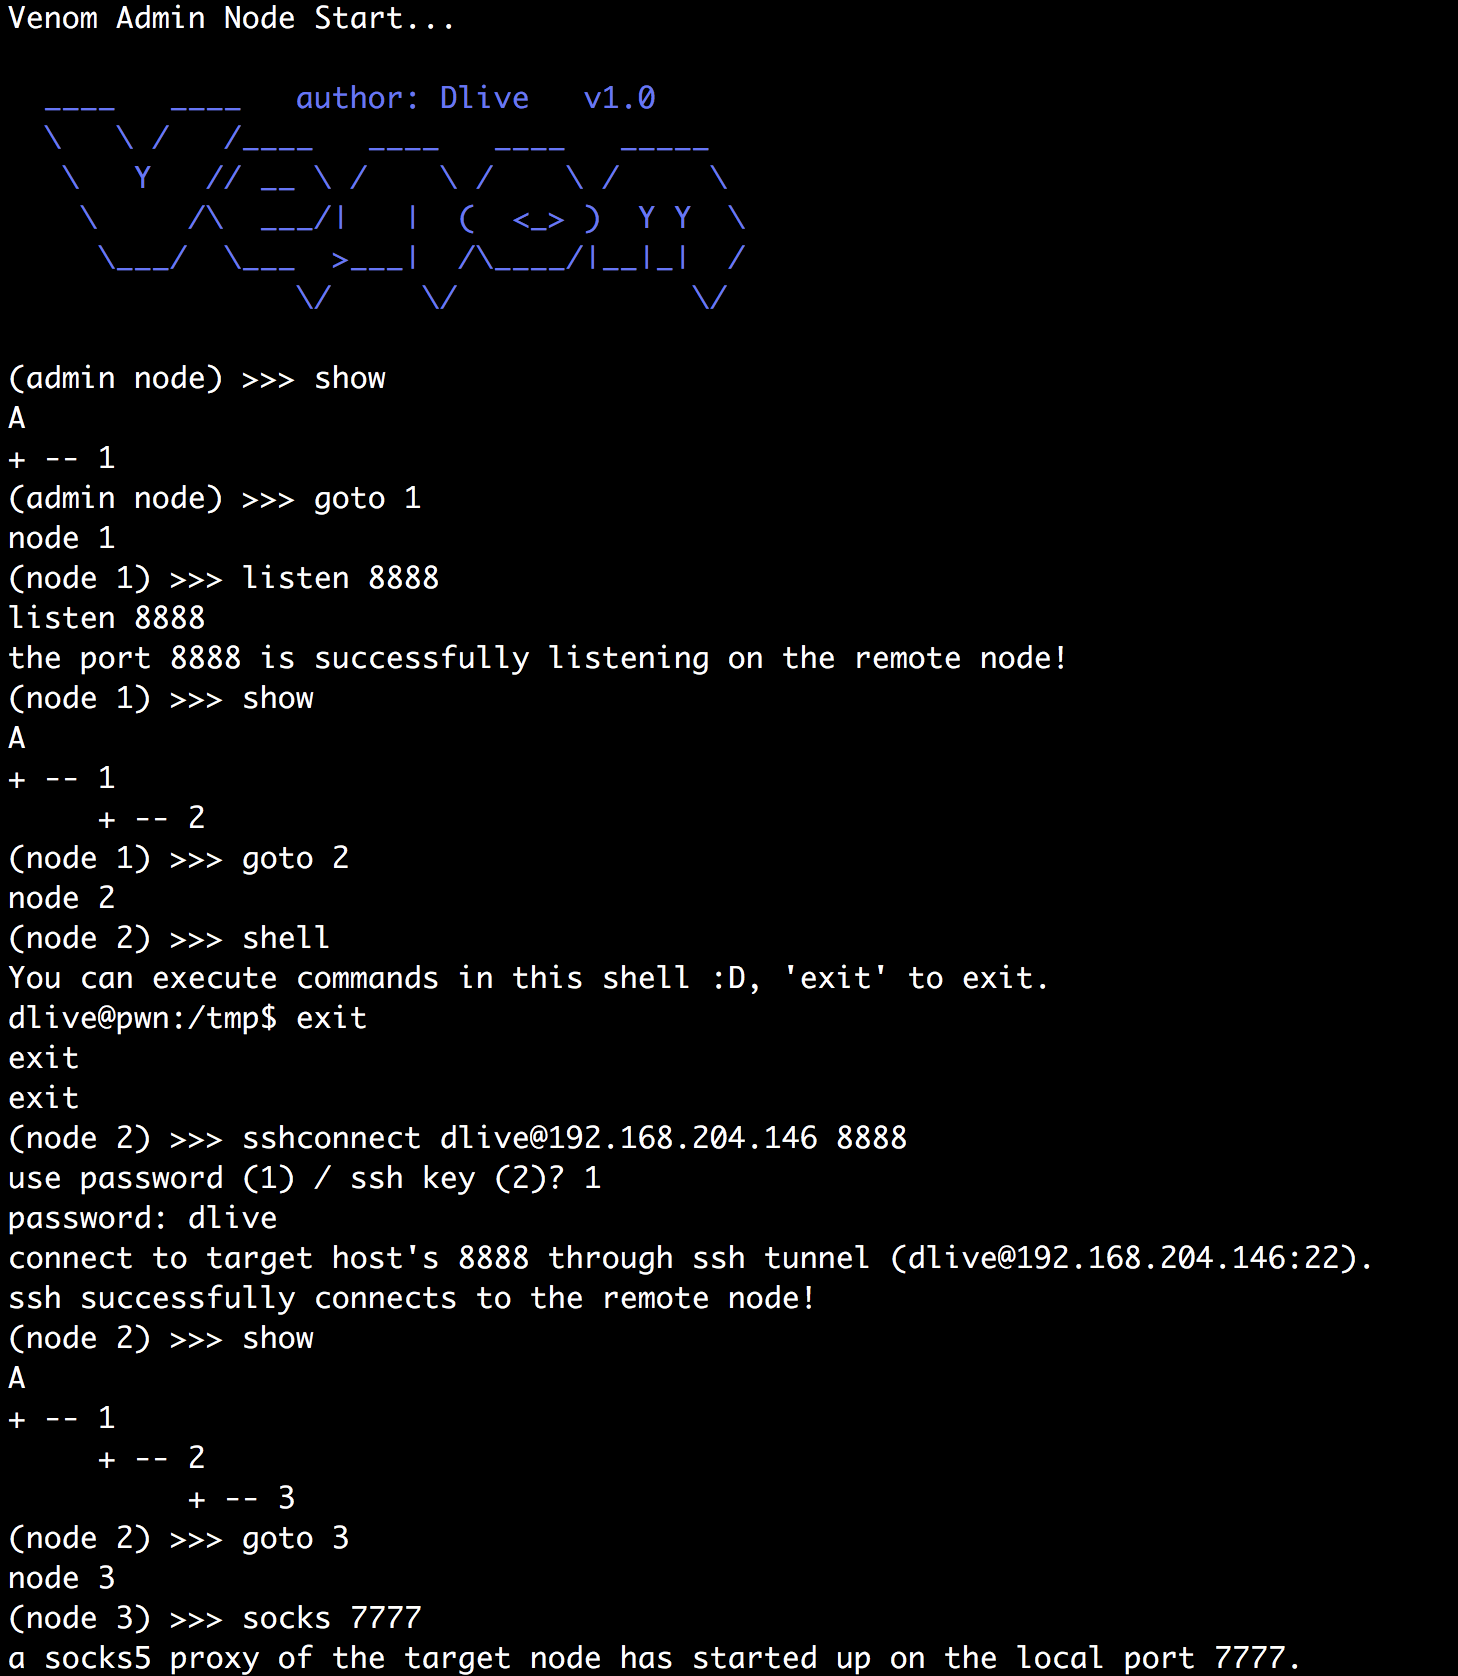
Venom是一款为渗透测试人员设计的使用Go开发的多级代理工具。
Venom可将多个节点进行连接,然后以节点为跳板,构建多级代理。
渗透测试人员可以使用Venom轻松地将网络流量代理到多层内网,并轻松地管理代理节点。
此工具仅限于安全研究和教学,用户承担因使用此工具而导致的所有法律和相关责任! 作者不承担任何法律和相关责任!
特性
- 可视化网络拓扑
- 多级socks5代理
- 多级端口转发
- 端口复用 (apache/mysql/...)
- ssh隧道
- 交互式shell
- 文件的上传和下载
- 节点间通信加密
- 支持多种平台(Linux/Windows/MacOS)和多种架构(x86/x64/arm/mips)
由于IoT设备(arm/mips/...架构)通常资源有限,为了减小二进制文件的大小,该项目针对IoT环境编译的二进制文件不支持端口复用和ssh隧道这两个功能,并且为了减小内存使用限制了网络并发数和缓冲区大小。
安装
您可以直接下载使用release中编译好的可执行文件
如果您想从源码编译该项目, 需要安装 go >= 1.11, 然后执行下面的命令
go get -u github.com/Dliv3/Venom/...
$GOPATH是安装Go时配置的环境变量,可通过go env命令查看
cd $GOPATH/src/github.com/Dliv3/Venom
编译好的二进制文件存放在当前目录下的release文件夹中
./build.sh
使用
Youtube演示视频: https://www.youtube.com/playlist?list=PLtZO9vwOND91vZ7yCmlAvISmEl2iQKjdI
1. admin/agent命令行参数
- admin节点和agent节点均可监听连接也可发起连接
./adminmacosx64 -lport 9999./agentlinuxx64 -rhost 192.168.0.103 -rport 9999agent监听端口,admin发起连接:
./agentlinuxx64 -lport 8888./adminmacosx64 -rhost 192.168.204.139 -rport 8888- agent节点支持端口复用
1. 通过SOREUSEPORT和SOREUSEADDR选项进行端口复用 2. 通过iptables进行端口复用(仅支持Linux平台)
通过venom提供的端口复用功能,在windows上可以复用apache、mysql等服务的端口,暂时无法复用RDP、IIS等服务端口,在linux上可以复用多数服务端口。被复用的端口仍可正常对外提供其原有服务。
第一种端口复用方法
# 以windows下apache为例
  # 复用apache 80端口,不影响apache提供正常的http服务
  # -lhost 的值为本机ip,不能写0.0.0.0,否则无法进行端口复用
./agent.exe -lhost 192.168.204.139 -reuse-port 80./adminmacosx64 -rhost 192.168.204.139 -rport 80第二种端口复用方法
# 以linux下apache为例
  # 需要root权限
sudo ./agentlinuxx64 -lport 8080 -reuse-port 80这种端口复用方法会在本机设置iptables规则,将reuse-port的流量转发到lport,再由agent分发流量
需要注意一点,如果通过sigterm,sigint信号结束程序(kill或ctrl-c),程序可以自动清理iptables规则。如果agent被kill -9杀掉则无法自动清理iptables规则,需要手动清理,因为agent程序无法处理sigkill信号。
为了避免iptables规则不能自动被清理导致渗透测试者无法访问80端口服务,所以第二种端口复用方法采用了iptables -m recent通过特殊的tcp包控制iptables转发规则是否开启。
这里的实现参考了 https://threathunter.org/topic/594545184ea5b2f5516e2033
# 启动agent在linux主机上设置的iptables规则
  # 如果rhost在内网,可以使用socks5代理脚本流量,socks5代理的使用见下文
  python scripts/port_reuse.py --start --rhost 192.168.204.135 --rport 80

  # 连接agent节点
  ./adminmacosx64 -rhost 192.168.204.135 -rport 80

  # 如果要关闭转发规则
python scripts/port_reuse.py --stop --rhost 192.168.204.135 --rport 80- 节点间通信加密
-passwd选项指定密码,该密码用于生成AES加密所需的密钥。
# 通过-passwd指定密码为dlive@dubhe
  ./adminmacosx64 -lport 8889 -passwd dlive@dubhe

  # agent指定相同的密码与admin节点连接
  ./agentmacosx64 -rhost 192.168.0.103 -rport 8889 -passwd dlive@dubhe
2. admin节点内置命令
- help 打印帮助信息
(admin node) >>> help

    help                                     Help information.
    exit                                     Exit.
    show                                     Display network topology.
    getdes                                   View description of the target node.
    setdes     [info]                        Add a description to the target node.
    goto       [id]                          Select id as the target node.
    listen     [lport]                       Listen on a port on the target node.
    connect    [rhost] [rport]               Connect to a new node through the target node.
    sshconnect [user@ip:port] [dport]        Connect to a new node through ssh tunnel.
    shell                                    Start an interactive shell on the target node.
    upload     [localfile]  [remotefile]   Upload files to the target node.
    download   [remotefile]  [localfile]   Download files from the target node.
    socks      [lport]                       Start a socks5 server.
    lforward   [lhost] [sport] [dport]       Forward a local sport to a remote dport.
rforward [rhost] [sport] [dport] Forward a remote sport to a local dport.- show 显示网络拓扑
下面的拓扑图表示,admin节点下连接了1节点,1节点下连接了2、4节点,2节点下连接了3节点
(node 1) >>> show
  A
  + -- 1
       + -- 2
            + -- 3
+ -- 4- goto 操作某节点
(admin node) >>> goto 1
(node 1) >>>- getdes/setdes 获取/设置节点信息描述
(node 1) >>> setdes linux x64 blahblahblah
  (node 1) >>> getdes
linux x64 blahblahblah- connect/listen/sshconnect 节点间互连
(node 1) >>> connect 192.168.0.103 9999
  connect to 192.168.0.103 9999
  successfully connect to the remote port!
  (node 1) >>> show
  A
  + -- 1
+ -- 2./agentlinuxx64 -rhost 192.168.204.139 -rport 9997 连接node1
(node 1) >>> listen 9997
  listen 9997
  the port 9997 is successfully listening on the remote node!
  (node 1) >>> show
  A
  + -- 1
       + -- 2
+ -- 3./agentlinuxx64 -lport 9999, node3通过sshconnect建立ssh隧道连接192.168.0.104的9999端口。你可以使用密码或者是ssh私钥进行认证。
(node 1) >>> goto 3
  (node 3) >>> sshconnect root@192.168.0.104:22 9999
  use password (1) / ssh key (2)? 2
  file path of ssh key: /Users/dlive/.ssh/id_rsa
  connect to target host's 9999 through ssh tunnel (root@192.168.0.104:22).
  ssh successfully connects to the remote node!
  (node 3) >>> show
  A
  + -- 1
       + -- 2
       + -- 3
+ -- 4- shell 获取节点的交互式shell
(node 1) >>> shell
  You can execute commands in this shell :D, 'exit' to exit.
  bash: no job control in this shell
  bash-3.2$ whoami
  whoami
  dlive
  bash-3.2$ exit
  exit
exit- upload/download 向节点上传/从节点下载文件
(node 1) >>> upload /tmp/test.pdf /tmp/test2.pdf
  upload /tmp/test.pdf to node 1: /tmp/test2.pdf
  this file is too large(>100M), do you still want to upload it? (y/n)y
   154.23 MiB / 154.23 MiB [========================================] 100.00% 1s
upload file successfully!(node 1) >>> download /tmp/test2.pdf /tmp/test3.pdf
download /tmp/test2.pdf from node 1: /tmp/test3.pdf
this file is too large(>100M), do you still want to download it? (y/n)y
154.23 MiB / 154.23 MiB [========================================] 100.00% 1s
download file successfully!- socks 建立到某节点的socks5代理
(node 1) >>> socks 7777
  a socks5 proxy of the target node has started up on local port 7777
执行成功socks命令之后,会在admin节点本地开启一个端口,如上述的7777,使用7777即可进行socks5代理
- lforward/rforward 将本地端口转发到远程/将远程端口转发到本地
(node 1) >>> lforward 127.0.0.1 8888 8888
  forward local network 127.0.0.1 port 8888 to remote port 8888
rforward 将node1网段的192.168.204.103端口8889转发到admin节点本地的8889端口
(node 1) >>> rforward 192.168.204.103 8889 8889 forward remote network 192.168.204.103 port 8889 to local port 88893. 注意事项
- 现阶段仅支持单个admin节点对网络进行管理
- 要对新加入的节点进行操作,需要首先在admin节点运行show命令同步网络拓扑和节点编号
- 当使用第二种端口复用方法(基于iptables)时,你需要使用
script/port_reuse.py去启用agent在目标主机上设置的端口复用规则。
TODO
- [ ] 与regeorg联动
- [ ] 多个admin节点同时对网络进行管理
- [x] 节点间通信流量加密
- [ ] socks5对udp的支持
- [ ] 与meterpreter联动 (待定)
- [ ] RESTful API
- [ ] 关闭代理与端口转发


