
Deprecated; V2 lives at https://github.com/developer-dao/academy-turbo
Developer DAO Academy
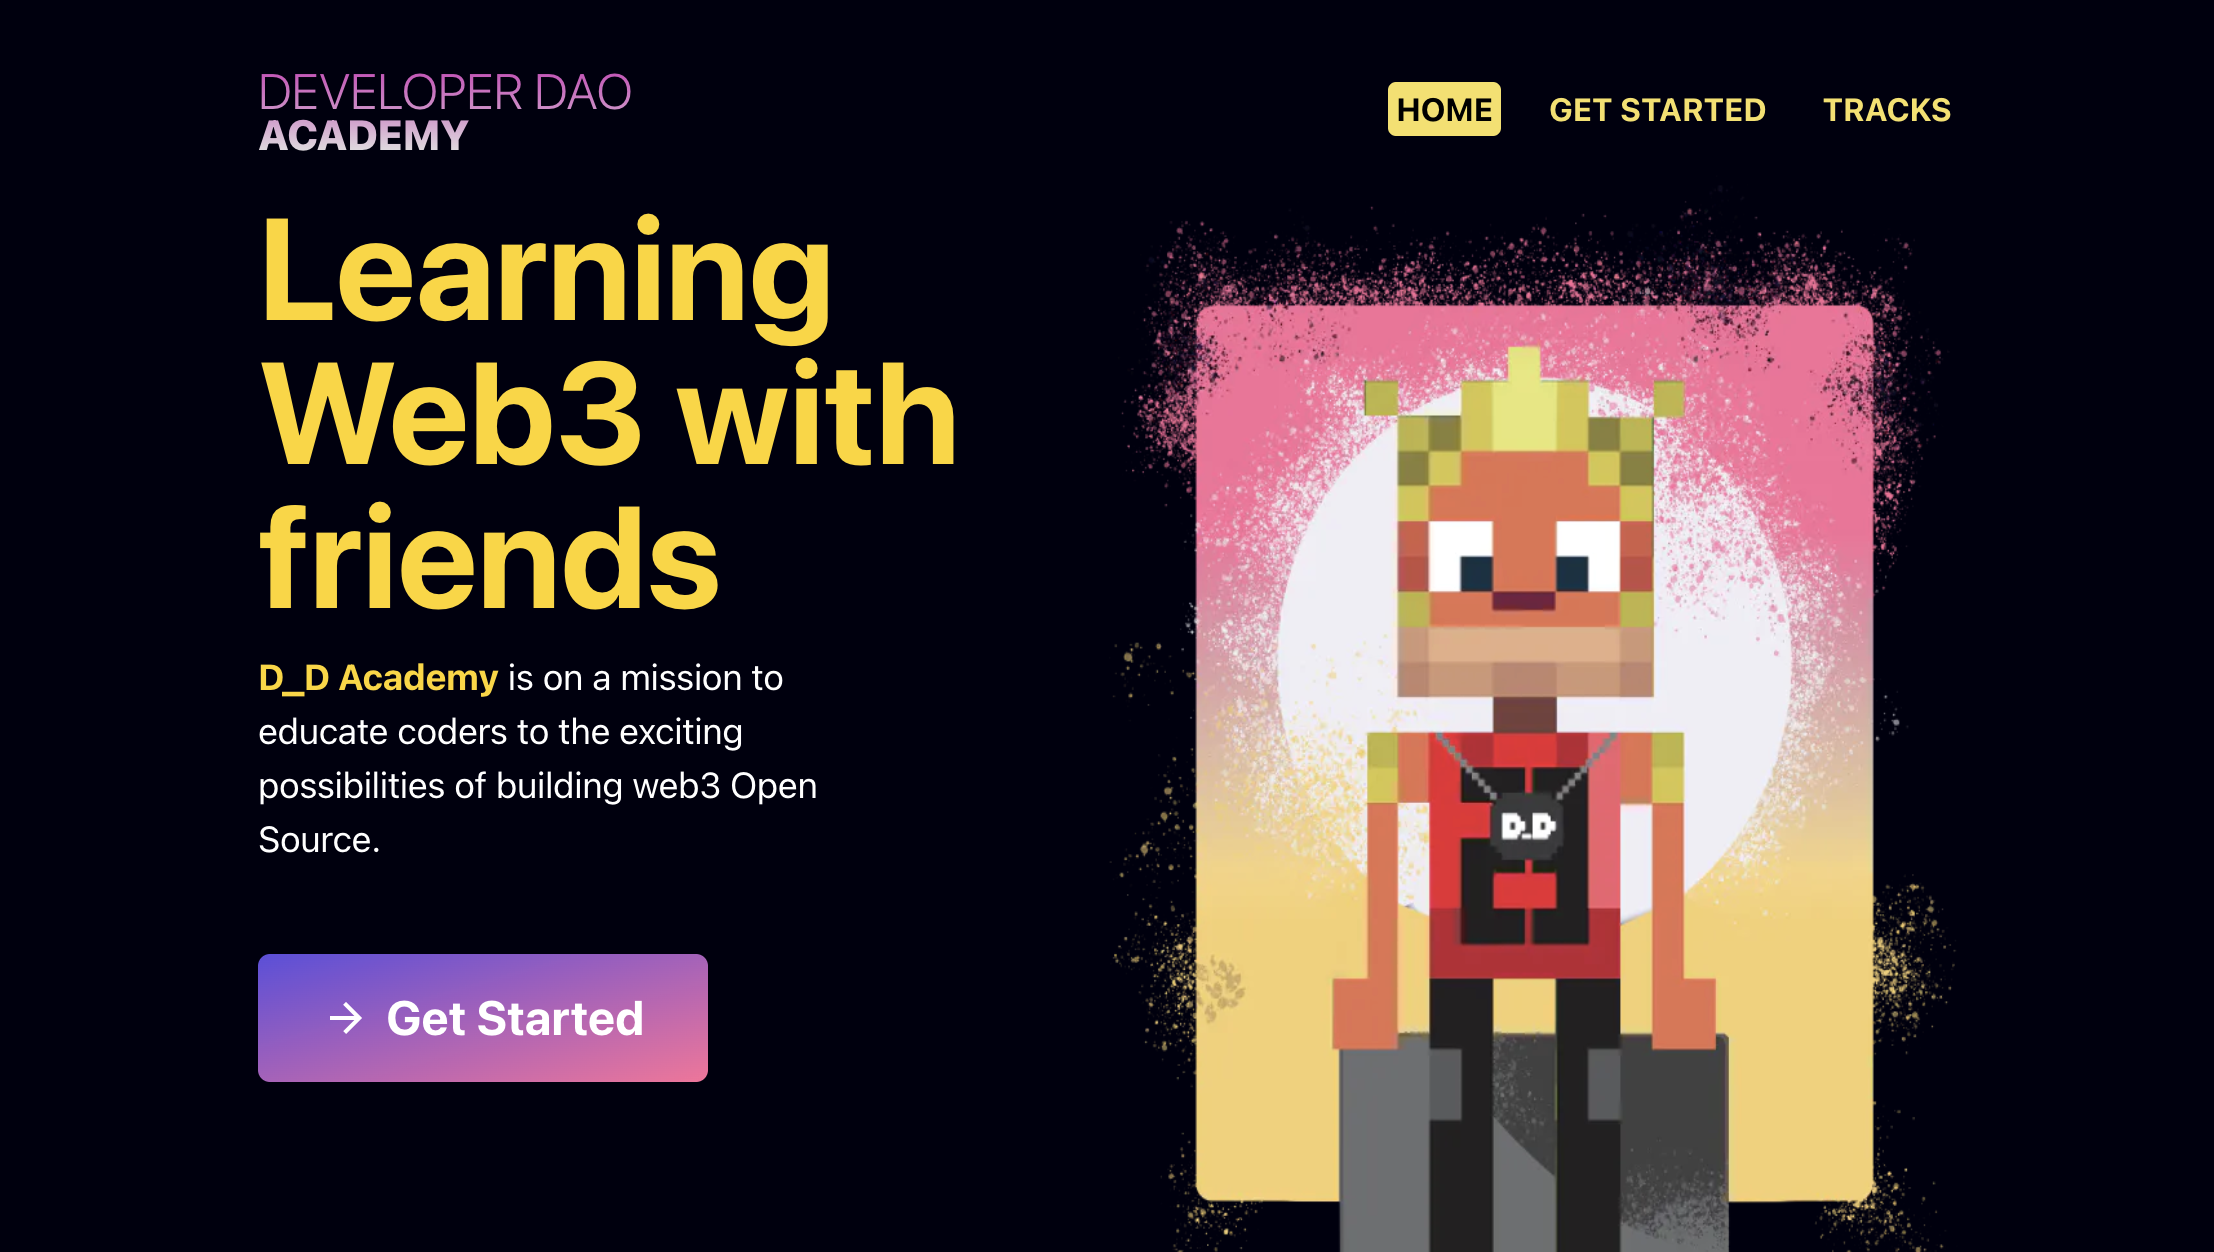
Developer DAO Academy is an open-source education platform created by the Developer DAO Foundation.
Live site is at
Find us on Twitter at
What license applies to this site's content and code?
- All Developer DAO Academy website content © 2022 by Developer DAO Foundation
- Developer DAO Academy website code © 2022 by Developer DAO Foundation licensed
How do I get started?
Please read our CONTRIBUTING Guide to get started. We ask that you are a member of Developer DAO to contribute, since our project uses various Developer DAO planning and communication tools, such as Discord.
How to contribute code
If you're new to the project, see below for setup instructions.
Considerations as you write code
As you're working on code, some things to think about:
- PRs should be as small as possible so they are easy to review
- There are strategies you can use to keep PRs small, even if your feature is
What should I do before submitting the PR?
- Run
yarn confirmwhich will make sure your files are consistently formatted,
- If you see warnings or errors please fix.
- Also, this step runs Prettier so some files may have changed and need to be
Now you're ready to submit your PR.
Assume no one knows what your PR is about. So helpful to:
- writing a description in the PR to explain what you're fixing/adding and how
- if your work is based on a GitHub issue, add that in the description, though
- send a signal that your PR is ready for review, such as asking someone to
How do I review a PR?
It's also important that people review PRs -- a great learning experience and important for an open-source project.
Some helpful things when reviewing PRs:
- ALWAYS download and run the code you're reviewing. Never eyeball it in the
- when you review a PR, please add yourself as a reviewer in GitHub so we know
- go through the formal GitHub review process of starting a review and then
Who should merge the PR?
Once a PR is reviewed, the author of the PR should merge, and the author should run through the live site and make sure the code is performing as expected.
Project Setup
Prerequisites:
node --version 18.x
Refer to the node and npm installation with nvm guide in Lesson 2. A link to the guide can be found here:
Fork this repo, clone forked repo locally and cd into the repo:
git clone https://github.com/[YOUR GITHUB HANDLE HERE]/academy.git cd academy/
Installation and run:
yarn install yarn dev
This will create a local instance of the app running and can be viewed at http://localhost:3000 in your browser.
Also it's handy to install the Prettier plugin for your browser. You can then use it to automatically format files. It helps keep the code base tidy, for Typescript, MDX and Markdown files.
VSCode Remote Containers (alternative setup)
If you use VSCode for development, we already have the configuration files for you to use Remote Containers (make sure that you check the link to install the requirements to use it) to easily create an isolated development environment for your fork. After installing the minimum requirements, you can start using it following this quickstart.
For Windows Users
You may run into setup problems if using Windows Powershell. We suggest you use WSL.
Grabbing latest version of the code
**Since this is a work in progress, your local version of the app can be updated with the following commands:**
Stop the locally running app with:
Ctrl + C
Use git pull for the most up-to-date version:
git pull
Reinstall with yarn:
yarn install
Run the updated app:
yarn dev
Learn More
To learn more about Next.js, take a look at the following resources:
- Next.js Documentation - learn about Next.js
- Learn Next.js - an interactive Next.js tutorial.
Storybook
This project uses Storybook. Storybook allows us to develop components in isolation from our app.
Stories are loaded from *.stories.(mdx|js|jsx|ts|tsx) files in any directory.
To use Storybook, run the storybook script:
yarn storybookTo learn more about how to write Storybook stories, check out the official Intro to Storybook tutorial.
Deploy on Vercel
The easiest way to deploy your Next.js app is to use the Vercel Platform from the creators of Next.js.
Check out our Next.js deployment documentation for more details.
How do I add/edit contributors for a lesson?
First make sure you add your information to ./data/contributors.ts. Minimally you need a unique handle (a single lowercase name such as brianfive) which will be used to look up your information.
Then add a component in your .mdx file at the bottom like this, using various handles defined above.
You can add a contributor as an author, reviewer of contributor. Author(s) wrote the content, Reviewer(s) edited the content, and Contributor(s) later made updates or fixed issues.
import { ContributorFooter } from "../../../components/mdx/ContributorFooter";<ContributorFooter
authors={["brianfive"]}
reviewers={["piablo", "georgemac510"]}
contributors={[]}
/>How do I add a specific forum link in a lesson's header?
Make sure the <LessonHeader /> component has the discussionUrl attribute like this:
<LessonHeader
  title="Lesson 4: Testing your TierNFT"
  discussi
/>
Without discussionUrl the link will default to the home page of Peeranha.


