
YOLOv5 for RK3588
Yolov5_RK3588
1. Prerequisites
* ### Ubuntu
Install Ubuntu on your RK3588 device. (tested on Ubuntu 20.04 and OrangePi5/Firefly ROC RK3588S devices)
For installing Ubuntu on Firefly you can use their manual[[1]](https://wiki.t-firefly.com/en/ROC-RK3588S-PC/index.html)[[2]](https://en.t-firefly.com/doc/download/page/id/142.html).
For installing Ubuntu on OrangePi you can use their manual.
Or use ours README's for them (select the one below).
|OrangePi|Firefly| | :---: | :---: |
* ### FFMPEG
Install ffmpeg package for WebUI:
sudo apt-get update
    sudo apt-get install -y ffmpeg
And dependencies for WebUI:
sudo apt-get update
    # General dependencies
    sudo apt-get install -y python-dev pkg-config
# Library components     sudo apt-get install libavformat-dev libavcodec-dev libavdevice-dev \       libavutil-dev libswscale-dev libswresample-dev libavfilter-dev
Open .bashrc in nano text editor:
nano ~/.bashrcAt the end of file add next line:
export LDPRELOAD=$LDPRELOAD:/usr/lib/aarch64-linux-gnu/libffi.so.7Save and close nano with sortcuts ctrl-o, Enter, ctrl-x
### Docker (Optional)*
For installing docker on RK3588 device you can use official docker docs or check our README_DOCKER.md
2. Install docker images (Optional)

* ### From Docker hub

At first you need download docker image:
docker pull deathk9t/yolov5_rk3588:latestThen you can run container with:
docker run --privileged --name [container-name] -e DISPLAY=$DISPLAY -v /tmp/.X11-unix:/tmp/.X11-unix -v /dev/:/dev --network host -it deathk9t/yolov5_rk3588:latest* ### Build docker image by yourself
You can build docker image by yourself usning Dockerfile:
docker build -t [name-docker-image:tag] .Then you can run container with:
docker run --privileged --name [container-name] -e DISPLAY=$DISPLAY -v /tmp/.X11-unix:/tmp/.X11-unix -v /dev/:/dev --network host -it [name-docker-image:tag] 3. Installing and configurating

Install miniconda
wget https://repo.anaconda.com/miniconda/Miniconda3-latest-Linux-aarch64.sh
  bash Miniconda3-latest-Linux-aarch64.sh
Then rerun terminal session:
source ~/.bashrcCreate conda env with python3.9
conda create -n <env-name> python=3.9And then activate conda env
conda activate <env-name>Clone repository:
git clone https://github.com/Applied-Deep-Learning-Lab/Yolov5_RK3588And got into repo-dir:
cd Yolov5_RK3588Install RKNN-Toolkit2-Lite,such as rknntoolkitlite2-1.4.0-cp39-cp39-linux_aarch64.whl
pip install install/rknntoolkitlite2-1.4.0-cp39-cp39-linux_aarch64.whlIn created conda enviroment also install requirements from the same directory
pip install -r install/requirements.txtThen go to the install dir for building and installing cython_bbox
cd install/cython_bbox
  python3 setup.py build
  python3 setup.py install
4. Running Yolov5

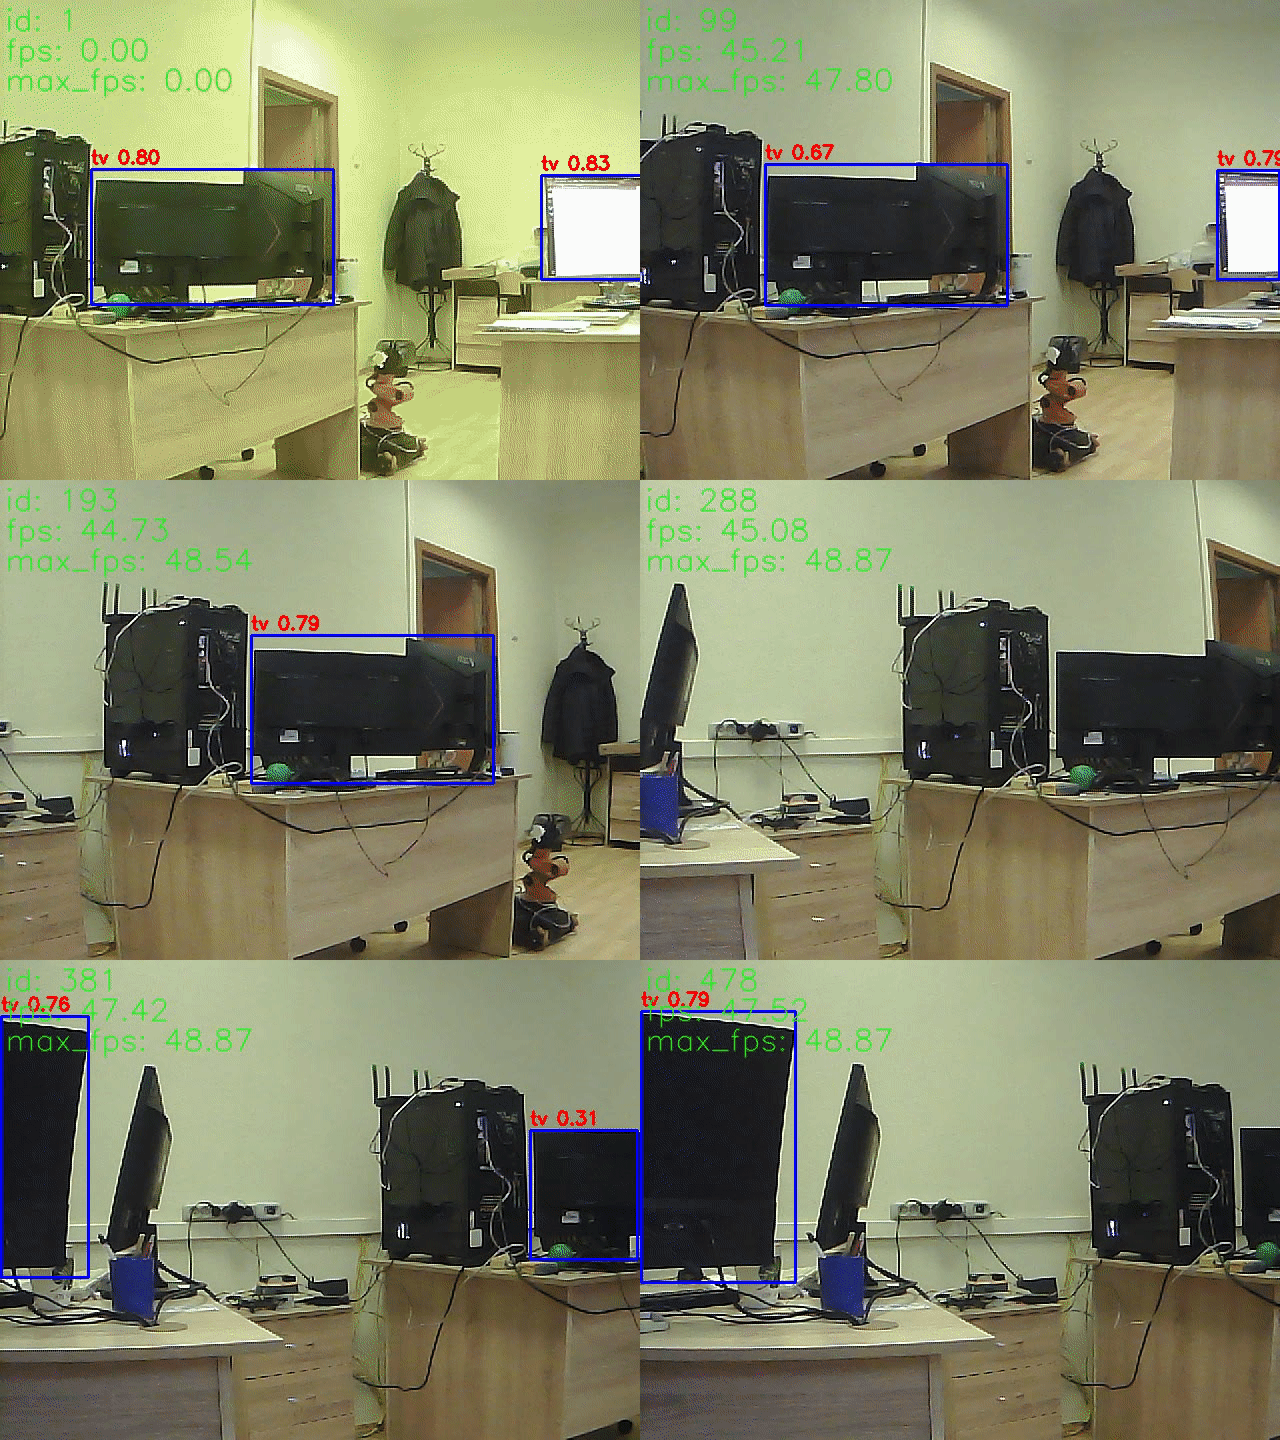
`main.py` runs inference with WebUI. You can turn on/off some options in config file or using Settings page at webUI.
python3 main.pyOr run it using bash script:
source run.shThe frame rate dropped by about 20 fps due to recording. When running without it, you can expect around 60 frames per second.
For see WebUI write to browser address bar next (localhost - device's ip):
localhost:8080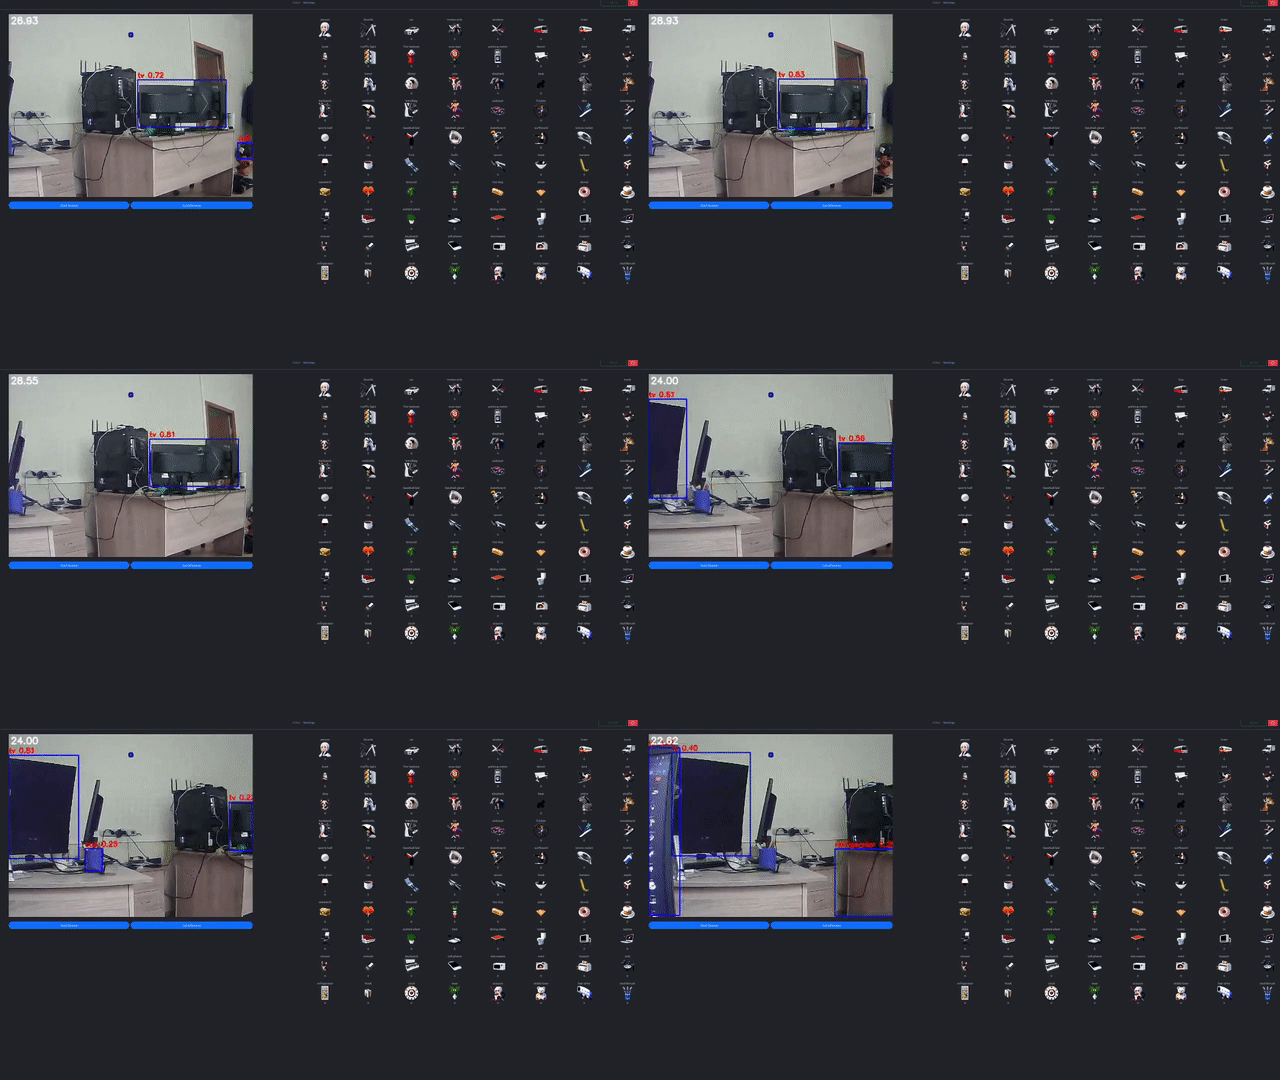
You also can set autostart for running this.
Before it deactivate conda env:
conda deactivate* For Orange Pi
source install/autostart/orangepi_autostart.sh* For Firefly:
source install/autostart/firefly_autostart.sh 5. Convert onnx model to rknn

* ### Host PC
Install Python3 and pip3
sudo apt-get update
      sudo apt-get install python3 python3-dev python3-pip
Install dependent libraries
sudo apt-get update
      sudo apt-get install libxslt1-dev zlib1g zlib1g-dev libglib2.0-0 libsm6 libgl1-mesa-glx libprotobuf-dev gcc git
Install RKNN-Toolkit2,such as rknntoolkit2-1.4.022dcfef4-cp38-cp38-linuxx8664.whl
pip install resources/HostPC/converter/install/rknntoolkit2-1.4.022dcfef4-cp38-cp38-linuxx8664.whlFor convert your .onnx model to .rknn run onnx2rknn.py like:
cd resources/HostPC/converter/convert/
      python3 onnx2rknn.py \
              --input <path-to-your-onnx-model> \
              --output <path-where-save-rknn-model> \
              --dataset <path-to-txt-file-with-calibration-images-names>


