
No description available.
Quick Plugin Switcher (QPS)
This plugin simplifies the process of managing your plugins (demos at the end of this page)
Introduction:
This plugin is done around two windows:
- the main window give access to all installed plugins with many options
- and the second window is an improved version of community plugins view with many options
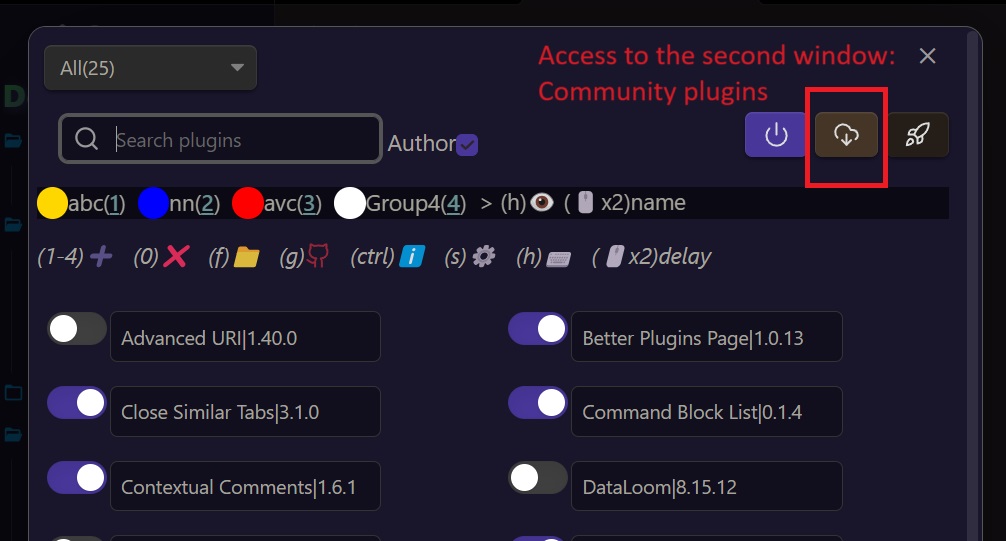 community plugins
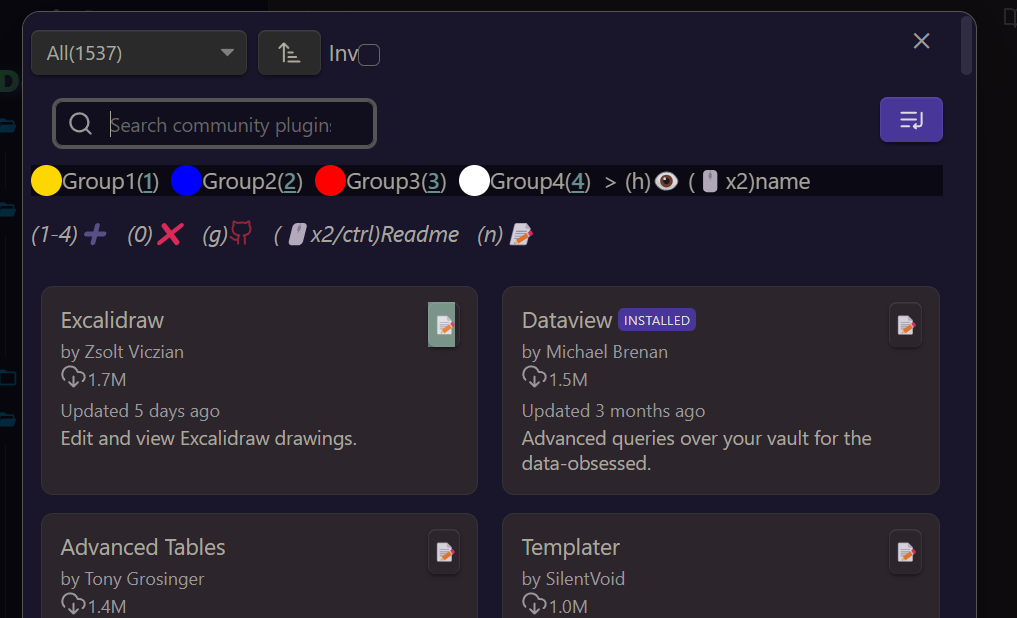
there are buttons, context menus, dropdown menus, search menus, and you can double click on some elements
Mainly, you can:
- quickly toggle enable/disable on plugins
- use groups for many operations
- add a delay at start
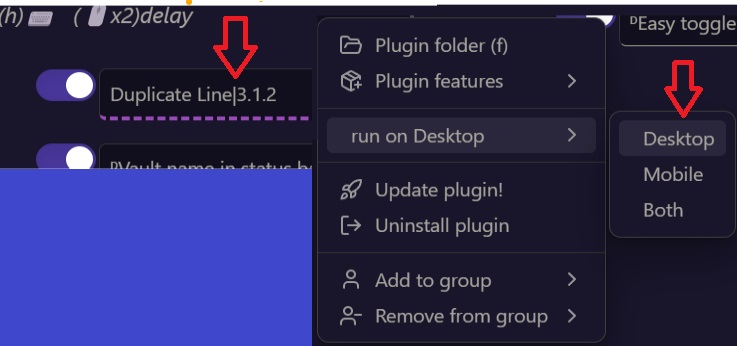
- enable/disable platform dependent mobile/desktop
- get quick accesses (github repo, plugin folder...)
- apply some filters search, hide groups...
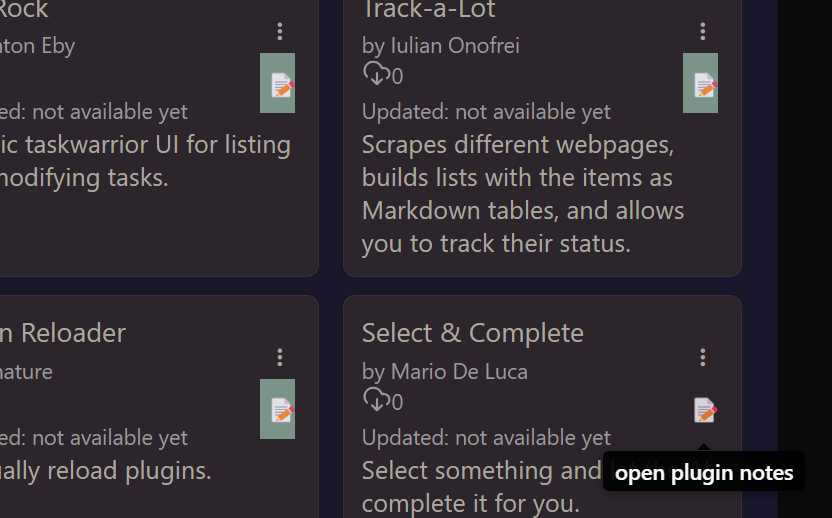
- take some notes on community plugins
- tools to install plugins between vaults
- switch a plugin via command
New:
- see downloads stats for each community plugin using (s) or in the context menu on mobile. Using this site obsidian stats
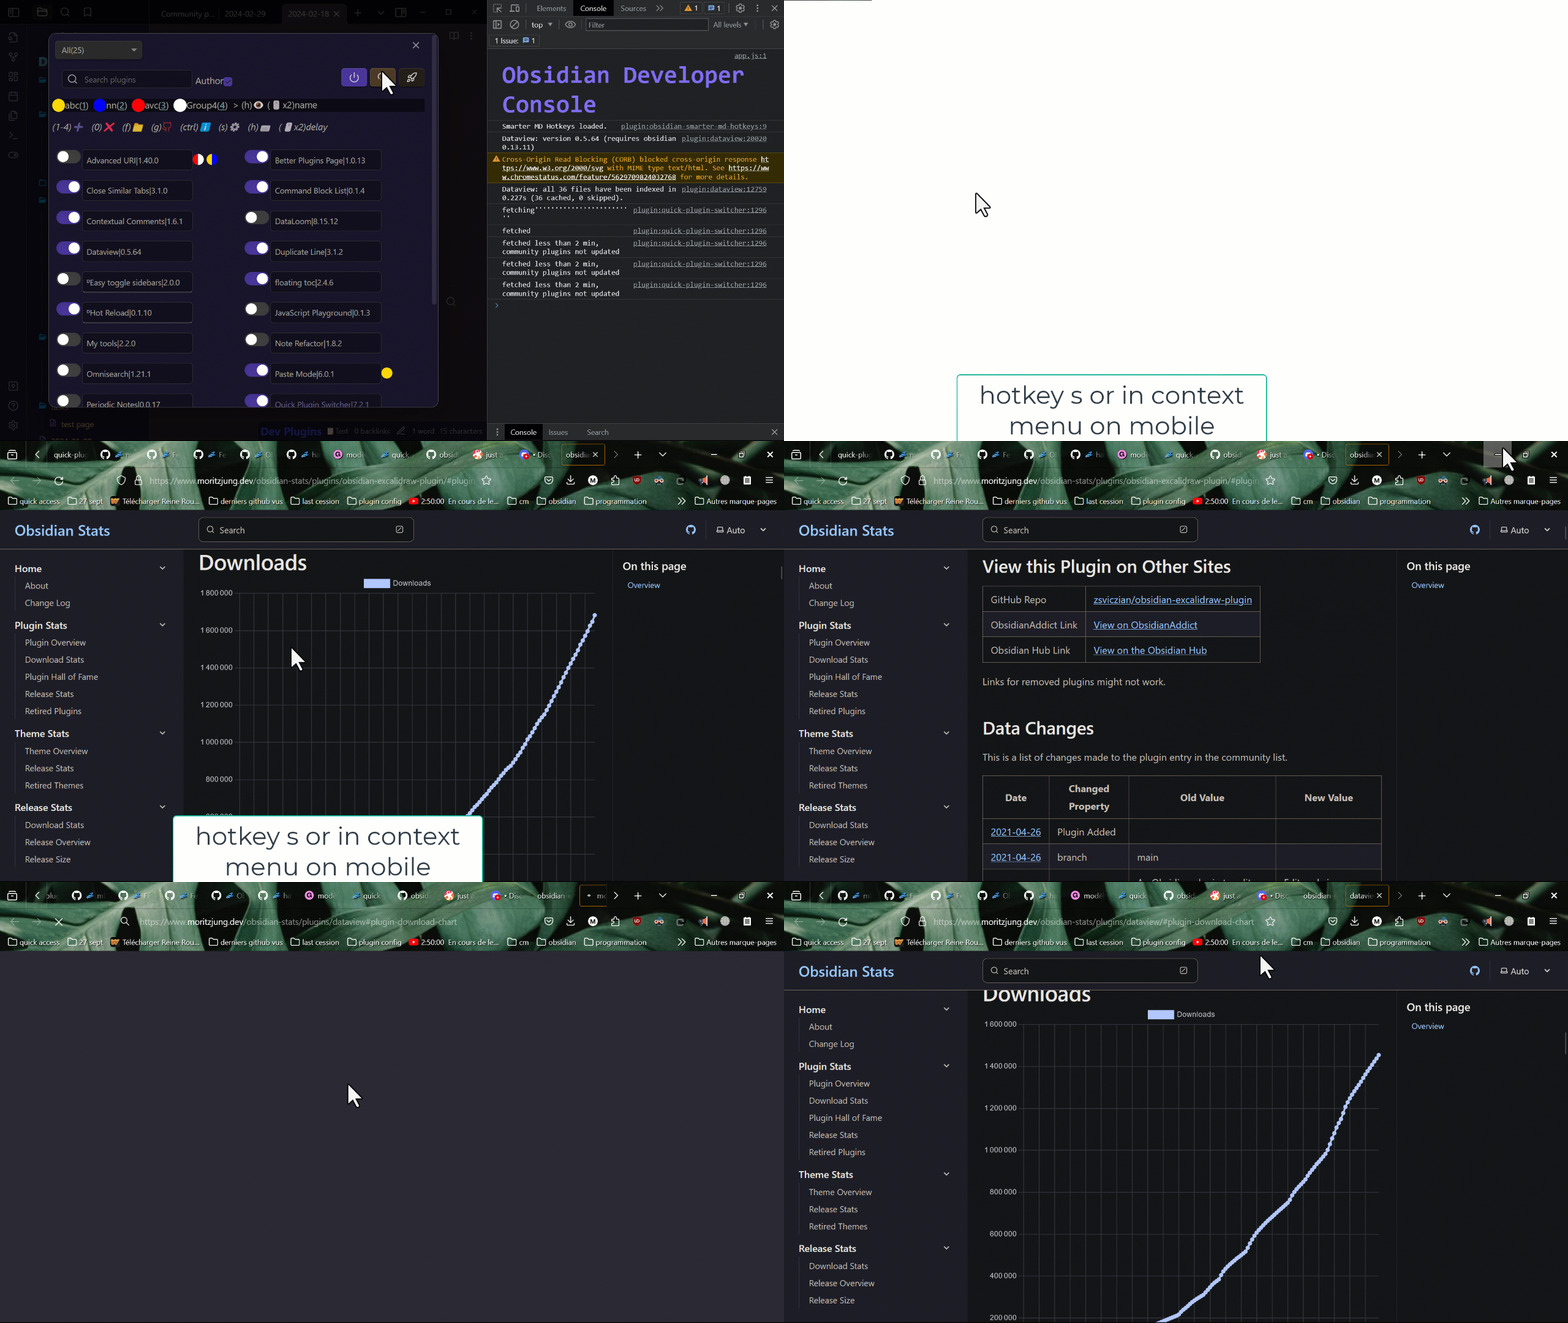
- option in setting to keep last value in dropdown menus (true by default)
- switch a plugin via command.
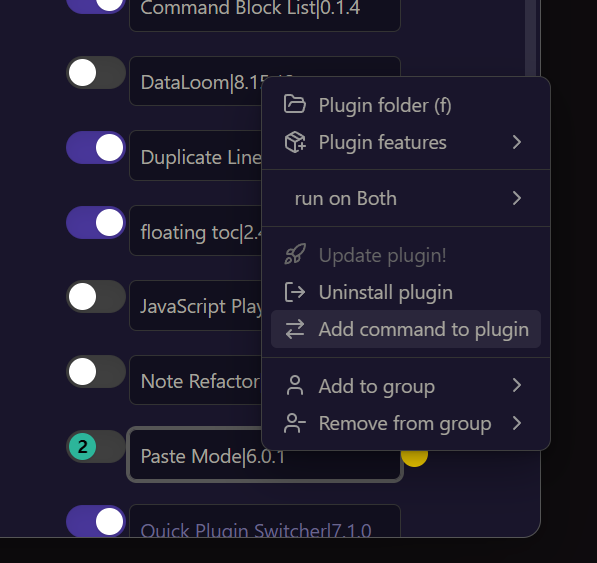 then in command palette

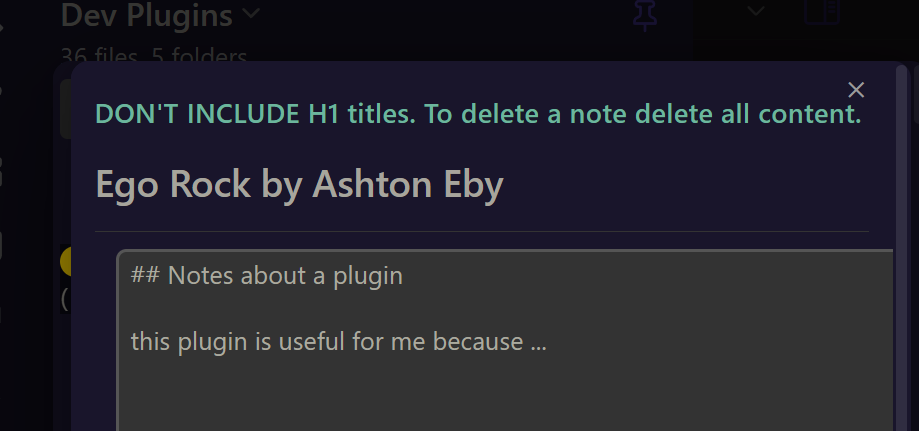
- add notes to community plugins
- option to make a plugin platform dependant
- plugin updates
- community plugins have been added and a lot of things fixed or improved
Features
general
- access QPS from ribbon bar or command
filters
you have now an option in plugin settings to keep previous filter value when re opening a window
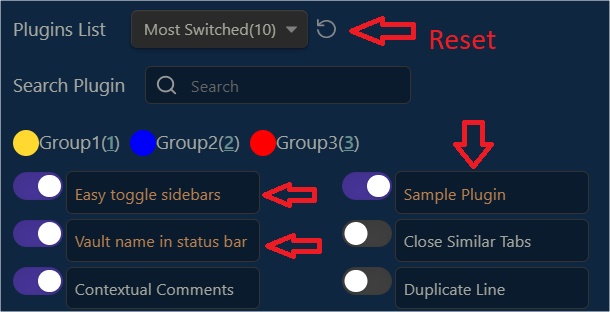
- first window
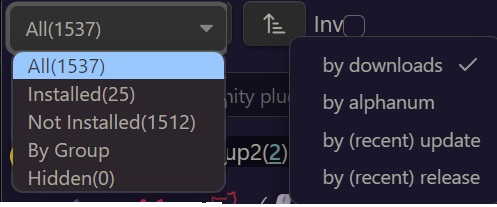
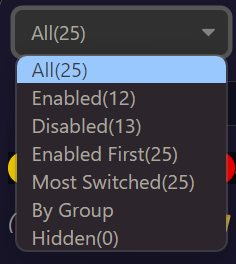 filter By group
 filter by Most Switched filter (most switched plugins)
- second window
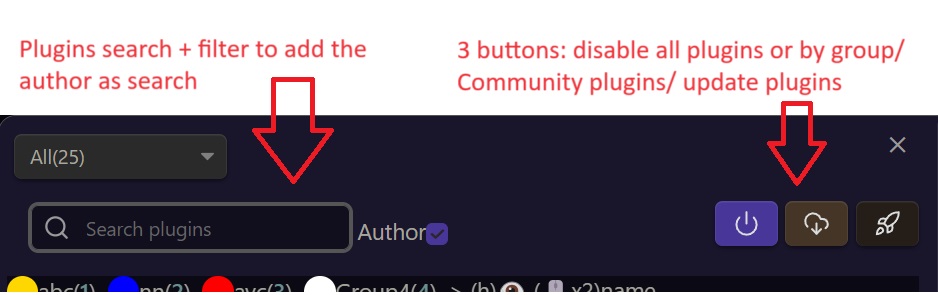
search bar
- first window
- second window

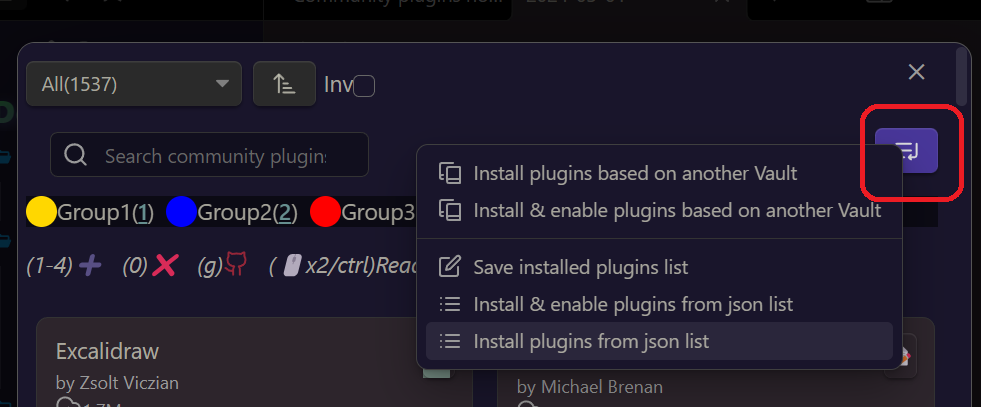 this button to do some additional things...
floating groups bar

- you can double click the name to rename a group
- you can double click the icon (before name) to add a delay to a group (plugins in group delayed at start)
- you can hide a group, shortcut h, or in context menu
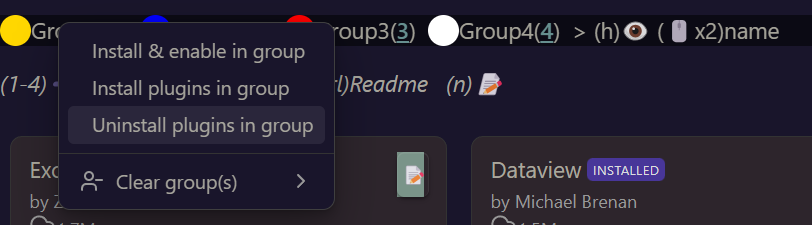
- you can open a context menu on group name
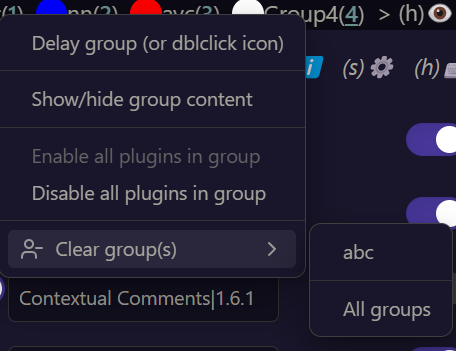 in community plugin the behaviour is the same with some different options
shortcut bar
In the first window  Shortcut that you can press over a plugin name: here we have 4 groups so we can press 1,2,3,4 over a plugin to add a group. 0/del/suppr to delete group(s). f to open the plugin folder g to open the github repo ctrl to open short plugin description s plugin settings h plugin hotkeys double click to add a delay on start to a plugin.
in commmunity plugins 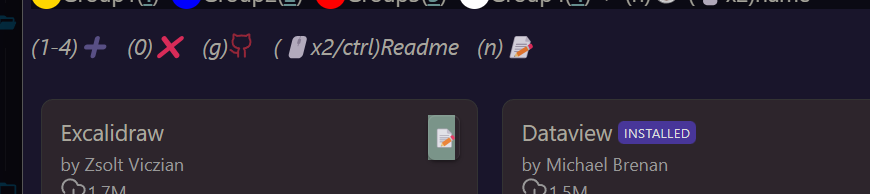 n to add a note of description. useful to remember things ctrl/dbl click to open the github readme.
plugin items
First window 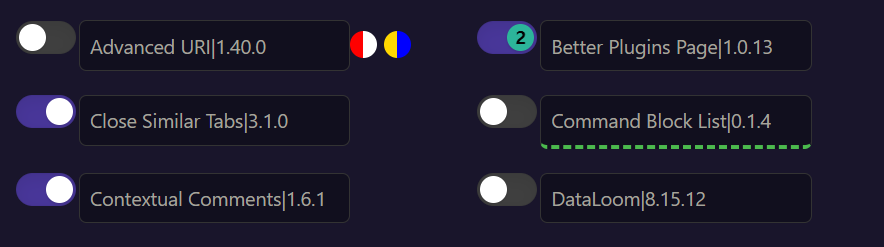
- we can see 4 groups added to the same plugin. 6 groups max are possible
- a delay at start of 2 seconds. double click on the plugin name. and same to disable the delay
- the green dashed line is on a plugin only enable on mobile platform. Useful when you share a vault on the cloud between different devices.
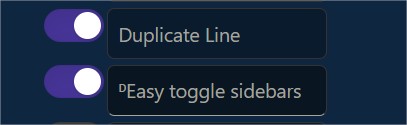
- desktop only plugins are marked with a ᴰ
 -context menu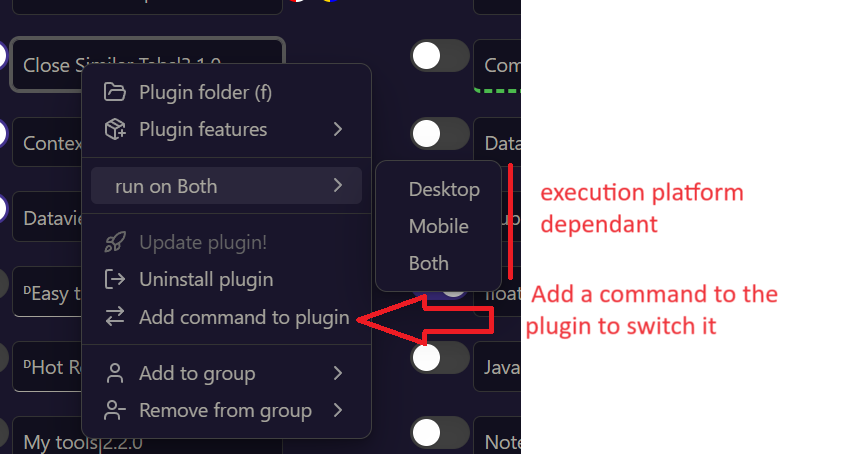
Second window 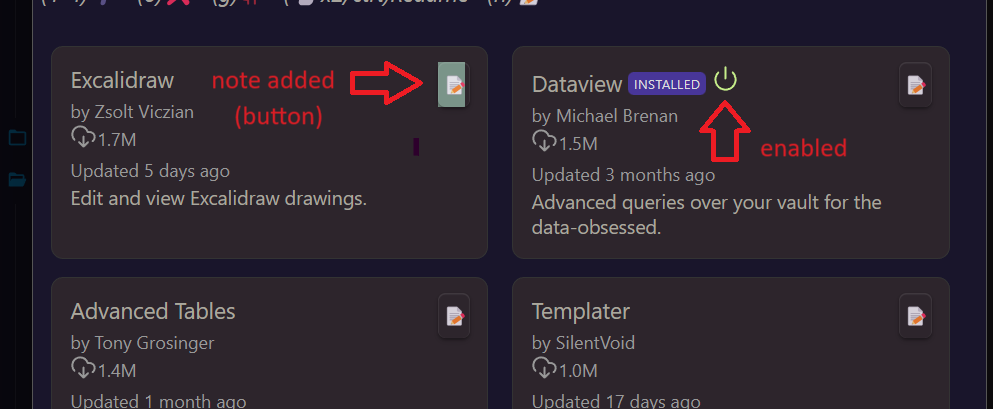
- the note button allow to create a note (then the button is green)
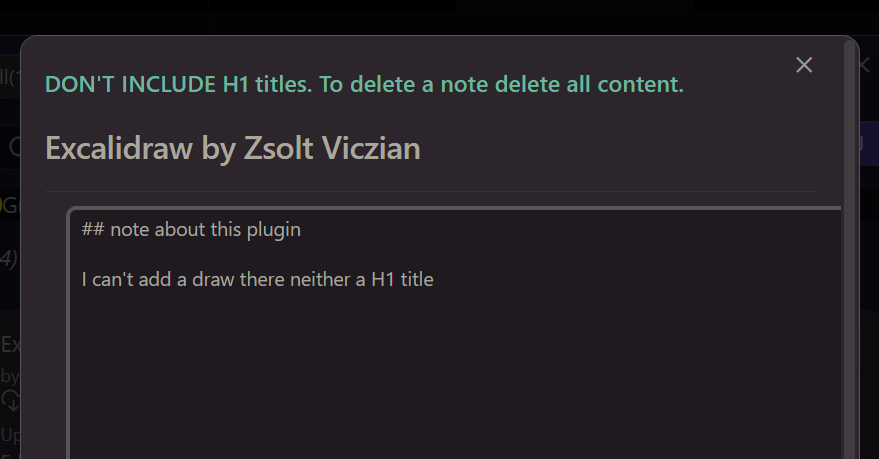 H1 are used to create each note in a same markdown file in your vault. You can choose the folder where this file will be in settings. To delete a note, delete all its content.
 - double clicking or pressing ctrl over a block will open the readme
- context menu with install uninstall enable
videos
-6- youtube main presentation
-5- add command to plugin to quickly switch it 
-4- shortcuts helper 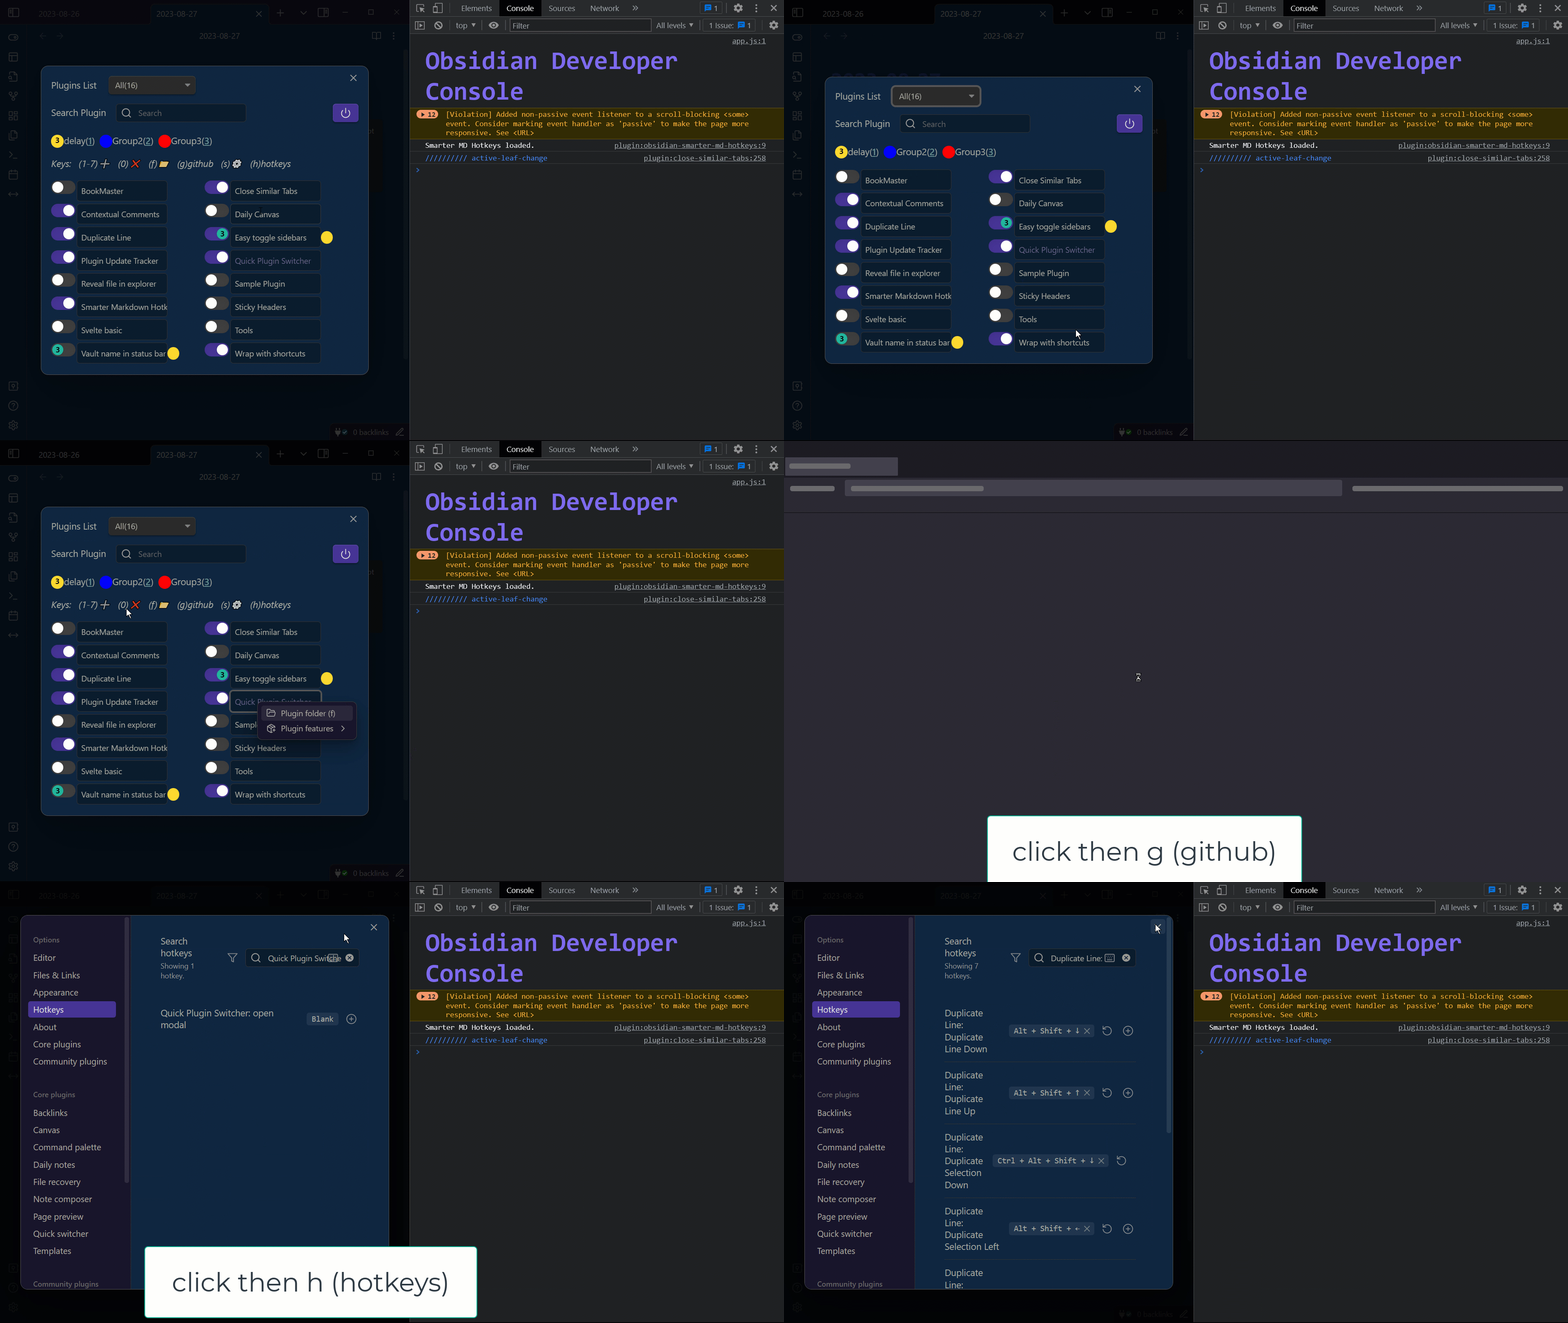
-3- delay at start (feature request, inspired by "plugin groups")  update info will show only once
-2- groups 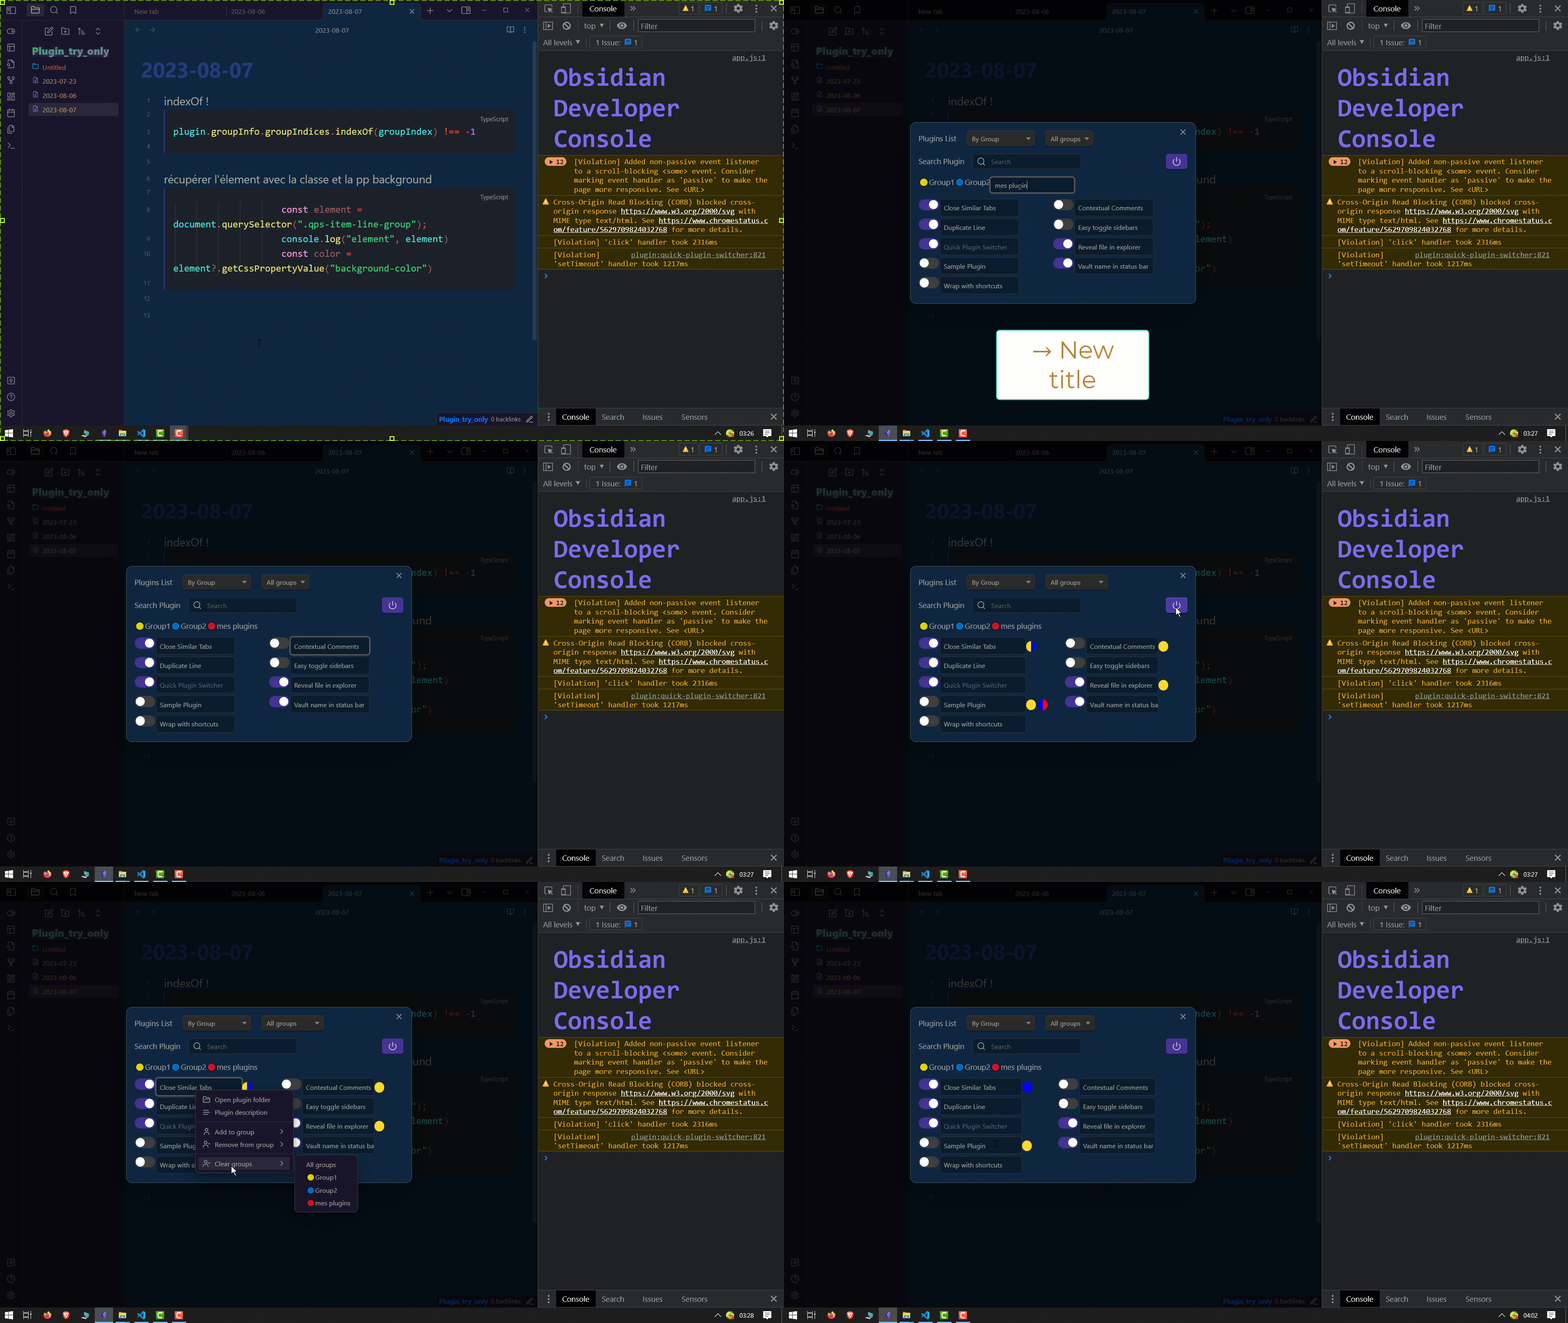
-1- first demo 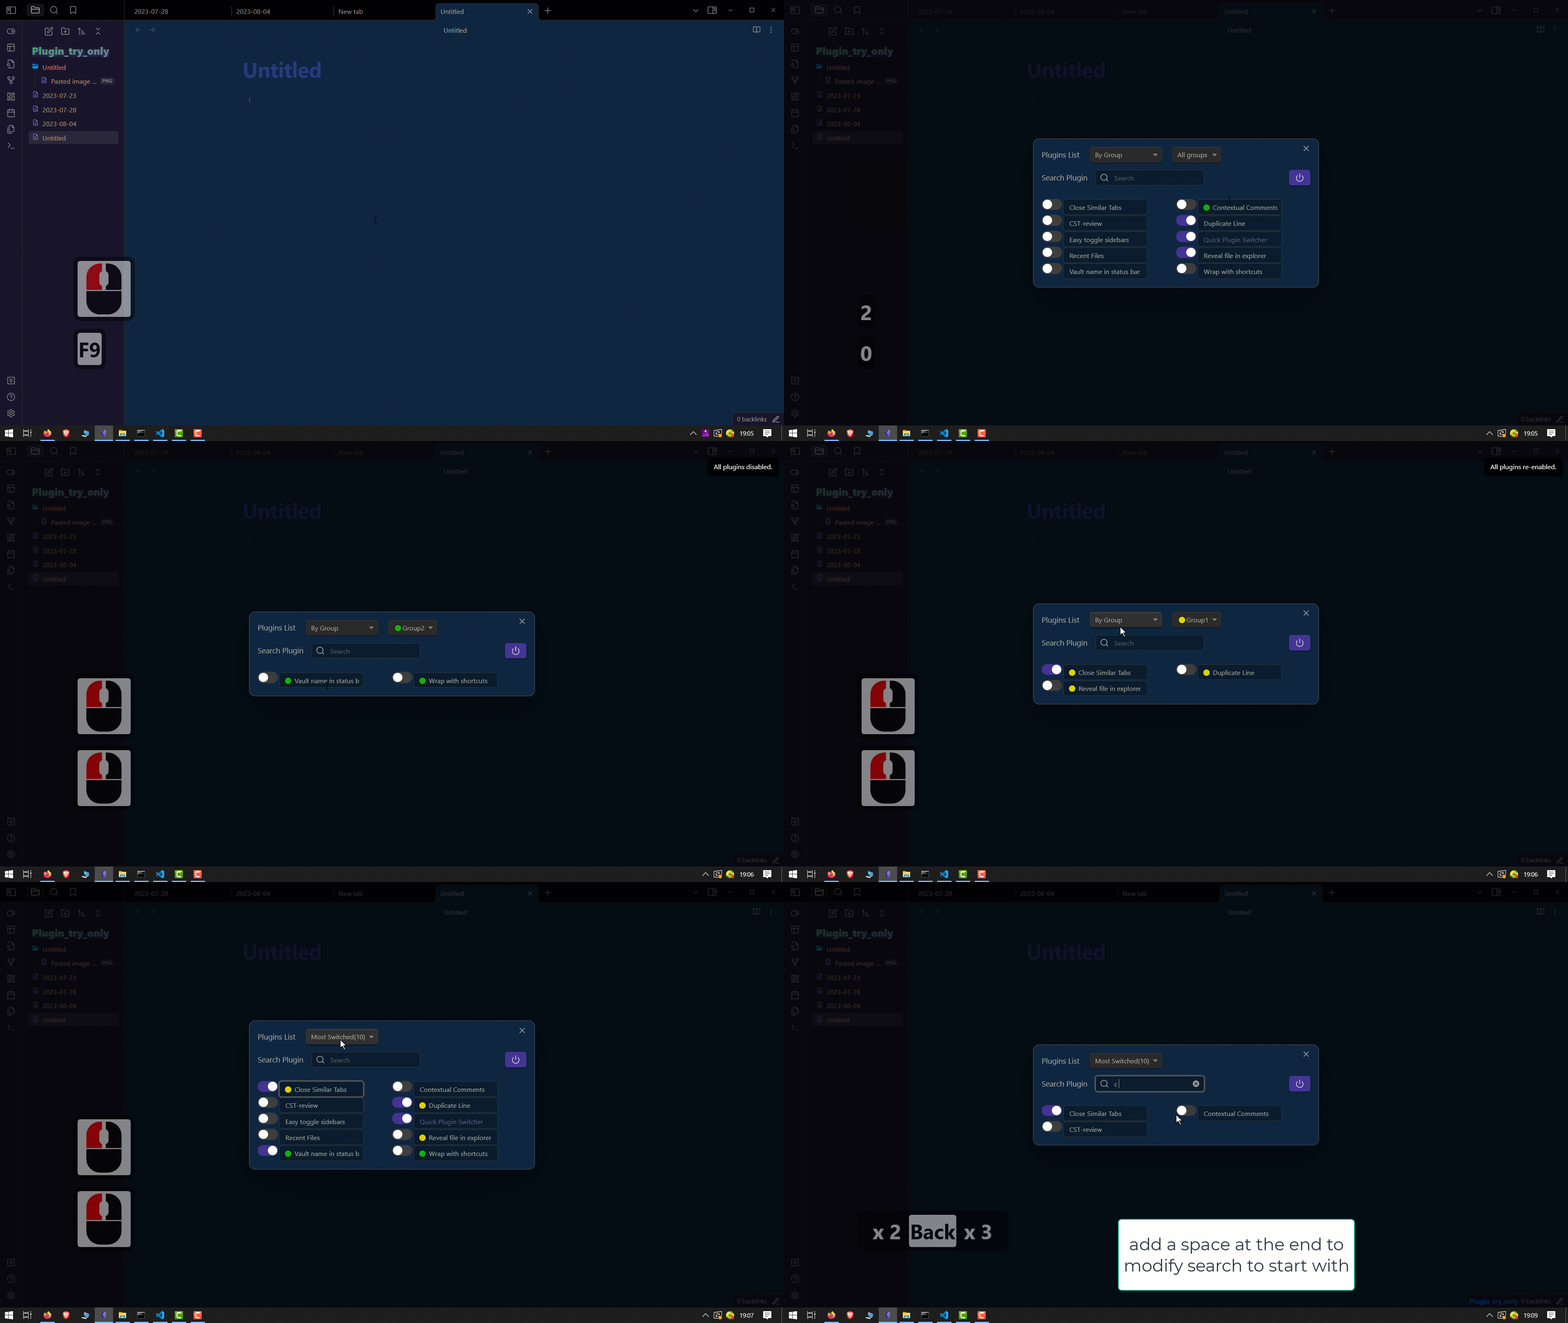
Development (Add this to your README)
Optional (SASS):
If you add astyles.scss file to the src folder, it will automatically be converted to CSS when you run commands such as npm run dev.
Environment Setup
- Development in the plugins folder of your vault:
REAL variable to -1 in the .env file. This indicates that you are developing your plugin directly in the plugins folder of your vault.
- Development outside the vault:
REAL variable to 0 in the .env file. In this case, the necessary files, including main.js, will be automatically copied to the vault during development. During the build process, the JS and CSS files will be generated in the folder containing your source code. You can then push to GitHub and create a release directly from this folder using the commands listed below.
Managing Vaults (IMPORTANT)
- Two vault paths are defined in the
.envfile:
- Depending on the command executed, the
REALvariable will take a different value and adapt to the corresponding path.
Available Commands
npm run devandnpm start: Used for development in your development vault.npm startopens Visual Studio Code, runsnpm install, and thennpm run dev, allowing for a quick start from the folder containing the source code.
npm run build: Builds the project in the folder containing the source code.
npm run real: Equivalent to a traditional installation of the plugin in your main vault. Note:main.jsis generated via a build.
npm run bacp: After development and before creating a release.bstands for build, andacpstands for add, commit, push. You will be prompted for the commit message.
npm run acp: Performs add, commit, push without going through the build step.
npm run version: Asks for the type of version update, modifies the relevant files, and then performs an add, commit, push. It makes sense to run this afterbacp.
npm run release: Asks for the release title and creates the release. This command works with the configurations in the.githubfolder. The title can be multiline by using\n.


